This week’s maker is Manuel “Manny” Pardo, Jr., MD, professor of clinical anesthesia in the UCSF Department of Anesthesia and Perioperative Care. We caught up with Manny to take a closer look at the training model he’s been working on for spinal epidural anesthesia.
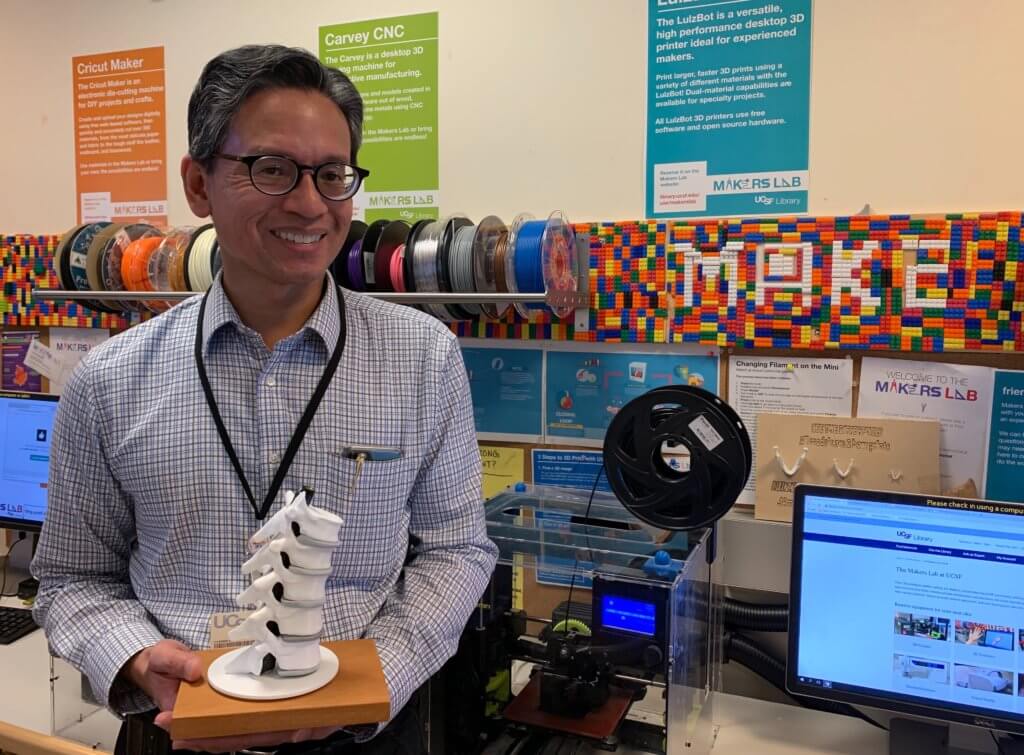
Q: What did you make?
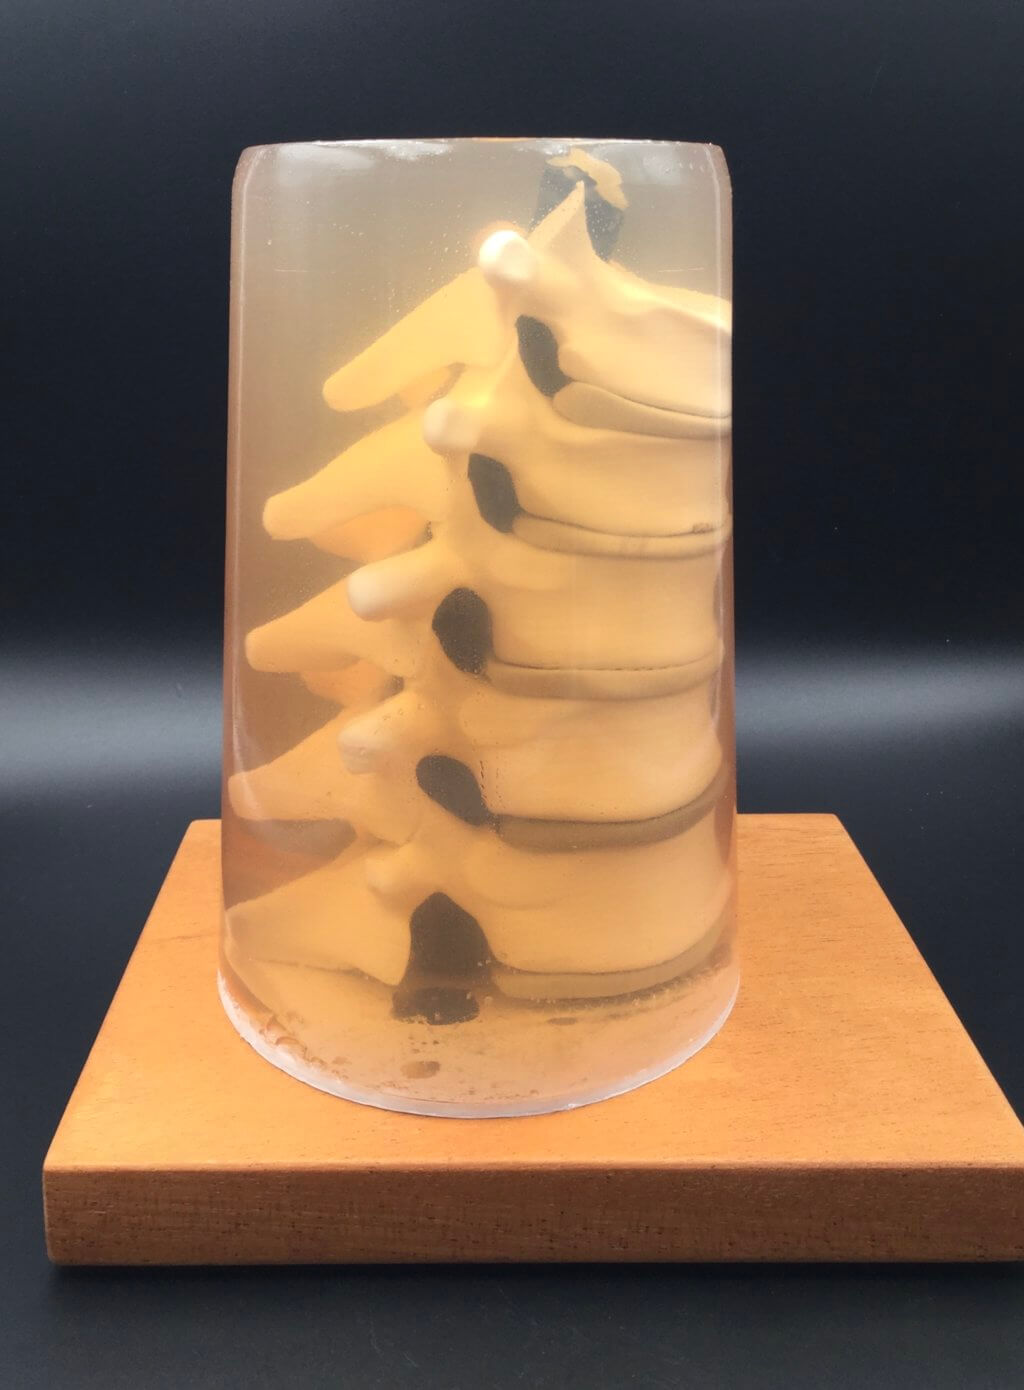
I made a thoracic epidural procedure training model.
Q: Why did you want to make it?
Learning to perform procedures safely and efficiently is an important part of being an anesthesia resident. I have found that thoracic epidural placement is one of the more challenging procedures to teach, especially for a resident in their first year of training. The three-dimensional relationships of the relevant bone, ligament and neural anatomy can be difficult to visualize. A static image on a textbook or web page can only go so far in helping to understand this.
Q: What was your process?
I started by taking the “3D Printing at UCSF – Part 1” class that Dylan Romero teaches in the UCSF Makers Lab. I then made a series of small household items to gain familiarity with the process and make mistakes on a small scale. Jenny Tai was terrific in helping me troubleshoot all sorts of problems. After I decided that I wanted to make an epidural trainer, I first looked at the NIH 3D print exchange. There were spine parts there, but not exactly what I needed. I checked out Thingiverse, and found exactly what I was looking for, an educational model for thoracic epidural procedures, created by several individuals from the University of Washington.
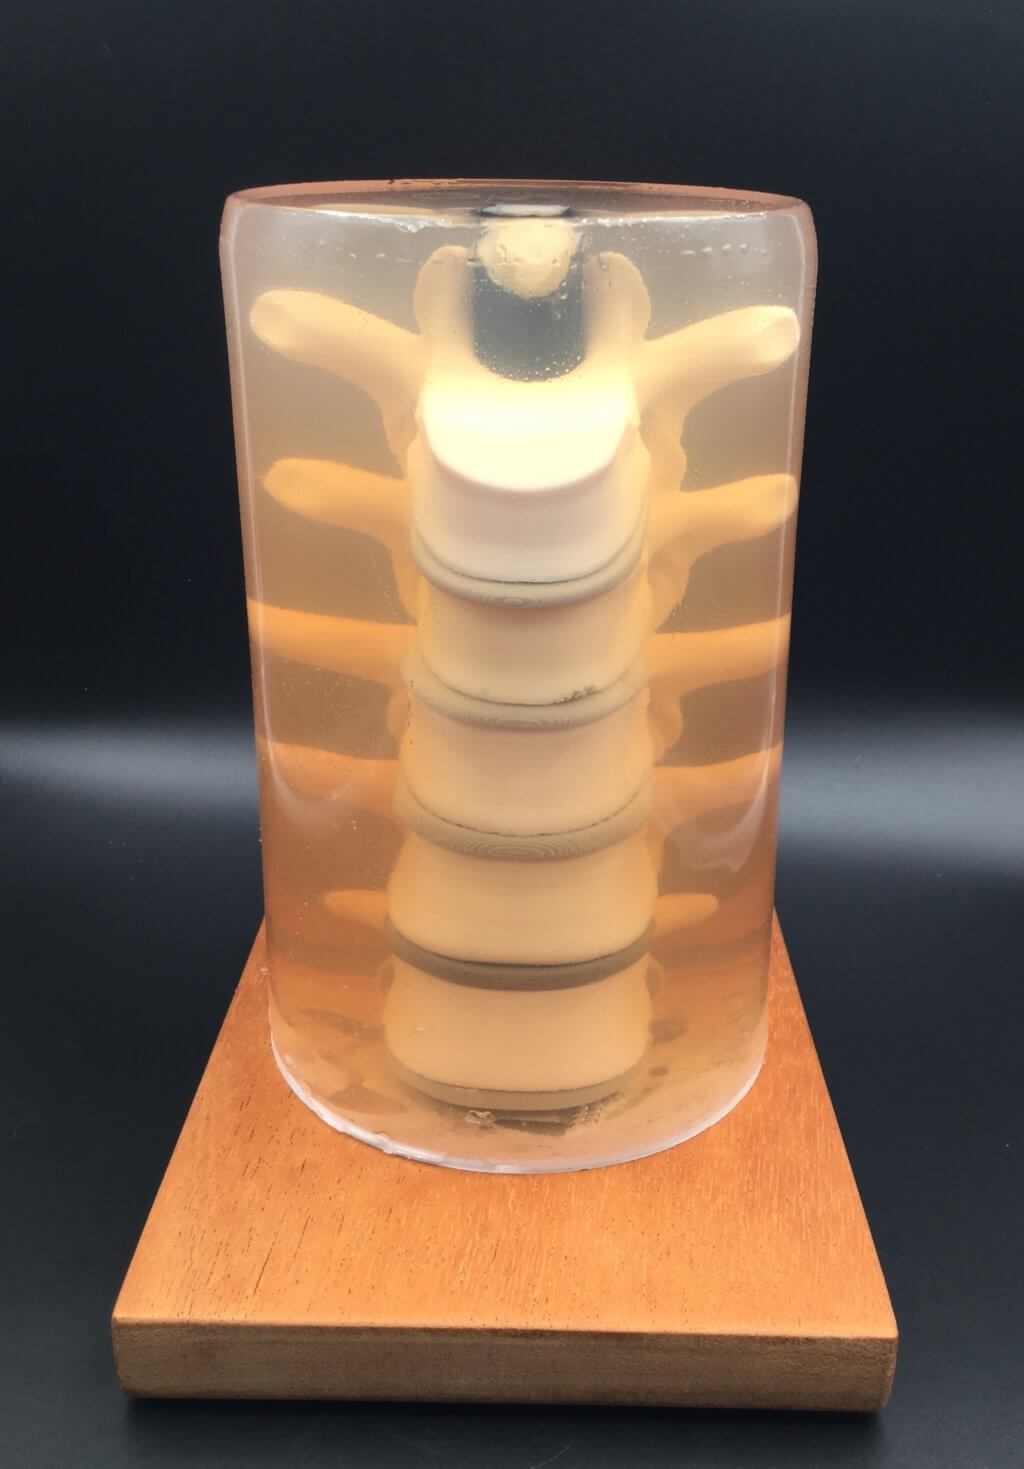
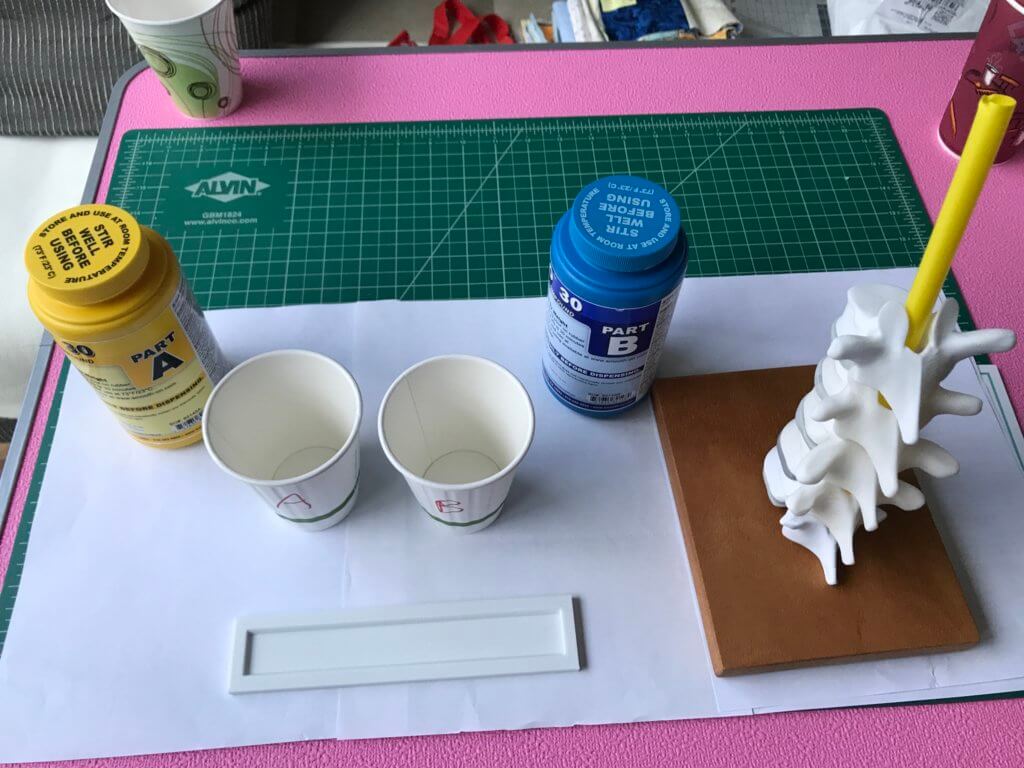
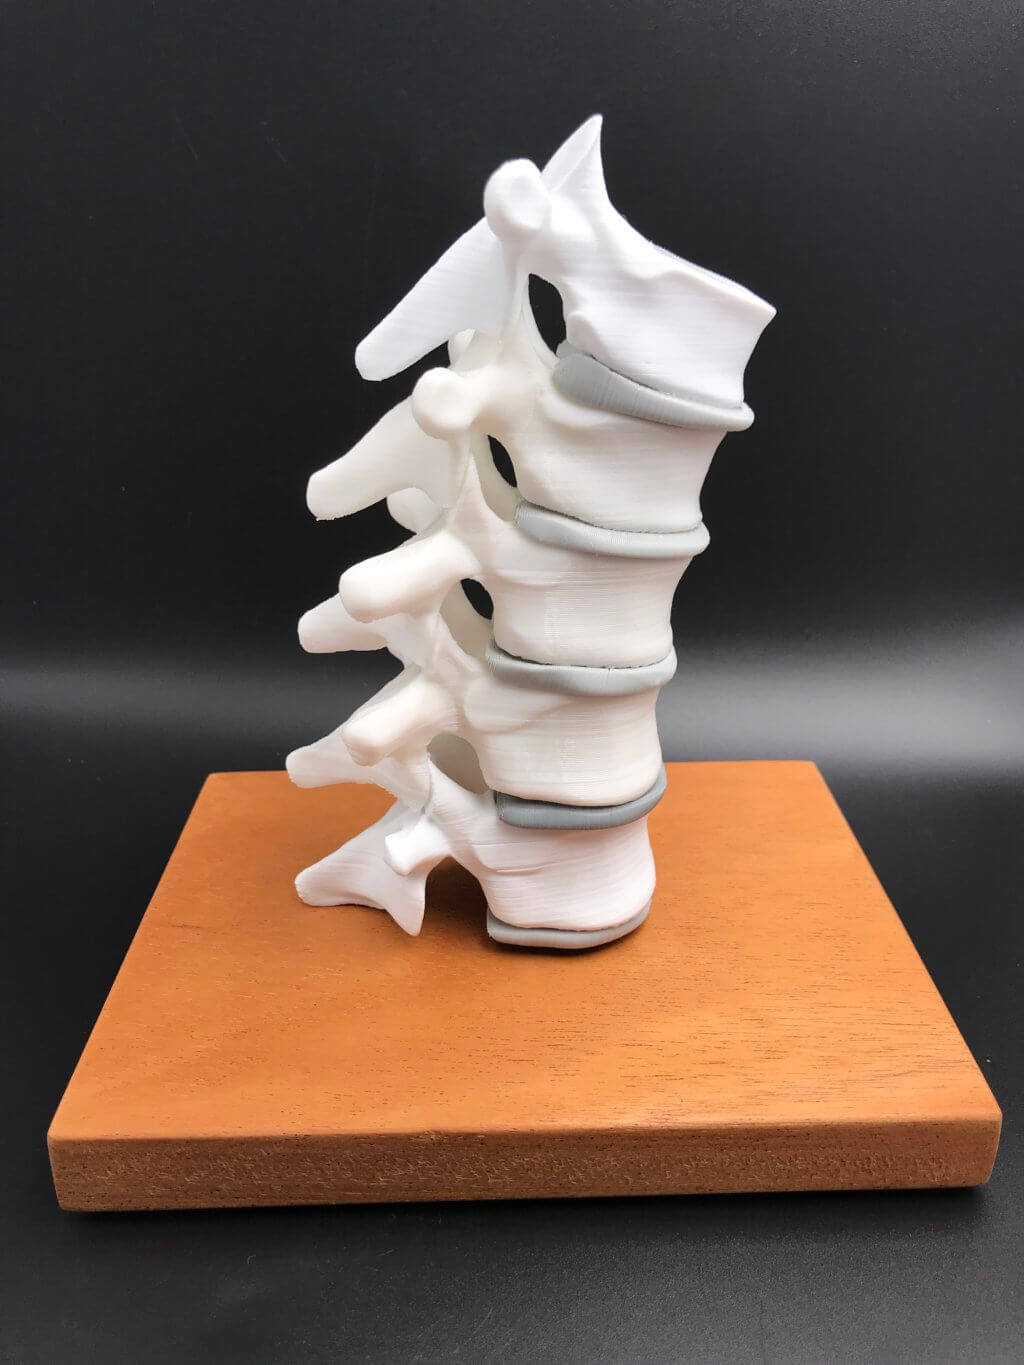
Their model included 3D files for the vertebrae, vertebral disks, and a mold for making the ligamentum flavum. They also shared a recipe for making Knox gelatin to act as the soft tissue around the spine model. I printed all the parts in the Makers Lab over a few weeks. I made a wooden base, and used two metal threaded inserts to reversibly attach the base to the spine model. I mixed up a two-part silicone rubber solution and poured it into the mold. After it hardened, I wrapped the silicone ligamentum flavum around a straw, wrapped it with black electrical tape, and inserted it into the spinal canal. I placed the model upside down into the gelatin solution and placed it into the refrigerator to harden.
Q: What was the hardest part of the process?
The hardest part of the process was dealing with the gelatin, including mixing it and making sure I could keep the model at the right depth and location in the container while the gelatin set up in the refrigerator. I ended up 3D printing a round circular piece to hold the model in place.
Q: What was your favorite part of the process?
My favorite part was gluing all the parts together and attaching the model to the wooden base, seeing everything come together. It reminded me of making plastic WWII model airplanes as a child.
Q: How did this help make you a better faculty?
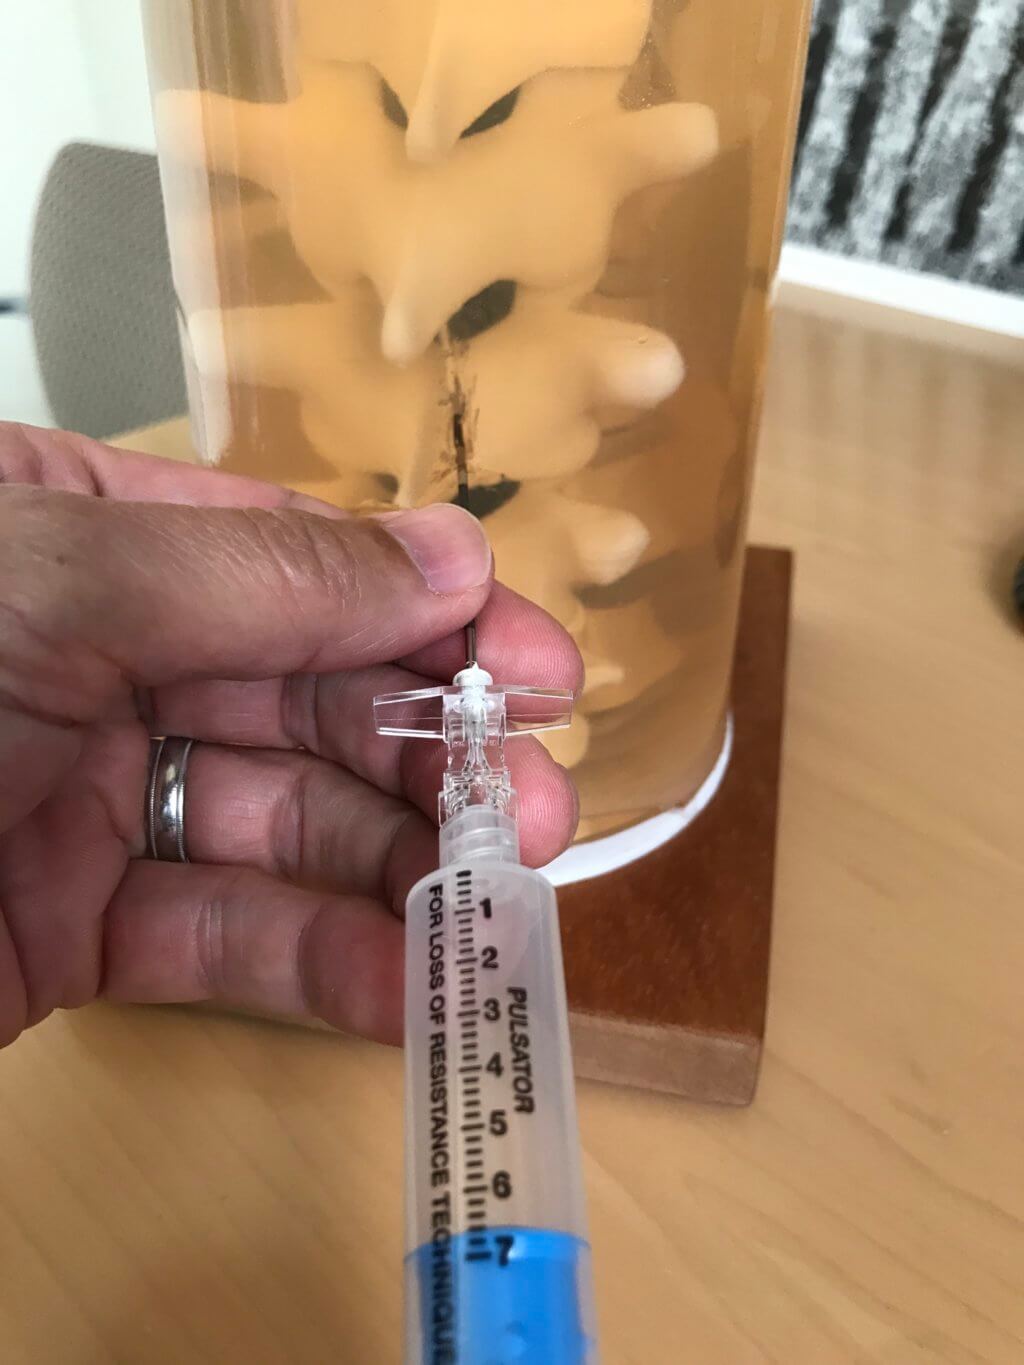
I’d like to think it made me a more patient teacher, but that’s probably not true! I used to use pieces of foam to demonstrate the three-dimensional aspects of placing an epidural. Now I have a concrete visual aid to help residents perform this procedure.
Q: What do you want to make next?
I’ve been thinking of ways to make the model more realistic. I’ve worked with Wes Cayabyab in the Kanbar Simulation Center for several years. After seeing Wes featured in Meet the Maker, we had a nice discussion about his experience making simulation trainers. He gave me some suggestions for using ballistic gel instead of Knox gelatin and finding a different substance for the ligamentum flavum part of the model.
