
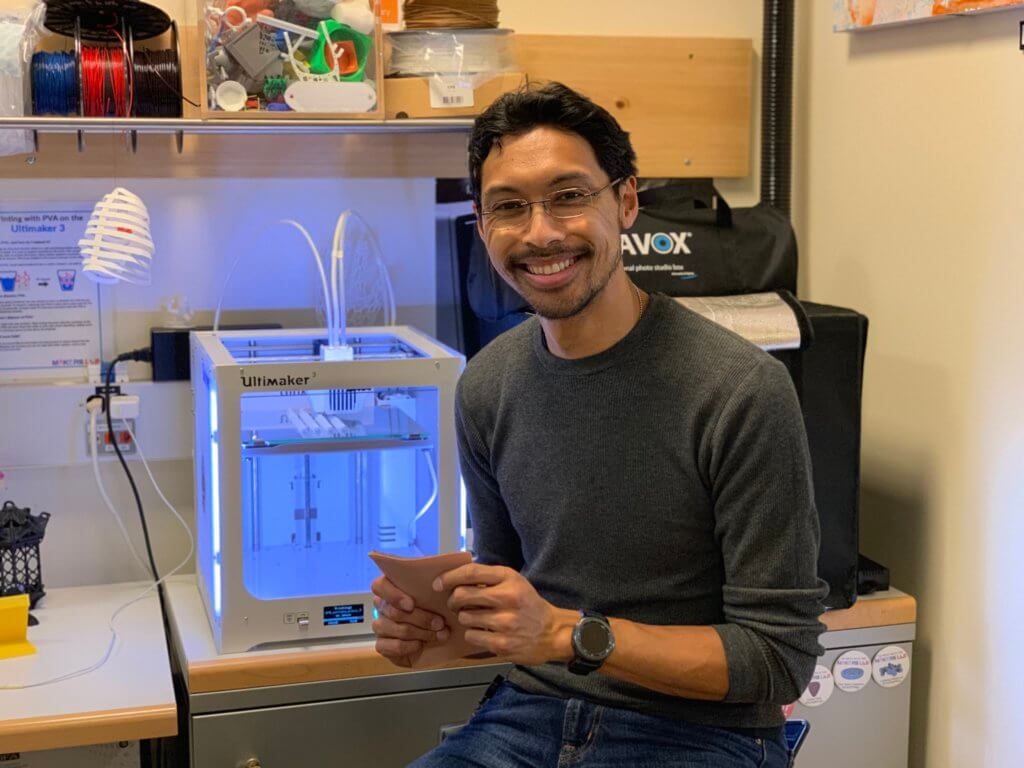
This week’s maker is Kanbar Simulation Center technician, Wes Cayabyab. We caught up with Wes to see what he has been making for health science simulation.
Q: What did you make?
I made silicone suturing pads.
Q: Why did you want to make it?
I made them for me initially, because I got sick of getting sick from salmonella after practicing my suturing with raw chicken. There were also a number of other students who were getting out of the transitional clerkship and wanted to know how they could easily practice suturing wherever they were. They were training using pigs feet, chicken breast – things that need to be refrigerated.
Q: What was your process?
Like any making, the process is iterative. It started with one type of plastic that was a monstrous failure. It didn’t work, it didn’t hold suture. Then I discovered that the same silicone that I had been using for making appliances for TV and movie actually had the correct shore strength to hold a suture. And it was entirely by accident – I was making a prosthetic scar for the stage and trying to figure out how to attach it to the actor and dropped a safety pin into it. From there I began researching more products from the same company.
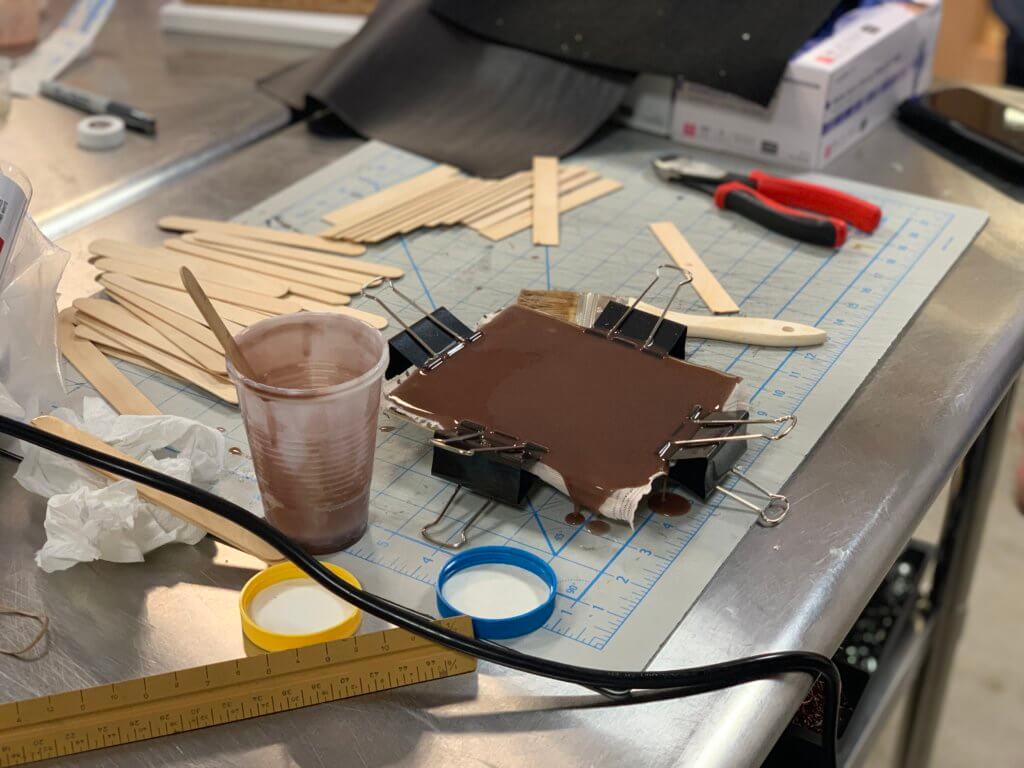
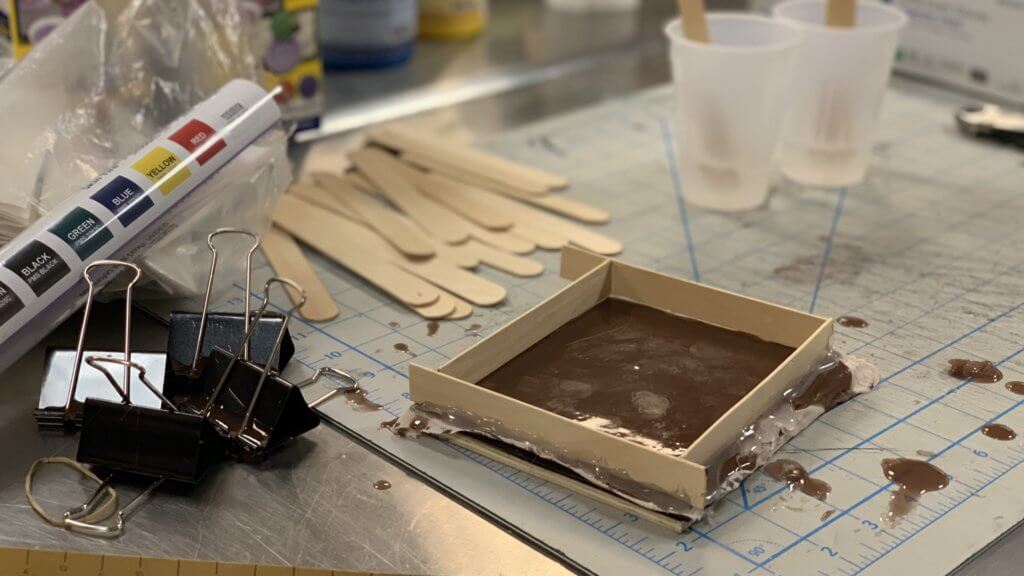
To make the pads, I start by recreating the texture of the skin. I place fake leather on a board and pour the first layer of the silicone. This picks up the leather texture on the first layer of silicone. After that it is a matter of deciding how thick you want your second layer, or the fat layer. Then I build the walls to that dimension before pouring the second layer of silicone. After the fat layered has cured, I pour one final layer, or the muscle layer to encapsulate the fat layer. After everything cures, I remove the walls and remove the first layer of silicone from the leather. You can color any of the layers of silicone whatever tint you like. You can also impregnate any of the layers with an elastic mesh cloth to simulate different types of flesh, or embed veins or arteries.
Q: What was the hardest part of the process?
The first few iterations of making the silicone pad was discovering how different silicones cured and how they interact with each other. Some do not cure if they are in the presence of any of the other material, some of which was by design and some by accident. Therein lies the iterative process of making – it is half material science and half luck.
Q: What was your favorite part of the process?
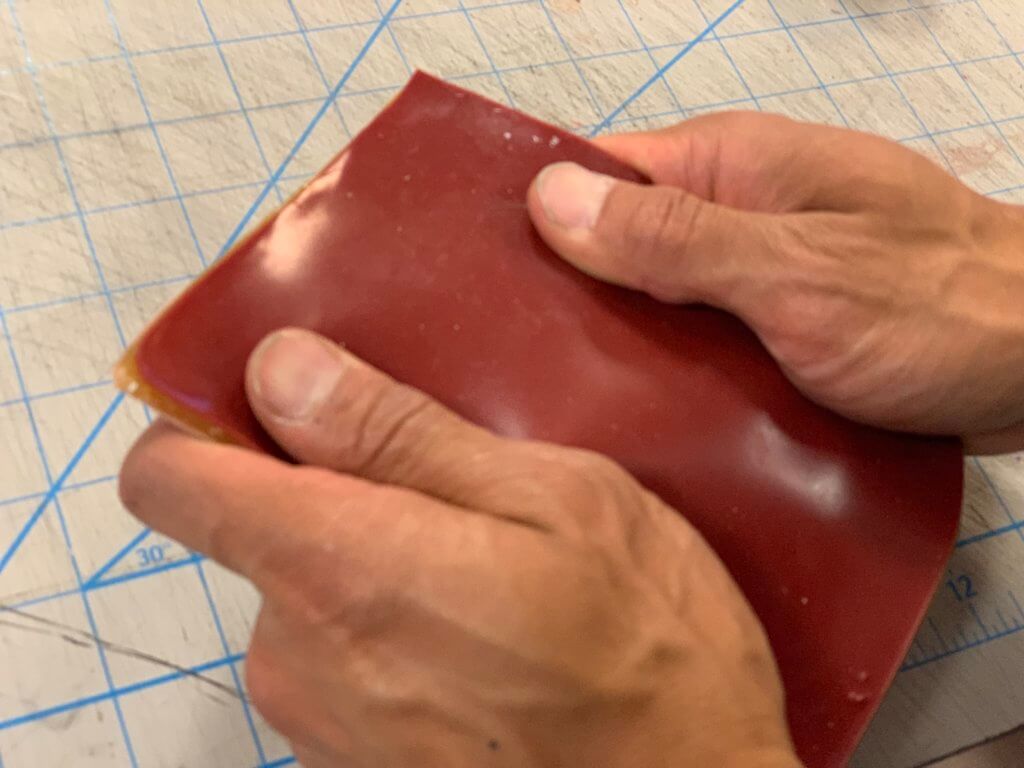
The most satisfying thing of making these suture pads was pulling the entire piece off the leather – it is one of the most satisfying feelings.
Q: Why did you make it instead of buying it?
There is actually a company that is making these pads, but they charge over $100 per pad. I know cost can be a barrier for students, faculty, and novice learners who want to practice. I have worked with EMTs, paramedics, vets, doctors, and interns – people in general who have a curiosity for new techniques or just want to learn, but don’t have the time or money or experience to buy something that could be incredibly expensive and break.
Q: How did this help make you a better technician?
It is again part of the iterative process. With the volume of students who come through the Kanbar Center and with sheer quantity of programs that use Kanbar, mistakes have to be minimized because mistakes cost time. And time is one major commodity at Kanbar. Being able to do multiple iterations of something allows me to be a more skilled crafts person in multiple regards – not just making but having a better understanding of a particular process. That allows me to do fewer iterations of that same process in the future so I can refine it and even build in more elegant solutions.
Q: What do you want to make next?
There are a number of things. But the next one is an adult version of a pericardiocentesis task trainer that I built for a neonatologist that I made last week. Granted, it will do more than just one thing which is why I am looking forward to it.
Another project is working with a friend of mine who is doing mobile simulations. She currently has roughly $10k worth of simulation equipment that she crams into the back of her car when traveling from site to site. I have taken it upon myself to create a black box solution to her “cram everything in the back of the car” approach.