Dylan Romero
Dylan Romero
Dylan is the Makers Lab Manager at the UCSF Library. Contact Dylan with general questions about the Makers Lab, curriculum integration, group events, and emerging technologies.

UCSF – Meet the Form 2 3D Printer!

Form 2 3D printer

We have seen hundreds of successful 3D prints using the Ultimaker 2 and Lulzbot TAZ 5 3D printers since opening the Makers Lab in April 2016. During this time, we have also identified a few limitations with the two printers. Both the Ultimaker and TAZ are fused deposition modeling printers (FDM), which 3D prints by laying down filament one layer at a time. FDM printers are great for the large majority of projects in the Makers Lab, however the limitations of FDM printers become apparent when printing precise models like medical instruments, models of bones, and lab equipment.

3d printed vetebrae under a microscope

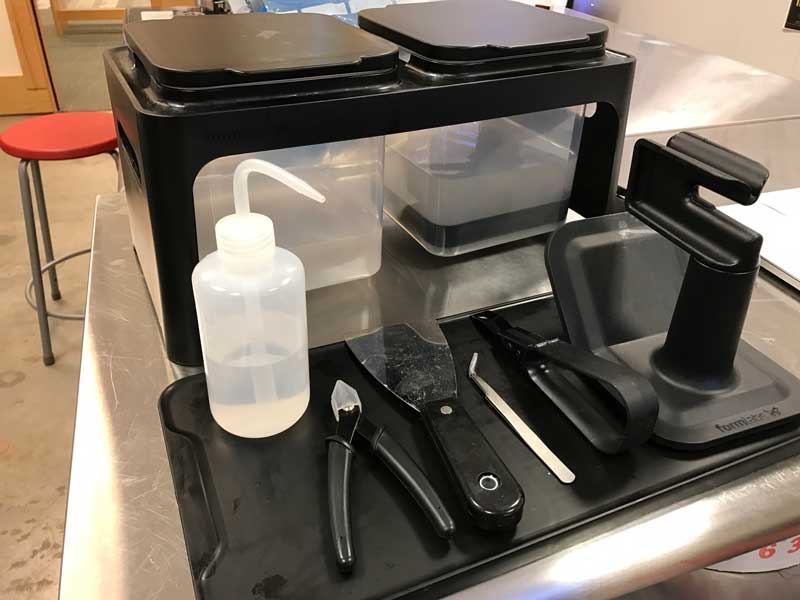
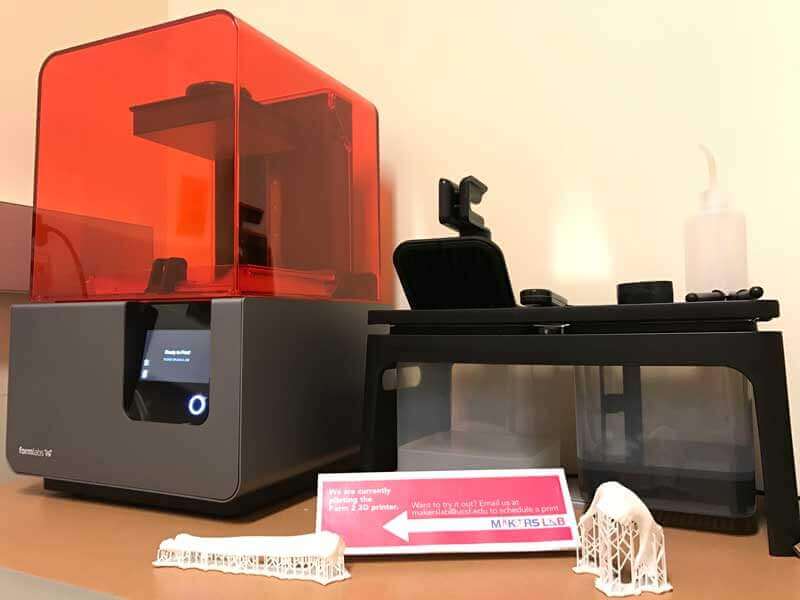
Not to worry, let us introduce you to the Form 2, made by Formlabs! The Form 2 is a stereolithography (SLA) 3D printer, which uses a number of different liquid resins and a laser to build the model; instead of heat and plastic filament. We are now able to print more precise and longer prints with the Form 2. SLA printing is not new tech, it has just been expensive and the printers have been very large up until the last few years.

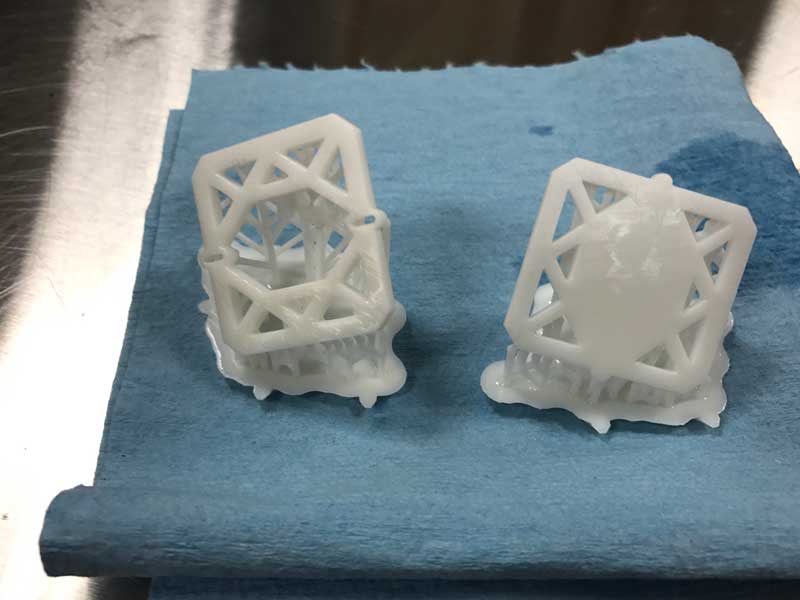
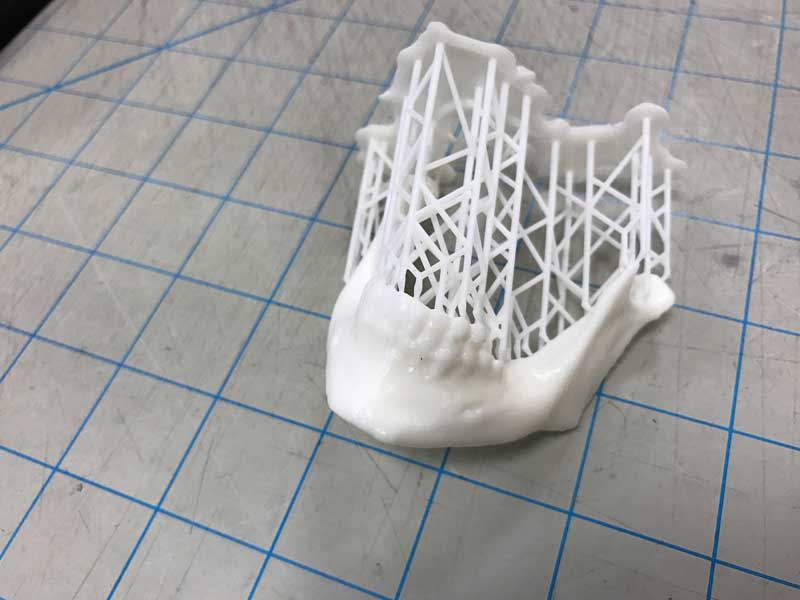
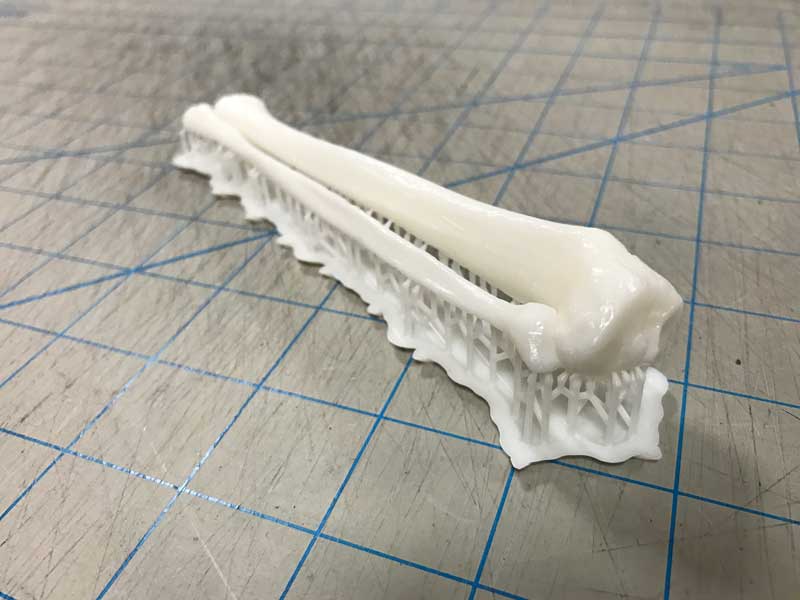
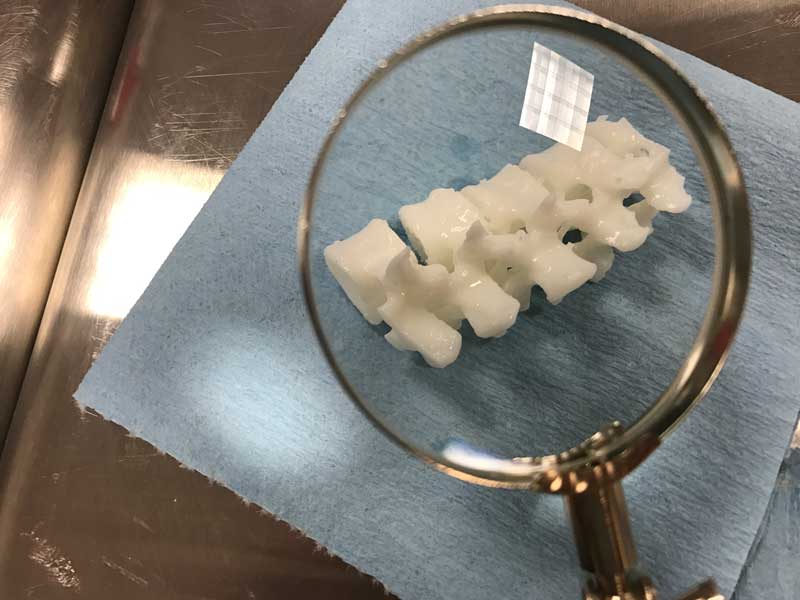
The Form 2 3D printer is currently being piloted in the Makers Lab and is not listed on the Makers Lab reservation calendar. We have seen the Form 2 being used in the Makers Lab for printing orthopaedic models for pre-surgery simulation, printing lab equipment for research, and much more (see below for examples). If you are interested in 3D printing with the Form 2, contact the Makers Lab to schedule your print with a Makers Lab staff member.

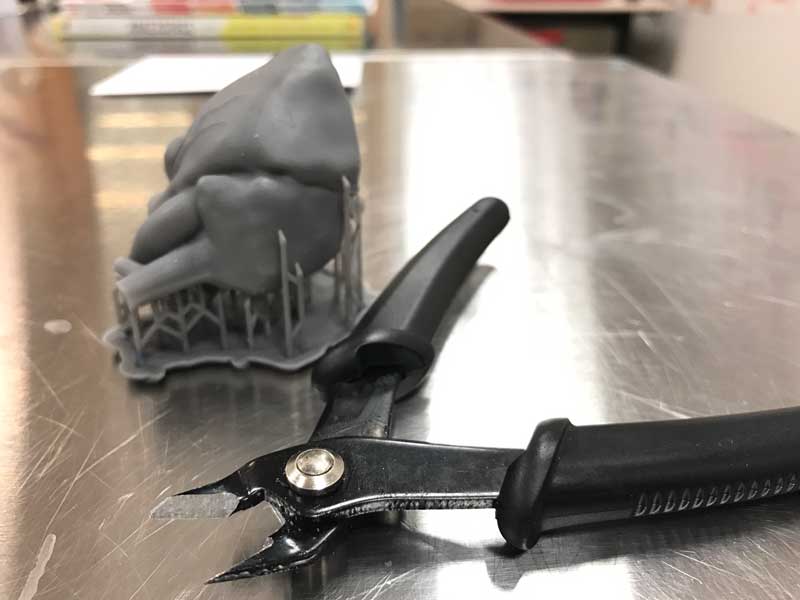
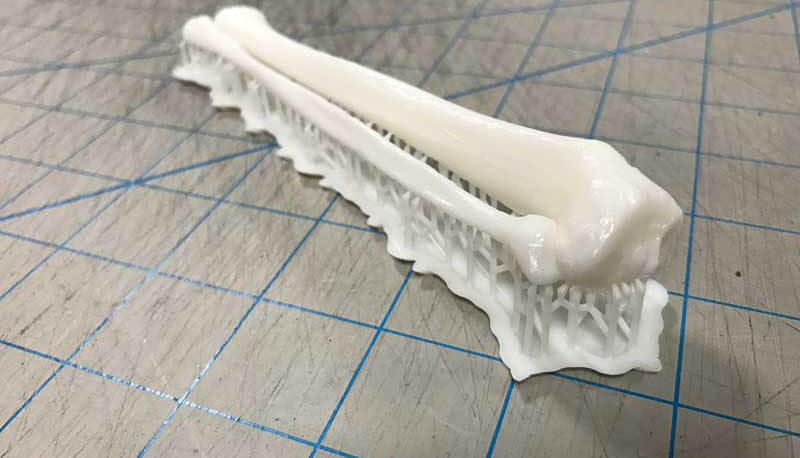
Let’s look at a few prints from the Form 2:

3D printed lab equipment
3D prints for lab
3D printed mandible from NIH
3D printed mandible
Fibula Tibia 3D print
3D printed fibula tibia
3D printed virus
3D printed virus

The Form 2 comes with a finish kit (shown below) used to clean up your model after printing. After removing the print from the build platform, the print is submerged in isopropyl alcohol and agitated for roughly 20 minutes to remove any leftover liquid resin. After removing from the alcohol bath, we can use the clippers to remove the support structure. The print can also be placed under a UV light to finish curing the resin, or can be placed in natural sunlight until dry. 

SLA print finishing station
Finish Kit
Clippers to remove 3D print support
Clippers
3D print UV curing
UV Curing

Here are a few tips when deciding what printer to use for your project:

Use an FDM 3D printer:

  • When new to 3D printing
  • When precision and surface finish are not crucial
  • For rapid prototyping
  • For prints under 10 hours

Use an SLA 3D printer:

  • When intricate details and a smooth surface finish is crucial
  • For creating molds for casting (e.g. jewelry making)
  • For longer prints over 10 hours

In the meantime, take a virtual fly through of the Form 2 and visit the Formlabs website for technical specs. Also check out the Netflix documentary, “Print the Legend” for much more information about FDM and SLA 3D printing.

Happy 3D printing and visit us in the Makers Lab to learn more!