
For more information on the initial development of this project, visit Meet the Maker – Gerald Hsu, MD, PhD.
This open-source health sciences project is the second collaboration between the UCSF Hematology and Oncology Department and the UCSF Library Makers Lab. The following contains background information, downloadable project files, assembly instructions, and additional resources for the production of a novel lumbar puncture simulator.
Background
Lumbar puncture (LP) and intrathecal chemotherapy (IC) are relatively common procedures performed by specialist physicians to collect samples of cerebrospinal fluid (CSF) and to administer anticancer drug treatments to the intrathecal space where CSF resides. These are procedures that fellows of the UCSF Hematology/Oncology Fellowship program, as well as other fellowships across the nation, focus on honing their skills for during the duration of their program.
Our goals for this project were to improve physician confidence when it comes to performing these procedures when necessary for patient care and to make a cost-effective and accessible simulation model for practicing LP/IC procedures.
Design
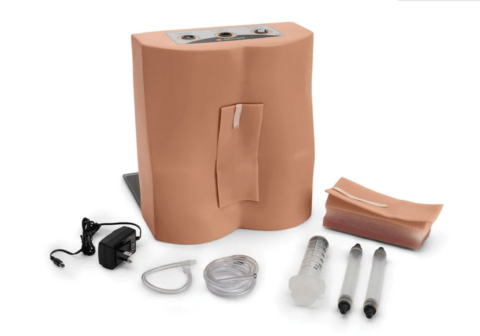
The simulation model features several different components:
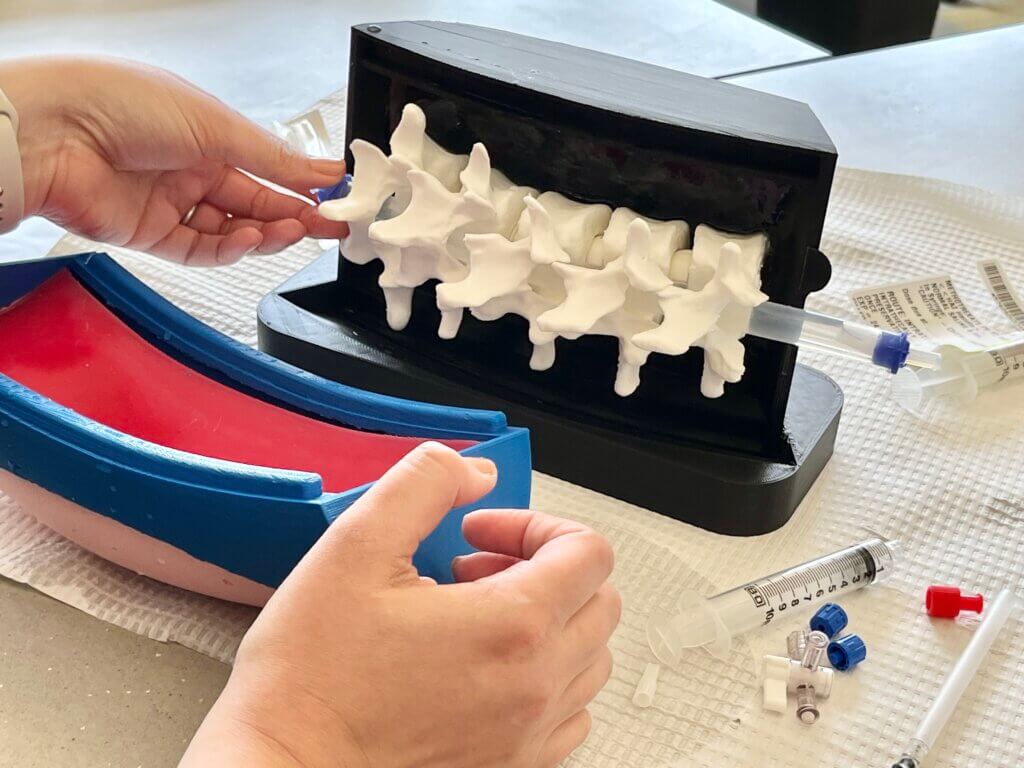
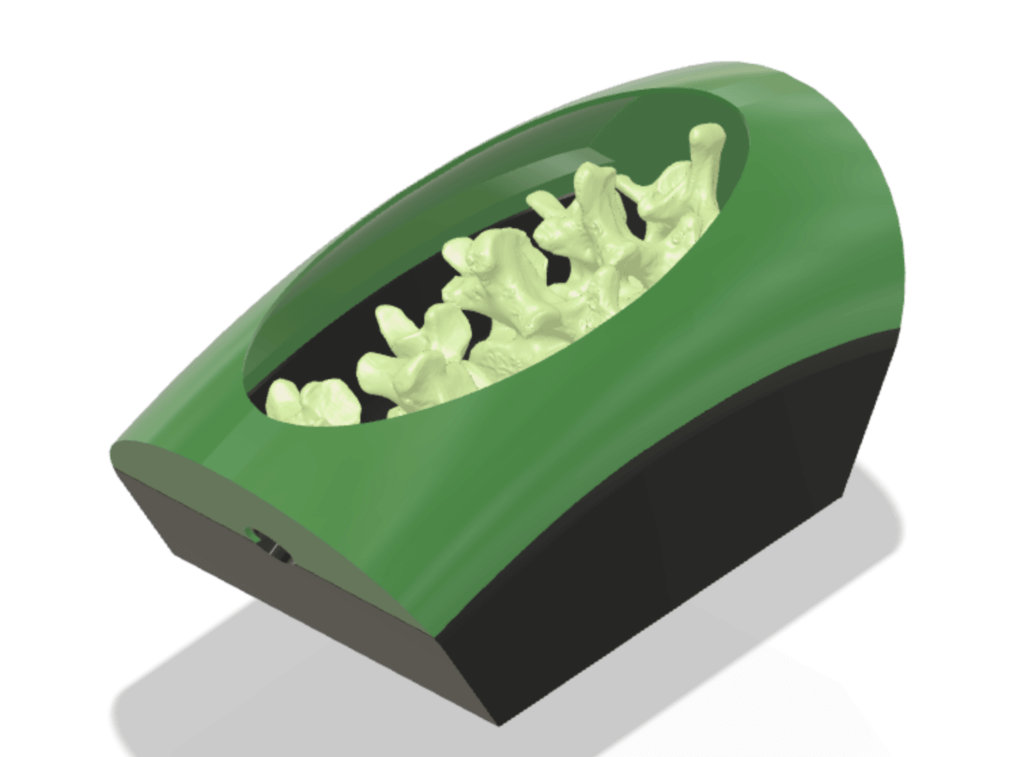
- 3D printed lumbar spine: The design for this model was built around an articulated spine model developed by DaveMakesStuff on Thingiverse. The ball and socket articulation allow for the spine to be positioned for maximum interspinous space.
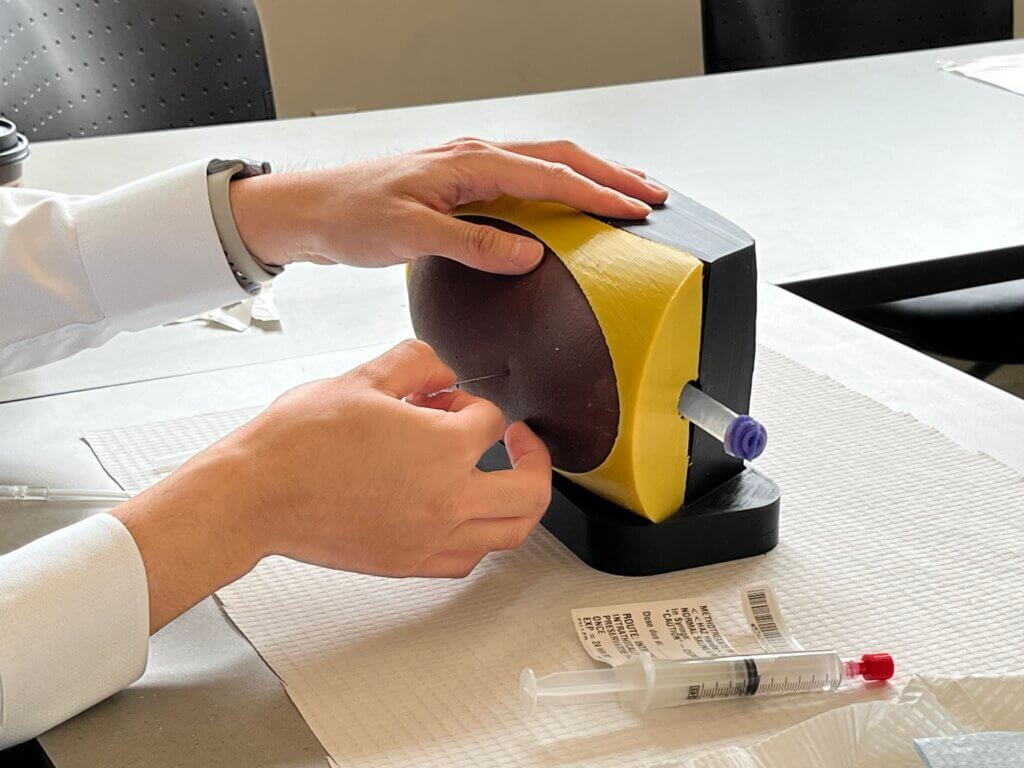
- Silicone suture pad: The incorporation of a multilayered silicone suture pad inserted into the top of the 3D printed casing allows for a realistic effect when palpating for landmarks of a lumbar vertebrae.
- 3D printed case and magnetic base: The LP model is designed to simulate the posture of a patient in the upright sitting position or lying on their side. The inclusion of a magnetic base enables the model to be quickly adjusted for upright or fetal positions. The top of the case can be removed to verify needle position at any point in time.
- Silicone “spinal cord” with latex stoppers: A standard silicone straw is sealed at both ends using latex rubber stoppers and filled with water using PTFE tubing. The resistance emulates the sensation of a needle piercing the dura of the spinal cord to draw CSF.
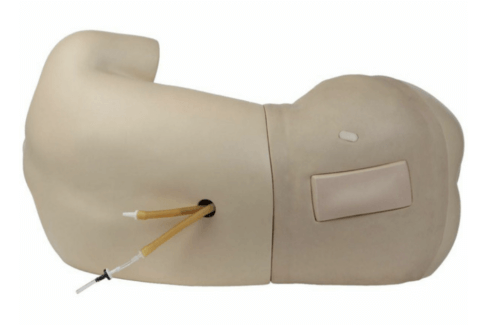
Commercially available lumbar puncture and spinal tap simulator models currently on the market are often cost-prohibitive and tend to be fixed in one position or another. Designs typically involve an entire casted silicone torso or body, which can limit transport and the number of fellows that are able to use the simulators at a given time.
Our design focuses on addressing these concerns with the use of 3D printed parts and low-cost components such as magnets. As such, the resulting trainer can be made at 1/10th of the cost of materials compared to other commercial alternatives.
3D print files
Visit DaveMakesStuff on Thingiverse to download the articulating lumbar spine vertebrae model. For the casing and silicone mold files, visit the link below:
Production and assembly
Assembly of 3D printed and silicone components will be required before the LP model can be used. Select the appropriate accordion to view the step content.
3D Printing
All parts of the spine case are 3D printed in PLA material at 20% infill density with 10% support infill density. PETG is the an alternative material if PLA is not available.
Print times may vary depending on the slicing software and 3D printer used. We sliced the models in Cura LulzBot Edition and printed on LulzBot TAZ 6 printers to accommodate the larger print volume.
The estimated total print time for all parts is 30 hours.
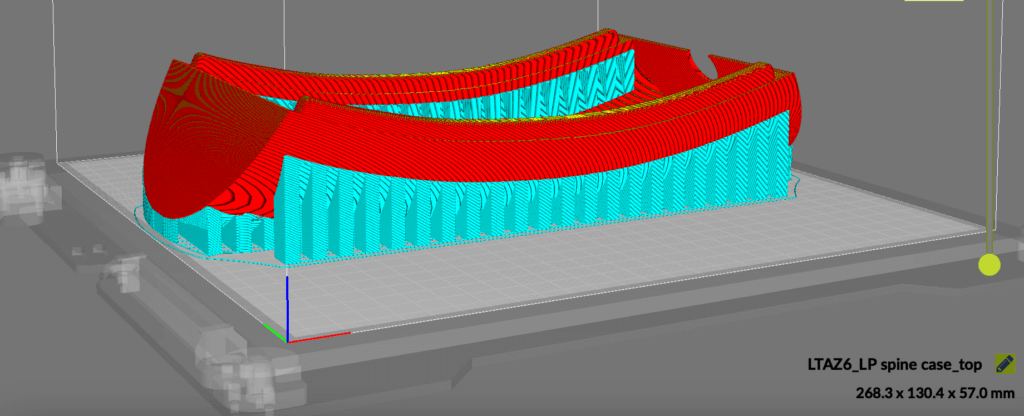
All 3D printable parts are already arranged in the optimal orientation for 3D printing.

6mm thick ceramic magnets are inserted into the holes of each half of the casing to support the model in the horizontal position. If your sourced magnets happen to be slightly larger that the holes, it is possible to heat set them into the plastic using a soldering iron.
Silicone Casting Steps
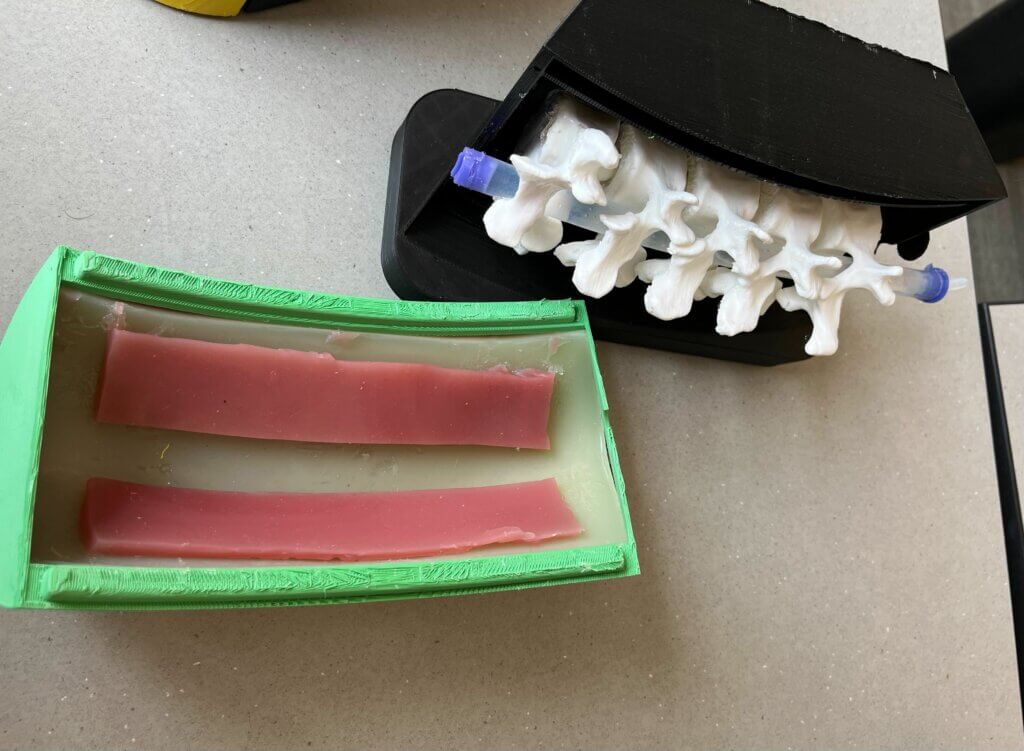
To create the suture pad, you can follow this silicone suture pad tutorial by Smooth-On. You may use the suture_pad_frame.stl to cast the exact sized pad, or you can trim your suture pad down to 10” x 5.5” size so it fits inside of the 3D printed casing. Applying museum wax around the edges of the printed frame can help prevent leakage when pouring the silicone.
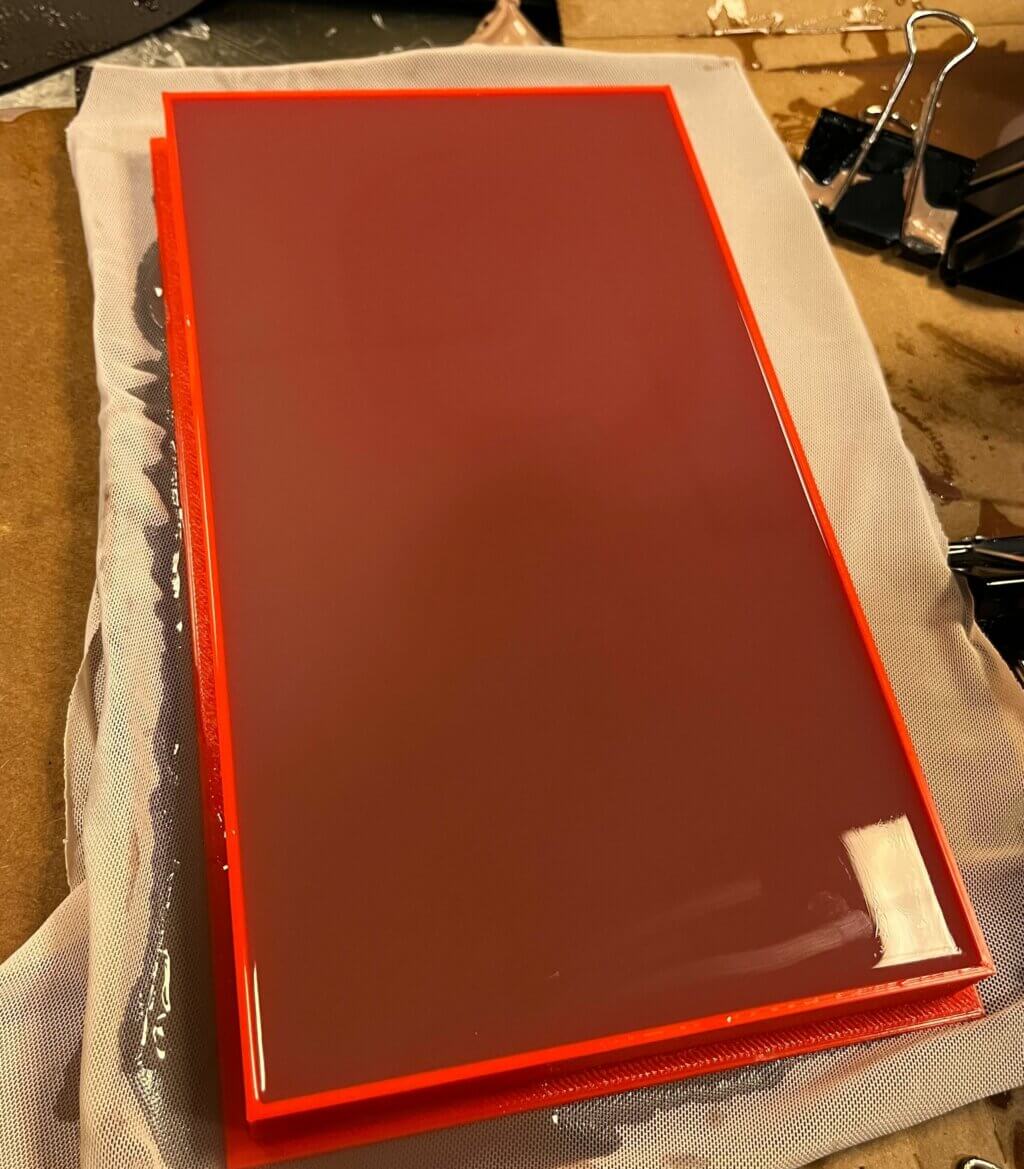
For enhanced realism, we casted a two-layered suture pad (only skin and fat layers) and created the third muscle layer separately. The third layer was trimmed to obtain two 8.5” x 1.5” strips that were then adhered onto the suture pad using Sil-Poxy. The strips should cover only the transverse and articular processes of the 3D printed lumbar spine, not the spinous processes.
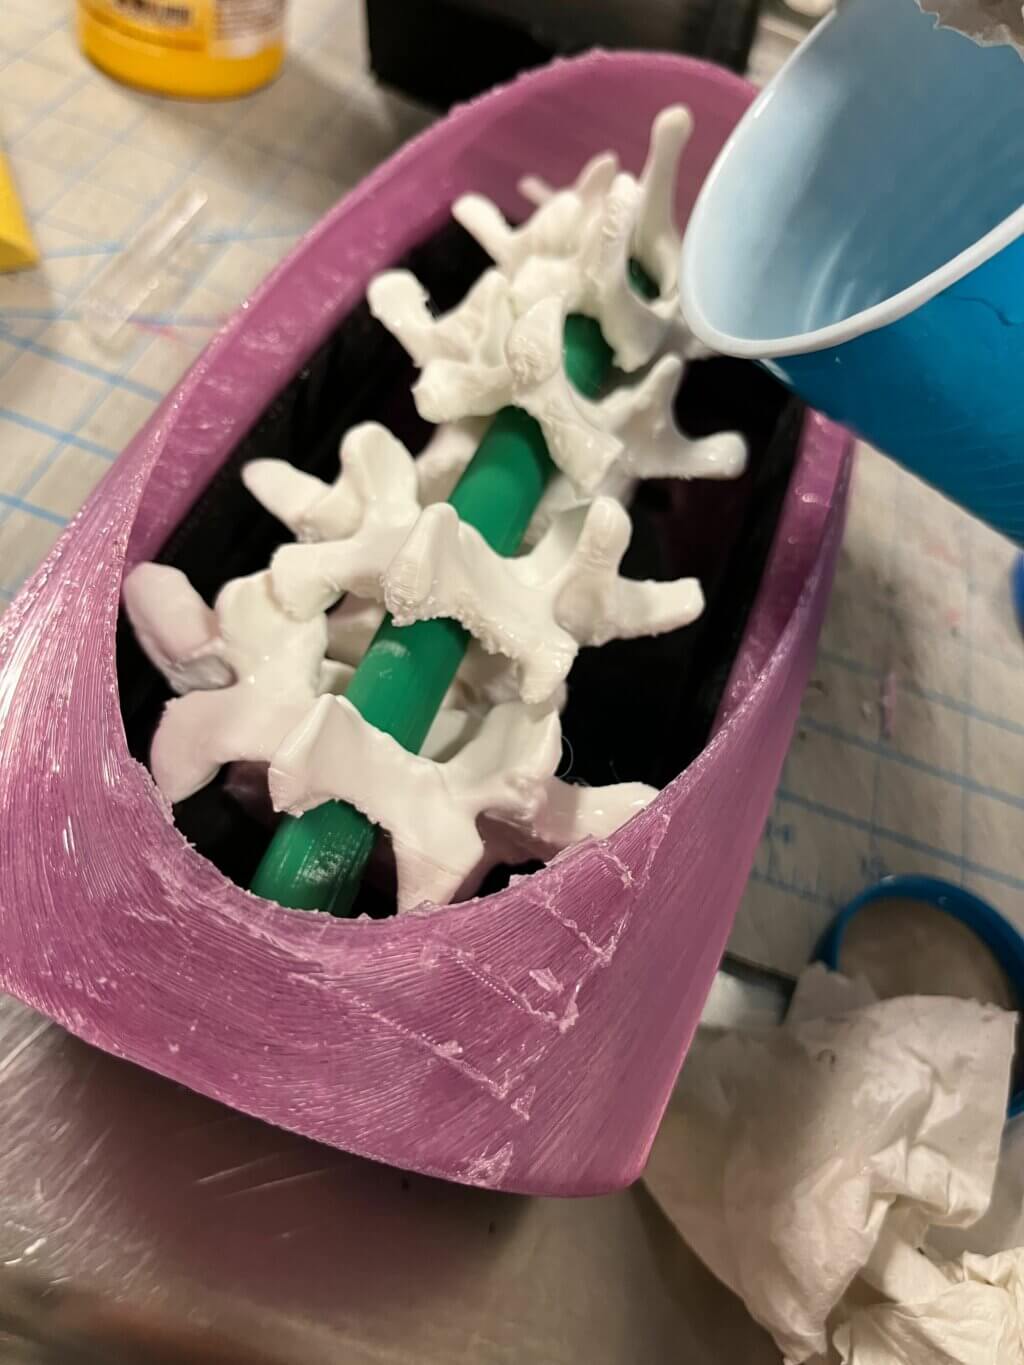
To ensure the 3D printed lumbar spine is held in place within the casing, we submerged a portion of the spine using Ecoflex GEL. Before mixing the silicone, it is recommended that you use the spine_guide.STL to hold the 3D printed spine in the open position.
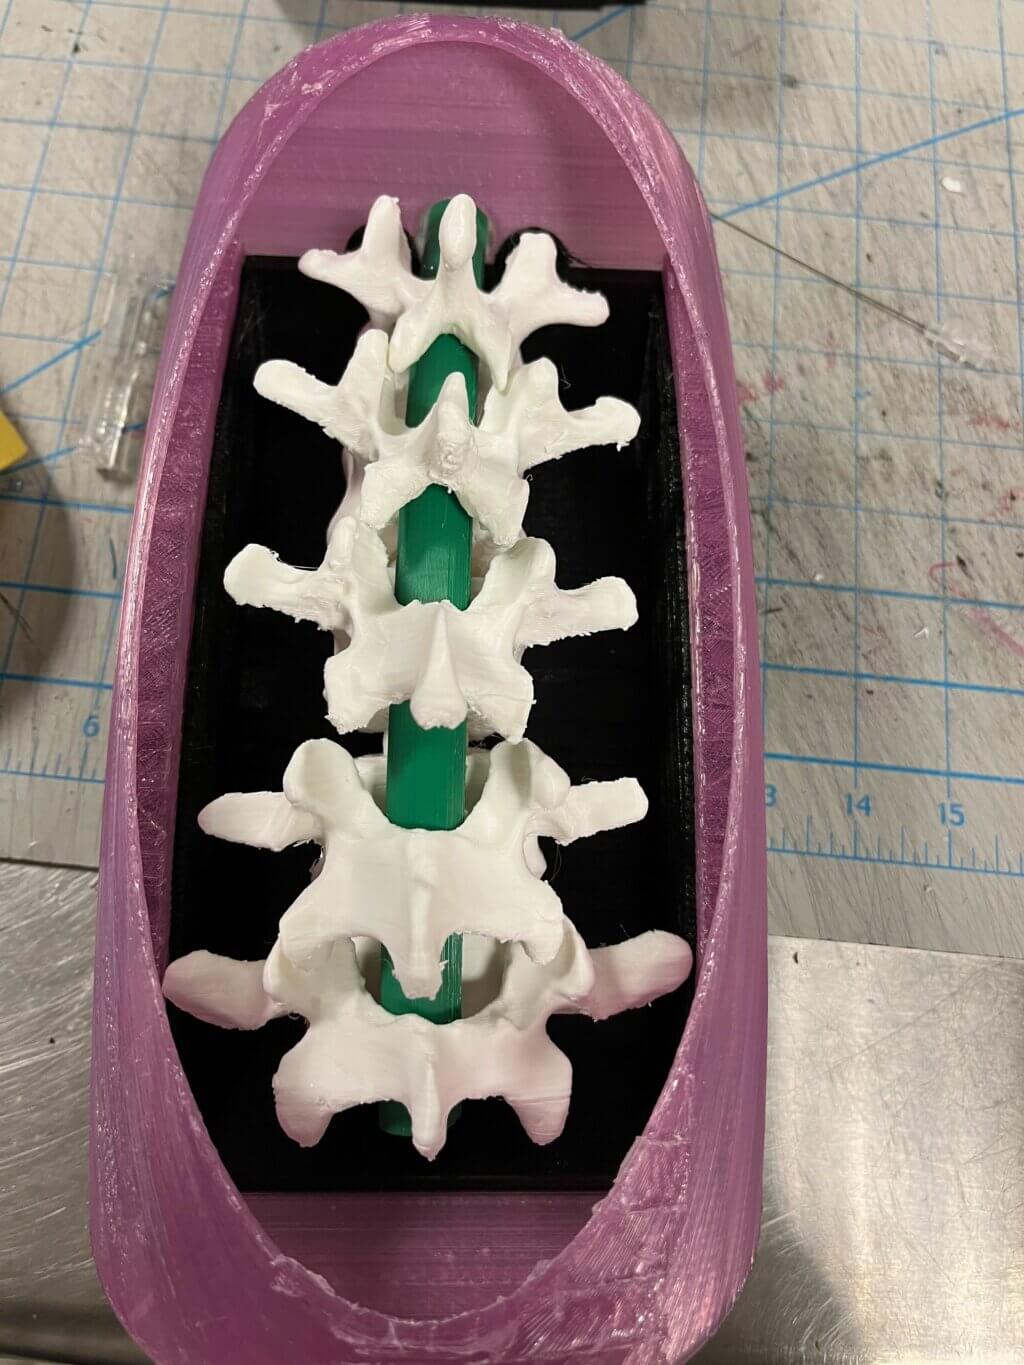
You will need to mix a minimum of 16 oz/ 30mL of Ecoflex GEL. Pour the silicone slowly into the bottom half of the casing (shown in black), enough to submerge the body of each vertebrae to prevent movement.
Preparing the Silicone Rubber Tubing
Standard silicone straws of 11mm inner diameter are suitable to use as tubing for the spinal cord.
The silicone straw will have two openings by default that will need to be sealed in order to hold liquid. We used Body Double Silicone Rubber and the 3D printed stopper_mold_top.stl and stopper_mold_bottom.stl molds to cast the stoppers for each silicone straw.
You will need to insert one end of the straw into the filled mold and wait for it to set before proceeding with the other end.
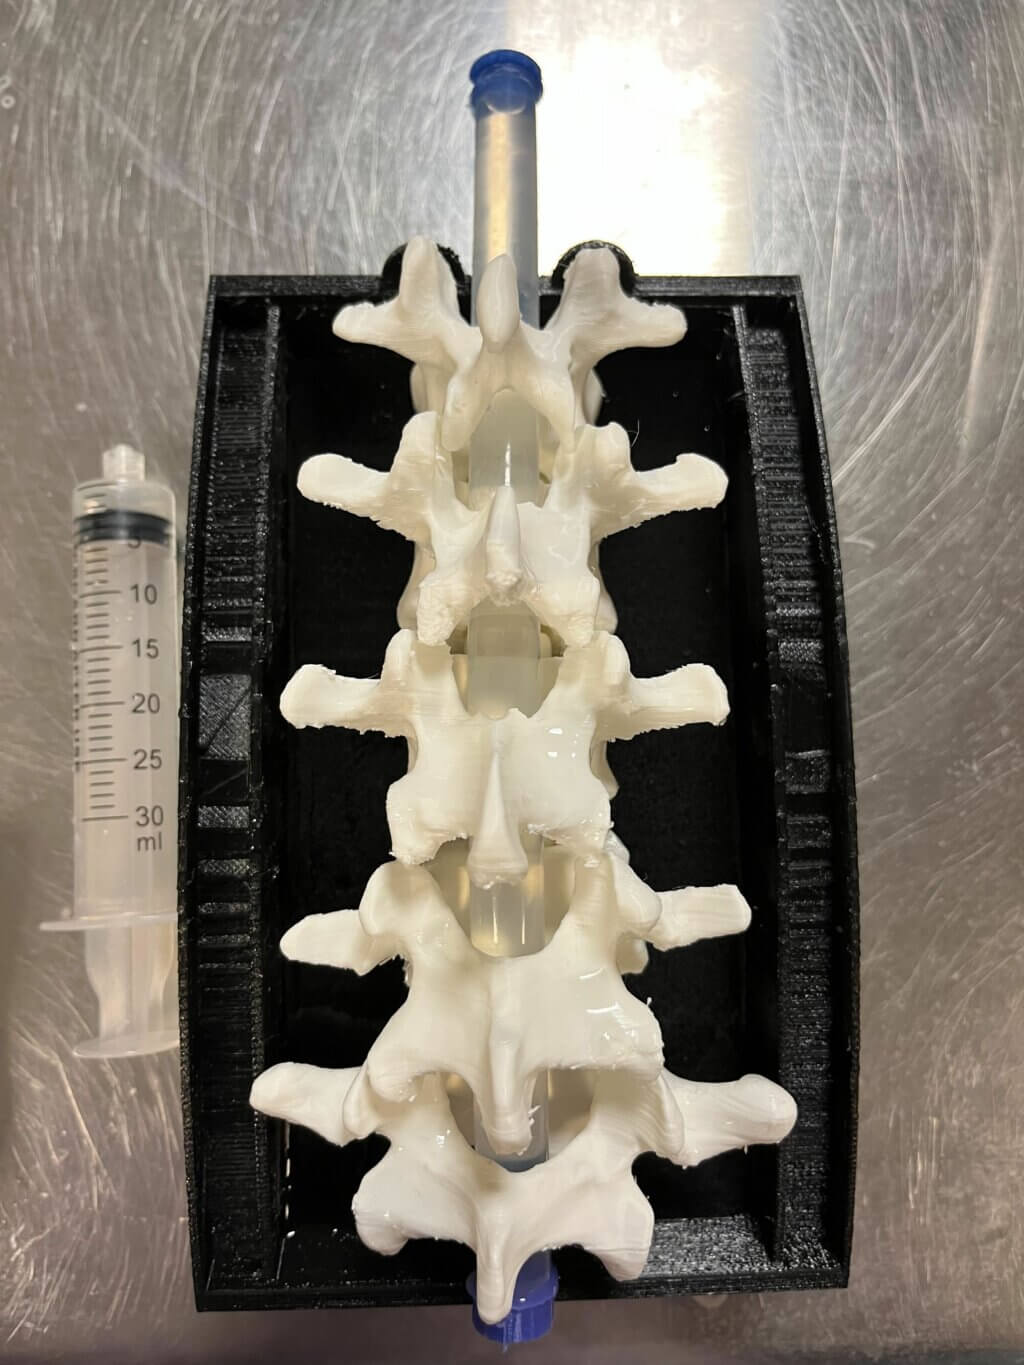
Once sealed on both ends by silicone rubber, you can inject around 30mL of water or similar liquid into the tubing without leakage. After several uses, the entire tubing will need to be replaced as punctures by needles will cause leaks and reduce overall pressure inside of it.
Publications (TBA)
Check back soon for updates on future publications!
Questions and information
For general inquiries or questions about the LP project, model files, and assembly instructions, contact the Makers Lab.
A long-term goal for the LP project is to promote ongoing collaborations with various specialties at UCSF. If you or your department are interested in seeing how this model can be incorporated as-is or modified for another procedure, contact the Makers Lab for a consultation.

This work is licensed under a Creative Commons Attribution-NonCommercial 4.0 International License