This week’s makers are Susan Merrell, principal photographer, and Sara Shaffer, user experience strategist, from the UCSF Office of Communications, with help from freelance photographer Michael R. Rodriguez and Kathleen Hennessy, art director. Let’s take a look at their project.


Q: What did you make?
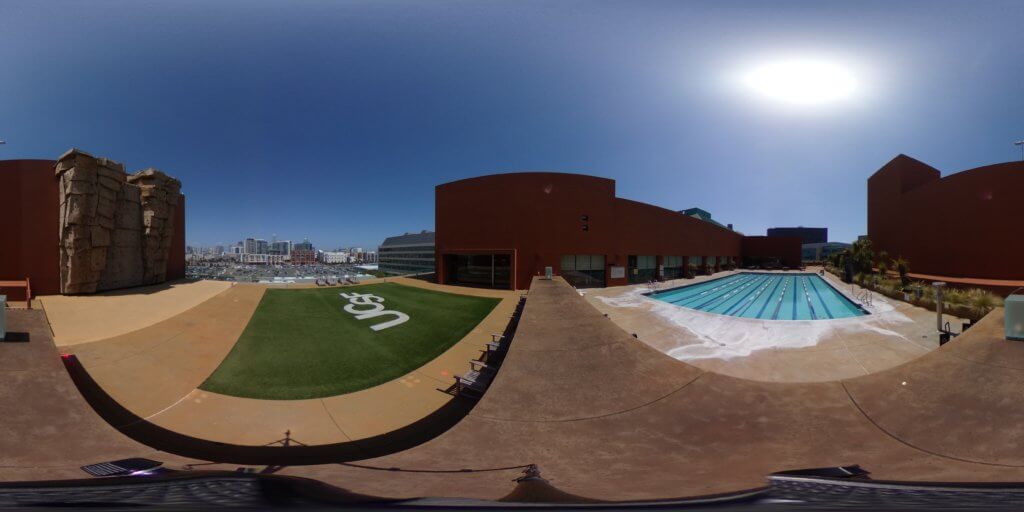
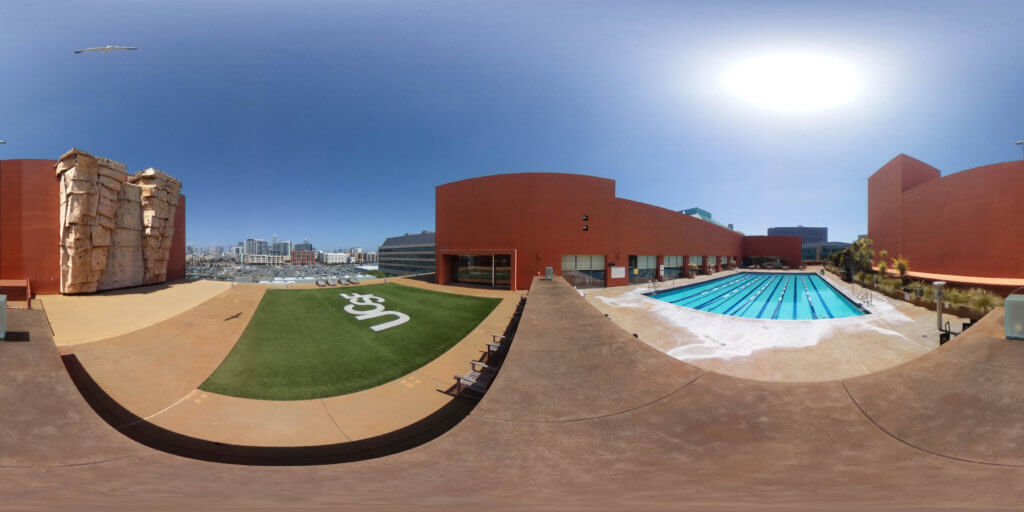
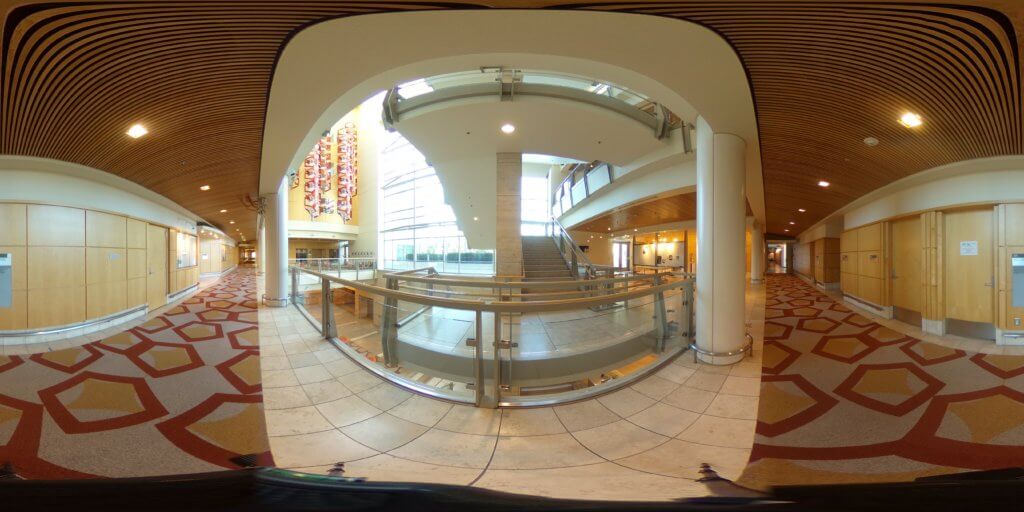
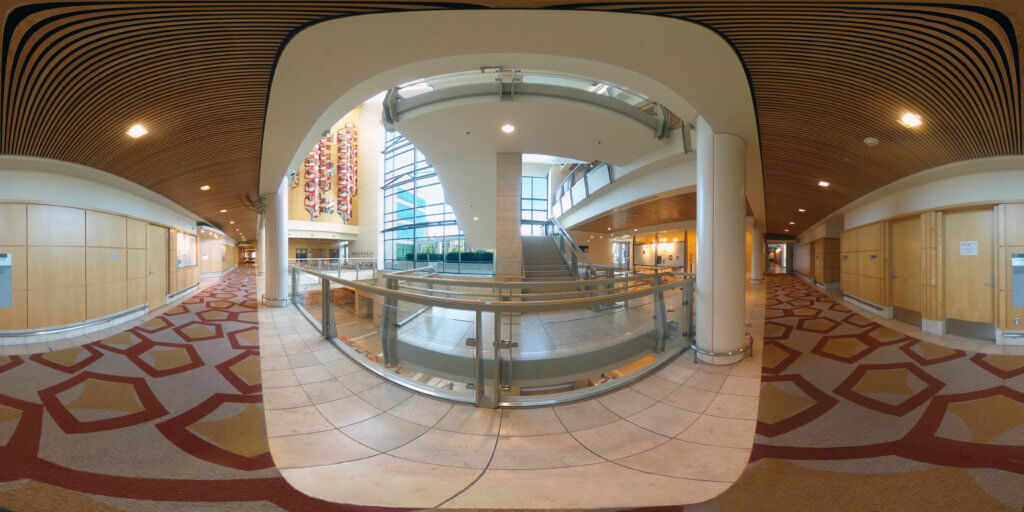
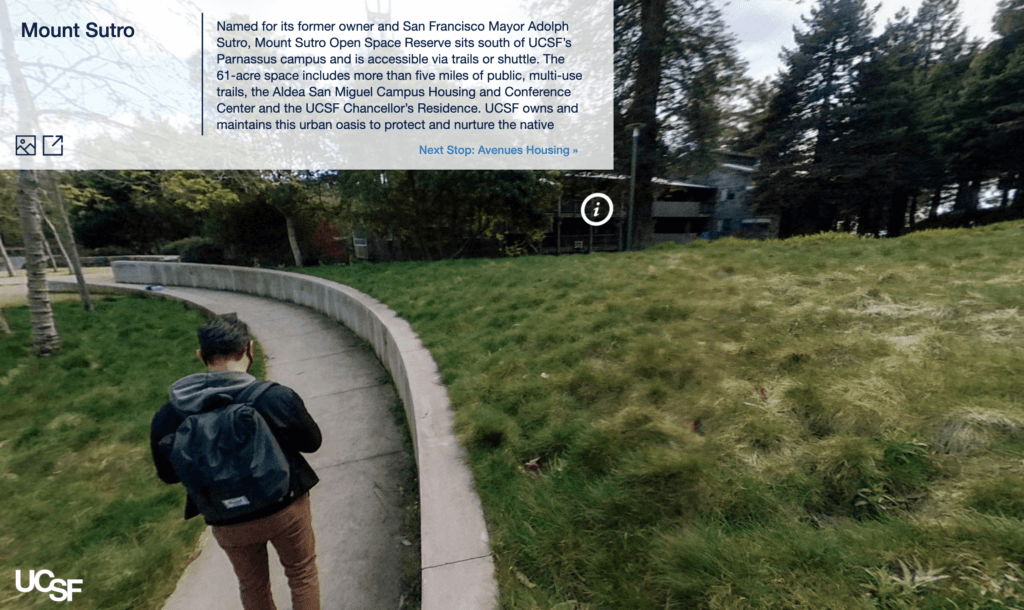
Virtual tours of the UCSF Parnassus Heights and Mission Bay campuses. You can view the full tour on the UCSF website.
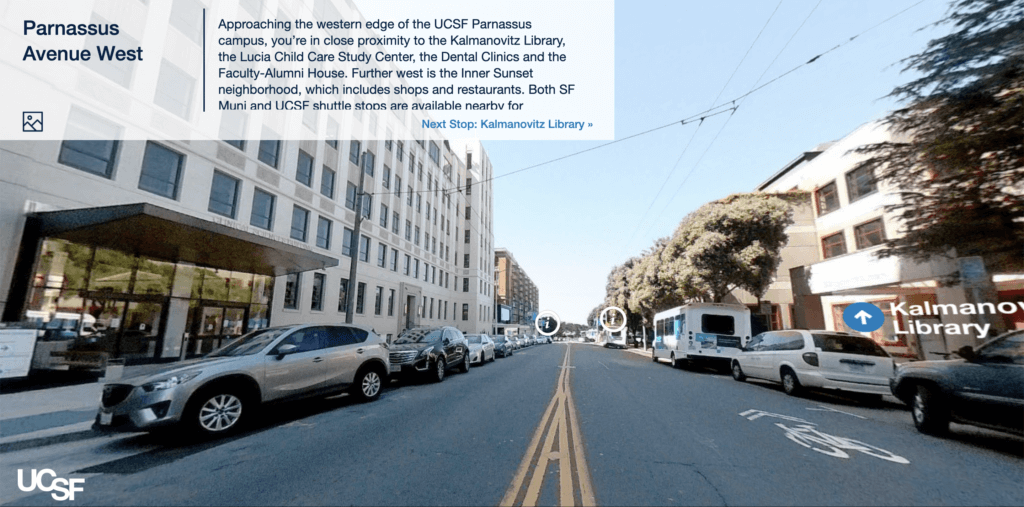
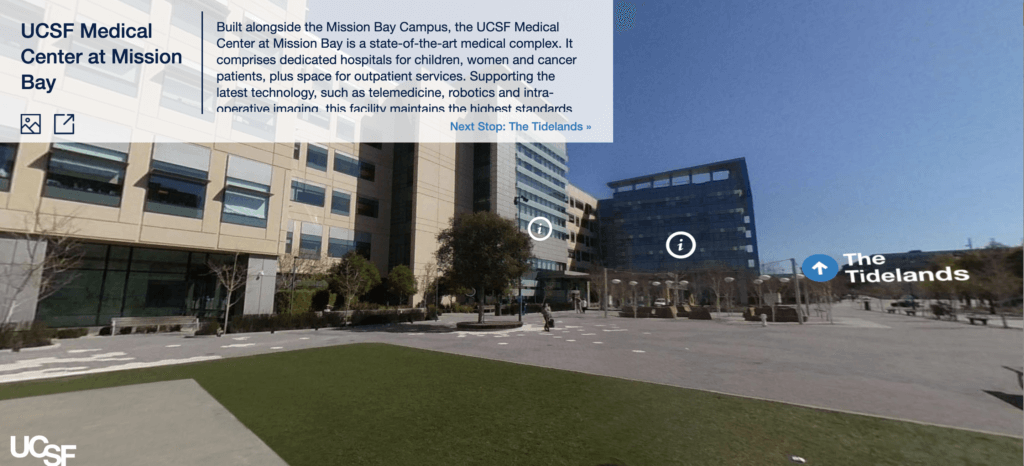
Quarantine presented UCSF communicators a need as well as an opportunity to create virtual tours of UCSF. We hired freelance photographer Slava Blazer to shoot several 360s of our locations, and then in-house photographer Susan Merrell borrowed a Ricoh Theta V camera from the Makers Lab and shot the remaining five. She also edited over 12 shots to perfect the visual experience. Sara Shaffer, user experience strategist, led a team to plan, design and build the tours. The final product gives prospective staff, faculty, students and residents the opportunity to feel what it’s like to be part of the UCSF community while learning more about all that UCSF has to offer.
Q: What was your process?
Susan (Photography): My approach was to make an image with balanced lighting, detail and color. Researching 360s before the shoot, I noticed a lot of the 360s you see used in the real estate industry had over-exposed window light, flat coloring and the tripod and other artifacts included in the image. To get detail in the window scene, and a clean-looking image, I bracketed exposures while shooting, color-corrected in post-production and took out the tripod. I used Photoshop (PS) and Lightroom (LR).
- Bracketing: Take three pictures or more with different exposures (attachments). Ricoh has a setting for automatically shooting three different exposures, but I didn’t use it because you have more control toggling the shutter speeds yourself by looking at the scene in the app each time you try a new shutter speed. Since the aperture on the Theta V is fixed at f2, you’ll have to bracket with the shutter speed only. Leave the ISO at the lowest sensitivity, 64. This gives the images the greatest clarity and the least grain. Take a light exposure that shows detail in the darkest areas, a mid-tone frame that evenly exposes the scene, but doesn’t darken the highlights, like clouds, then a dark exposure to get detail in the most blown out areas. Outdoors, I shoot three images between 1/400 sec to 1/5600, but you can find a span you’re comfortable with. The purpose is to combine the images in post production so you’ll have properly exposed highly lit areas, as well as detail in the shadows. I like having three images to grab detail from instead of relying on automatic programs like HDR that tends bring the entire image to a mid-tone pastel looking unreal photo. The Photoshop Training Channel has a lot of compositing tutorials for this process.
- Color Correcting: 360 images usually have a colorful fringe around objects, usually but not limited to the contrasty areas. The fringe in these 360s was purple, and I took that out in LR > Develop > Lens Correction > Profile > Remove Chromatic Aberration > Then Click Manual > Defringe slider, move until the fringe disappears, but not too far or it will create a new colored fringe. The cause of chromatic aberration is usually a cheap lens, but can happen in expensive lenses, when they’re wide open and shooting in the sun. If you stop-down, or reduce the size of the f-stop, say from f2 to f22, it helps reduce fringe. The Theta V is fixed at f2, so both lenses on the camera are wide open and shooting everywhere, taking in all the light and trying to discern edges between light and dark. So when shooting outside, check the edges around objects in post even if you don’t see it through the lens. Besides fringe, I adjusted the overall coloring on the 360s, which swings easily from the blue to orange end of the color wheel, in the Curves adjustment layer, in PS. I learned an easy process from Jesus Ramirez (my PS expert) at the Photoshop Training Channel.
- Taking Out the Tripod: Tripods and monopods in 360 photos appear in the still shots lying horizontally at the bottom of the frame. In the 360 animation, they’re in the center of the “globe,” and look more like tripods but they’re shot from above so the perspective is compressed. You can tell more in the tour that it’s a tripod. Either way, the tripod is an eye-sore and should be taken out. At first, I took out the tripod on the still image with the cloning tool in Photoshop (PS), and that showed stitching in the animated 360 where the cloning was done. It can be fixed, but takes too long and it’s arduous. Jenny Tai in the Makers Lab recommended editing in the PS 3D workspace, which worked but the cloning tools and layering took too long for me. I went with this procedure: “Clone Away Dude”. If you’d rather not take out the tripod, you can place a logo over it. Sara Shaffer did that for my initial tours that showed the cloning stitching.
Sara (Web Production): This was a complex process. First, after researching all major virtual tour applications, I selected 3DVista as our official platform and consequently had to learn how that program works inside and out. Then, through competitive analysis, audience analysis, content strategy, user testing and more, I created and slowly refined a look and feel that best highlights the UCSF brand while working around the tool’s limitations. All of the content for each tour had to then be manually created for both desktop and mobile, including every panorama, gallery, description and pop-up. It was quite time-intensive, but worth it!
Q: What was the hardest part of the process?
Susan: The camera’s finicky Wi-Fi! You have to hide when you’re taking a 360 photo, or be in the shot. If the shutter won’t trigger because you’re too far away, or there’s wifi signal interference that won’t let you be more than a few feet away, you can resign to being in the shot then take yourself out in post, or pretend to be a bystander or passerby and leave yourself in as part of the composition. I opted for not being in the shot in all these 360s.
At the Gene Friend Way shoot, I resigned to be in the shot then taking myself out in post. That location was the most arduous because Wi-Fi didn’t work more than 3 feet away, and it was impossible to run and hide because of the open space. I spent an hour trying to take the picture, so my art director Kathleen and I had lunch while trying. I ended up crouching on the pavement and in plain view of the camera lenses, then cloned myself out. Note that it’s easier to clone if you’re sitting rather than standing, and the background is simple or a repeating pattern. So Wi-Fi was a challenge, but also a fun outdoor activity during COVID! (Note: Releasing the shutter manually didn’t work for me.)
Sara: It’s a tie between planning the tour and actually building the tour. Creating a high-level overview of a destination as complex as UCSF is tricky, and there are so many things to consider. I’m very grateful to my steering committee for taking the time to help guide the project. But, content planning aside, actually building these tours was a project in itself.
Q: What was your favorite part of the process?
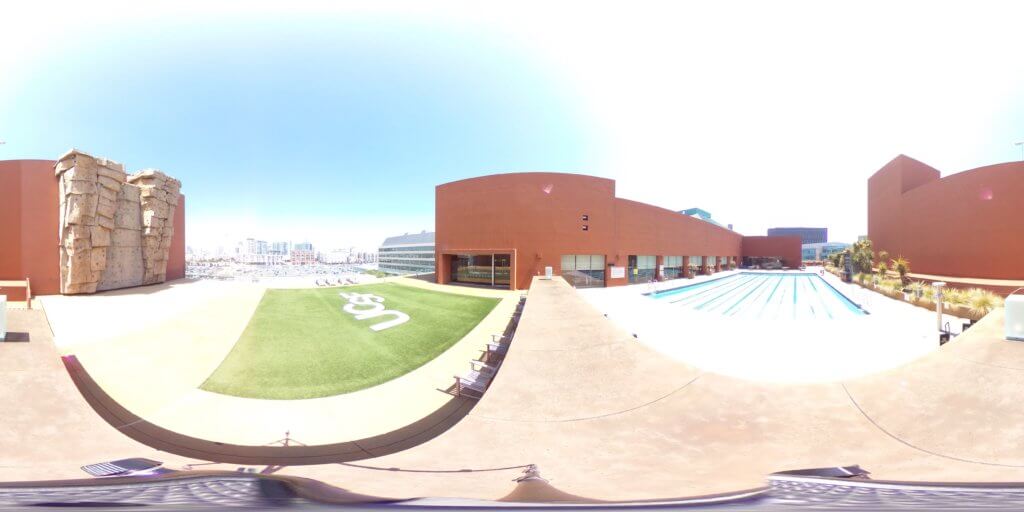
Susan: My very favorite part is producing pretty panoramic images that you can feel a part of, immersed in, rather than looking at, as with a 2D still photo.
Sara: Completing it? Honestly, it was very rewarding to work with so many people across campus to make this product the best it could be. Susan, for instance, did an incredible job bringing to life our campus locations. Gillian Grisman edited that gorgeous opening reel showcasing our drone videography. And so many others contributed in ways I won’t list here. It was a team effort and I love when a team effort comes together effectively.
Q: How did this help make you a better photographer and user experience strategist?
Susan: Learning how to use a 3D camera and its associated apps and post-production processes adds to my Photoshop knowledge, and speeds up editing in my day-to-day editorial photography work. Something little I picked up watching 360 tutorials was keyboard shortcuts, which streamlines workflow. Something big, like learning to clone out a tripod from a 3D rather than 2D image, was fascinating to me; there’s always another way to do something in PS. I also got more familiar with the 3D space in PS, and learned how to use a polar distortion filter in the regular workspace. Perspective is another way 360 photography is different. It’s good to show volume when you’re composing an image through the lens or creating one in Photoshop, and you do that with perspective in mind. Perspective is easy to calculate in 360, because it’s already there; you only need to move the camera around so that the image is evenly spread horizontally from left to right, and it’s not too concave or convex. Broadly, the 360 camera let me see the 2D image-making world in a fresh way.
Sara: This project was a continuous balancing act between meeting the needs of our internal stakeholders and meeting the needs of our (many) audiences. Taking the time to proactively hold conversations with diverse groups really helped the final output, and testing throughout, even when a prototype didn’t meet my own high expectations, ultimately saved me many headaches. I’ll bring this approach into every project I attempt going forward — it was a lifesaver. If I could do anything differently, I would allow for more review prior to launch; the deadline was a little too tight for my liking. But, we made it!
Q: What do you want to make next?
Susan: What a great question! I don’t know yet, but thanks for asking. That question alone is creatively stimulating and another reason I love learning.
Sara: Very good question! I love learning and I love trying new things, so anything that will advance UCSF’s digital presence in a unique way is something I’m interesting in exploring. Realistically, though, I think we’ll be looking to create more virtual tours for locations like UCSF Fresno.