This week’s maker is Deb Levy, postdoctoral scholar in the Department of Neurological Surgery at UCSF. Let’s take a look at her project:
Q: What did you make?
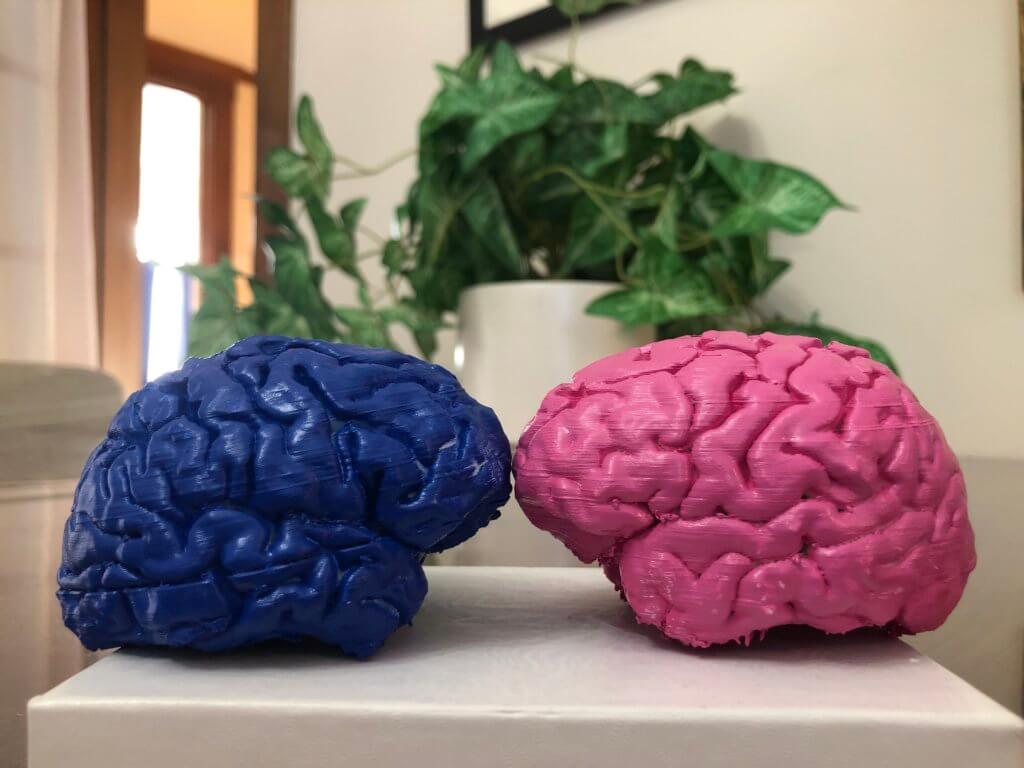
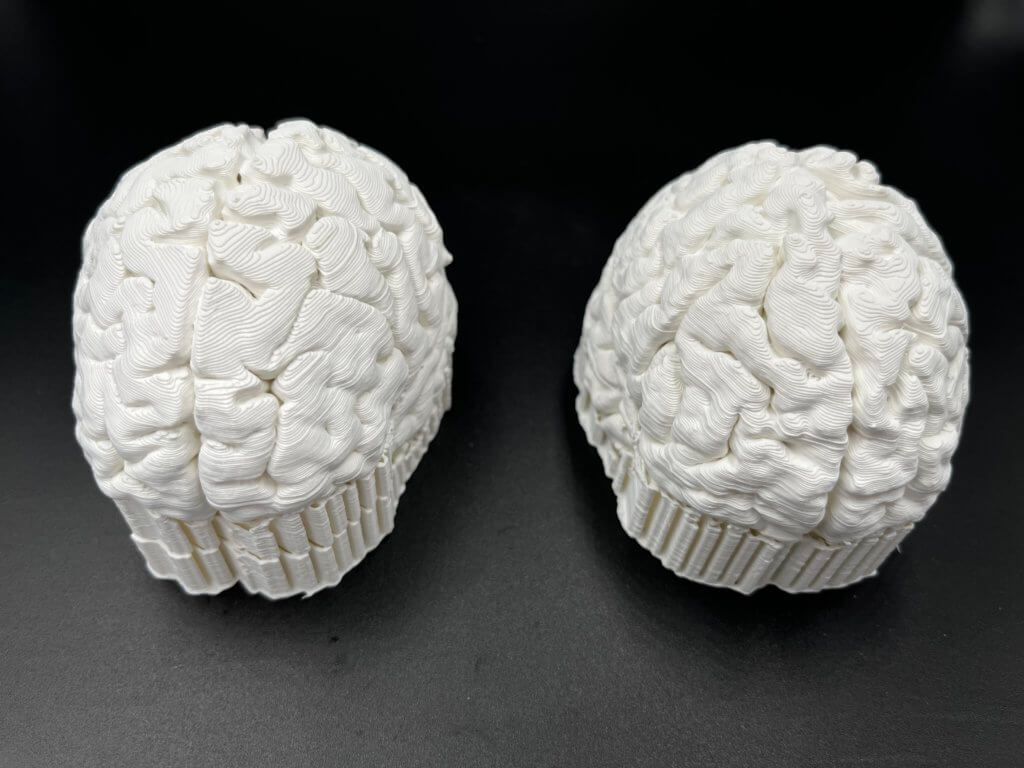
I 3D printed two brains using 3D reconstructions of structural MRI scans.
Q: Why did you want to make it?
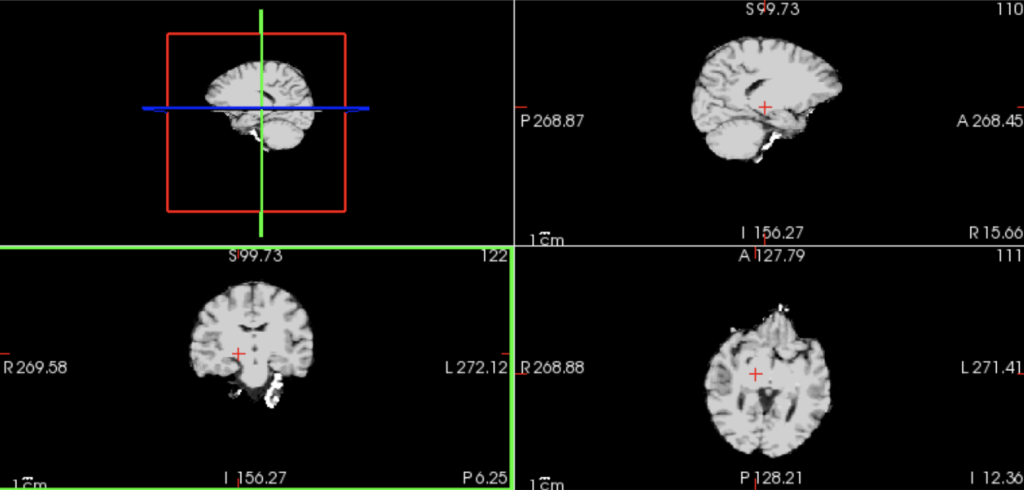
I have been looking for opportunities to practice making 3D reconstructions of brain images, as I work with data from patients undergoing resective neurosurgery and it is often helpful to be able to visualize in 3D precisely which part of their brain was exposed during the procedure. Coincidentally, a good friend of mine had MRI scans of her and her boyfriend’s brains already available, so I took the opportunity to practice making reconstructions with those images, and she ended up giving the prints to him as a birthday gift!
Q: What was your process?
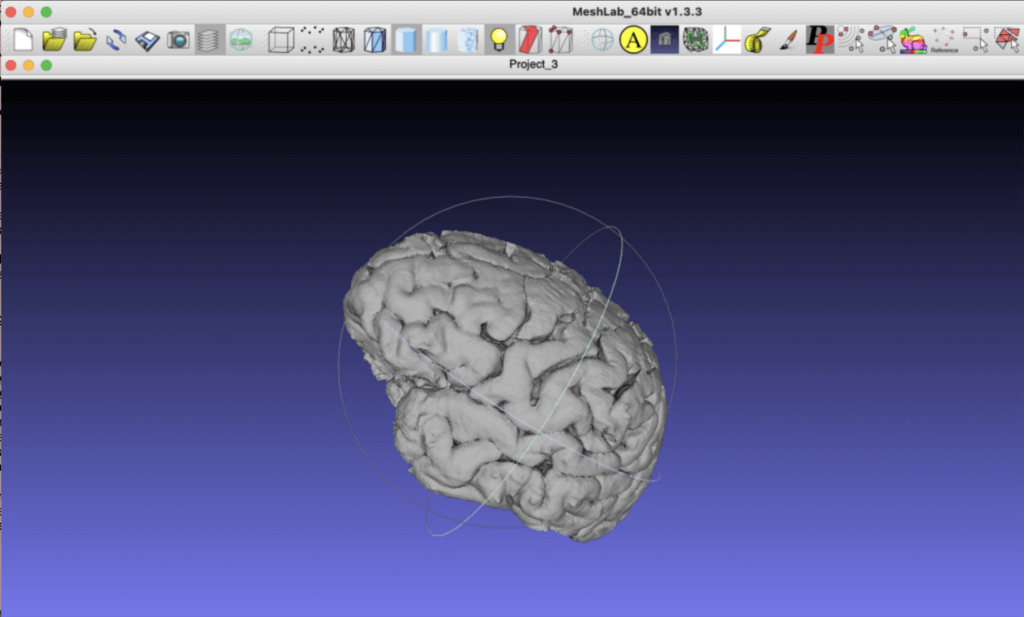
MRI images are generally acquired as DICOM files, which are easier to work with when converted to NIFTI format. I first converted the DICOMs to NIFTIs using AFNI’s dcm2niix code, converted the NIFTIs to surface renderings using a publicly available software called FreeSurfer, then converted the resulting surfaces to .STL files using MeshLab. I sent these files to the UCSF Makers Lab, then removed the supports and spray painted the resulting brains pink (for my friend) and blue (for her boyfriend), at her request!
Q: What was the hardest part of the process?
While my friend’s brain images were available in the standard DICOM format that is easily convertible to NIFTI, her boyfriend’s images were only available as JPGs due to idiosyncrasies of the radiology website they were posted on. I had to collaborate with my partner, who is also trained in neuroscience, to convert the JPG files to NIFTI files in a way that didn’t result in extremely weird scaling artifacts. We ended up having to resample the images into a much lower resolution and then create a kind of fake header file in order to make it work, if I remember correctly. Removing the supports was also a pain, I suppose, but really all that required was a fair amount of brute force and patience.
Q: What was your favorite part of the process?
The act of getting FreeSurfer up and running on my laptop was a fun challenge, as I have a new MacBook with very stringent security settings that makes running open-source software kind-of difficult. I had a good time finding tricky ways to get my computer to do things it didn’t naturally want to do, while still managing to obey the security/encryption standards required by UCSF!
Q: How did this help make you a better postdoctoral scholar?
Surface reconstructions of participant brains in the lab I work in are generally handled by one dedicated person, which while awesome from a division of labor perspective can sometimes render the reconstruction process a little mysterious. I think any opportunity to familiarize myself with a technical tool, especially one that can have a big impact on interpretation of results (such as where in the brain some behavioral or electrophysiological effect actually occurred) makes me a better and more informed scientist.
Q: What do you want to make next?
Not going to lie, my same friend has now requested a 3D print of her pet corgi’s skull from a CT she has…we’ll have to see whether or not I can justify that as a valid use of UCSF’s 3D printer!