This week’s maker is Beverly Shoemaker, RN, MSN, NNP at the UCSF Benioff Children’s Hospital. Let’s take a look at her project.
Q: What did you make?
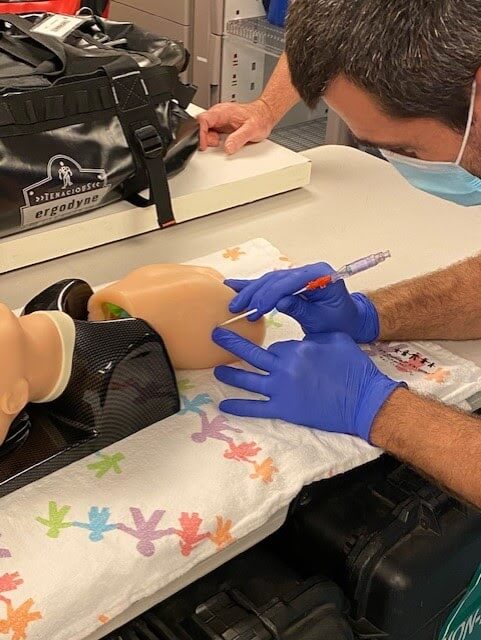
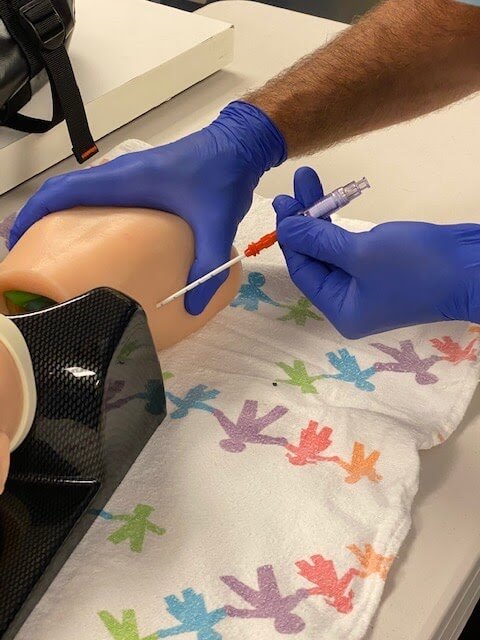
We needed a neonatal chest model for chest tube skills practice. So Scott developed a model with a neonatal sized ribcage, baby lungs and fake skin to cover everything.
Q: Why did you want to make it?
There are many adult models for skills practice but not many good neonatal sized models. The need for smaller models is necessary for more realistic skills practice.
Q: What was your process?
I contacted the Makers Lab and set up a consultation with Scott to discuss the project. I shared my idea and Scott gave me some homework to find a model of a baby rib cage that he could use as the core of the model. I searched the internet for models, but luckily the Makers Lab already had a model of neonatal rib cage designed by another Makers Lab patron, Jacklin Tong, NNP at the Lucile Packard Children’s Hospital at Stanford.
Scott edited the model to remove a couple of lower ribs so that he could print the ribs in two parts without supports. The first print was done in PLA as a test and then glued together.
The ribs were then printed in resin, which is a much more durable material so we could proceed to the next step.
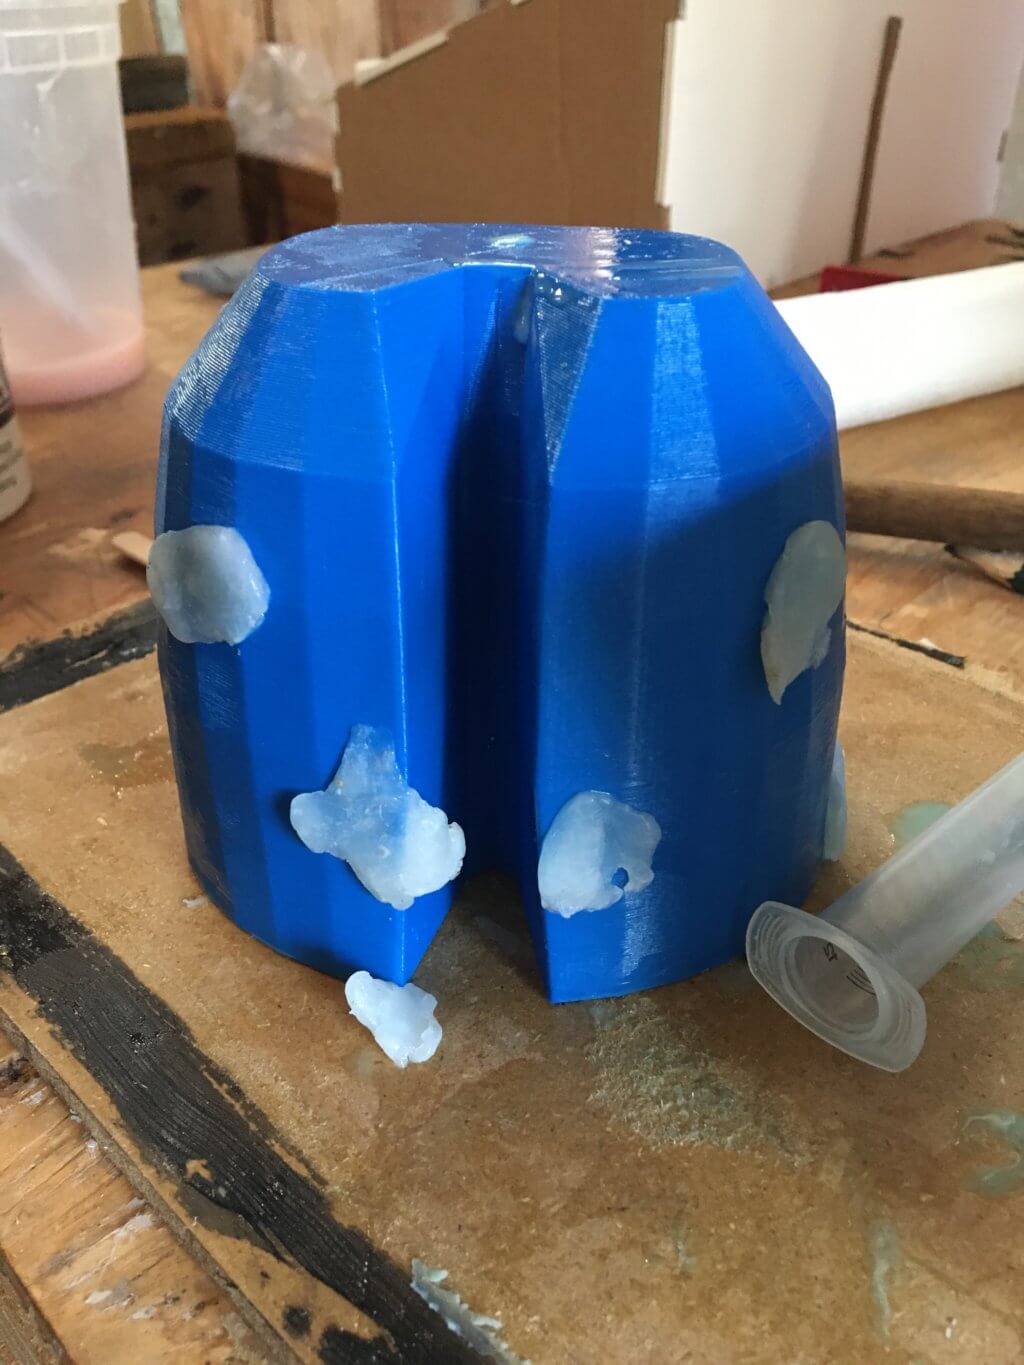
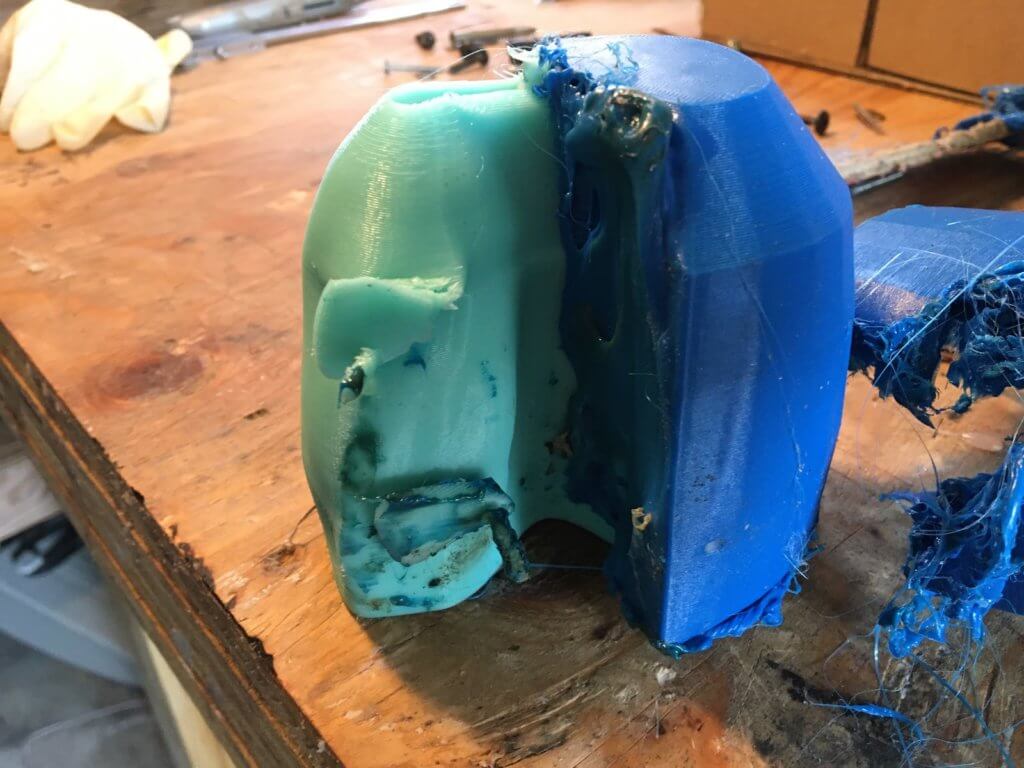
Scott developed a mold using the rib cage model that could be filled with silicone and then torn apart to reveal a one-piece skin cast. This sacrificial mold was printed in PLA and then taken apart with a soldering iron.
Lastly Scott created another sacrificial PLA mold to create the lungs that would suspend from the rib cage. The silicone he used was much harder than the skin so that the lung would retain shape when we inserted chest tubes.
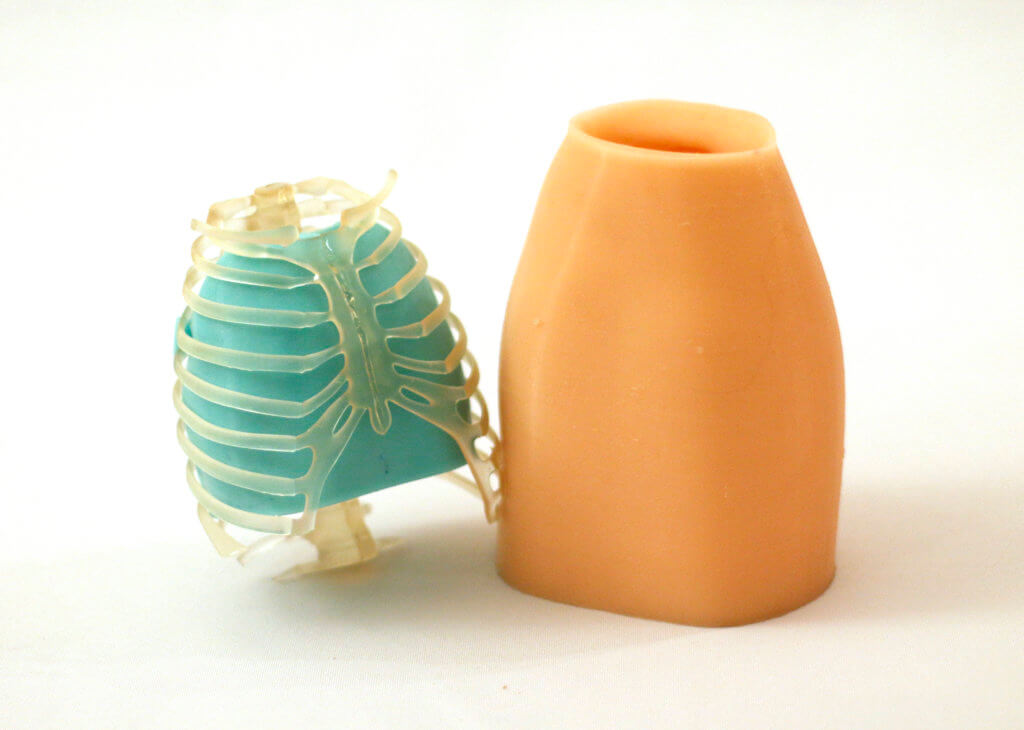
Once cured the lungs popped into the ribs and the skin cast could be placed over.
Q: What was the hardest part of the process?
Scott said that modeling and casting precise skin thickness and maintaining an average distance of 2mm from the inside of the rib cage to lungs were the most challenging processes, but he figured it out.
Q: What was your favorite part of the process?
Scott said that he liked how the ribs felt as he seated them into the grooves of the skin cast.
Q: How did this help make you a better faculty member?
This will help me to make better scenarios for skills practice.
Q: What do you want to make next?
I’m looking forward to working with Scott again. Maybe a baby arm with arteries for arterial skills practice.