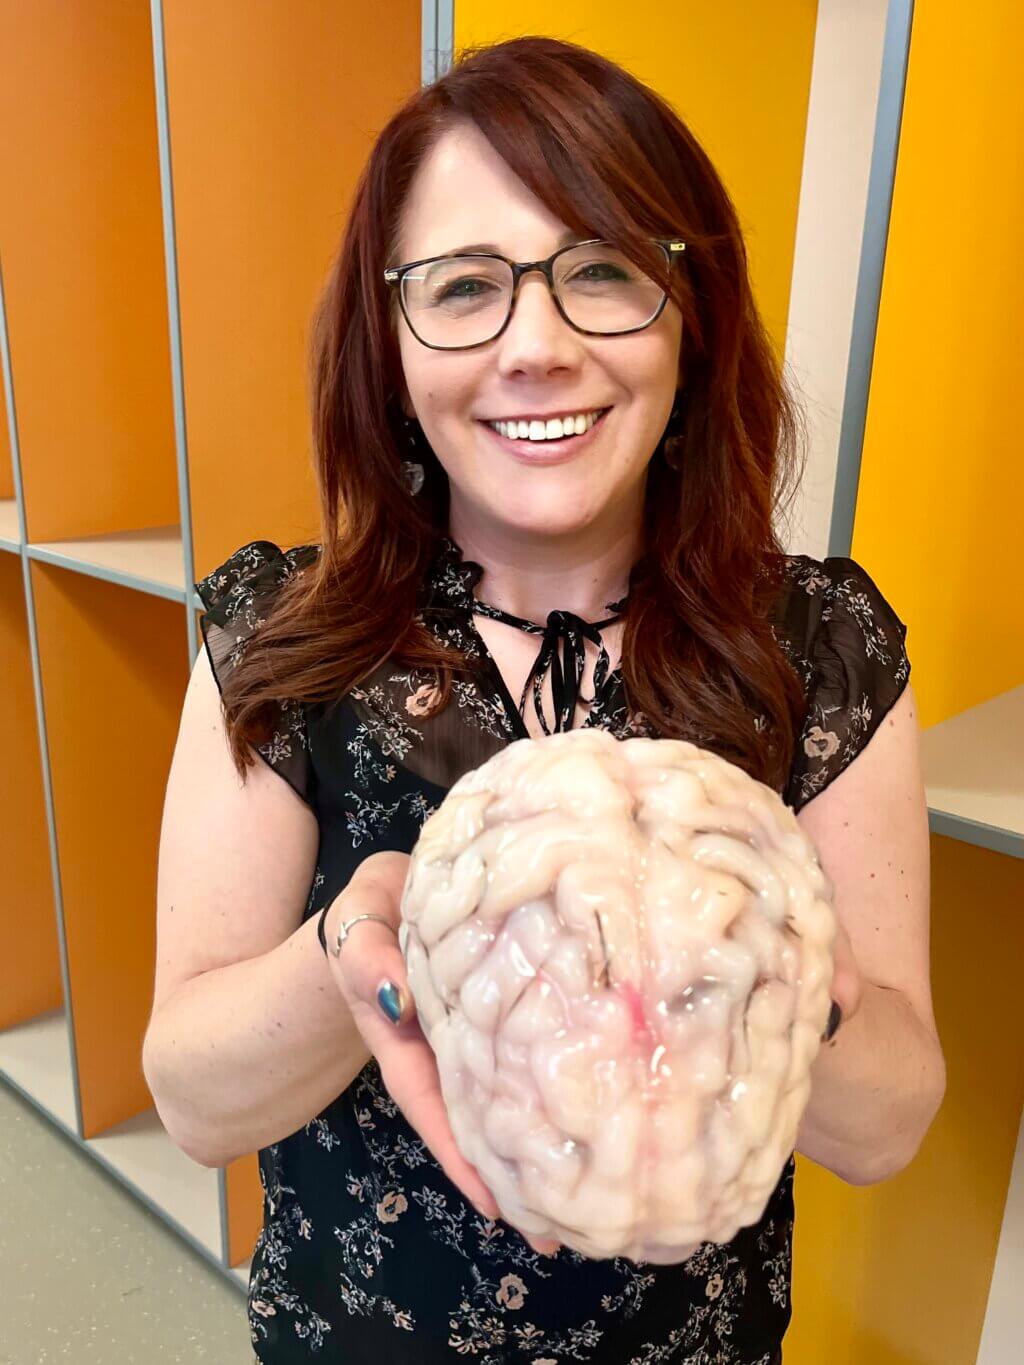
This month’s maker is Barbie Klein, PhD, MS, associate professor with the UCSF Department of Anatomy. Let’s take a look at what they made.
Q: What did you make?
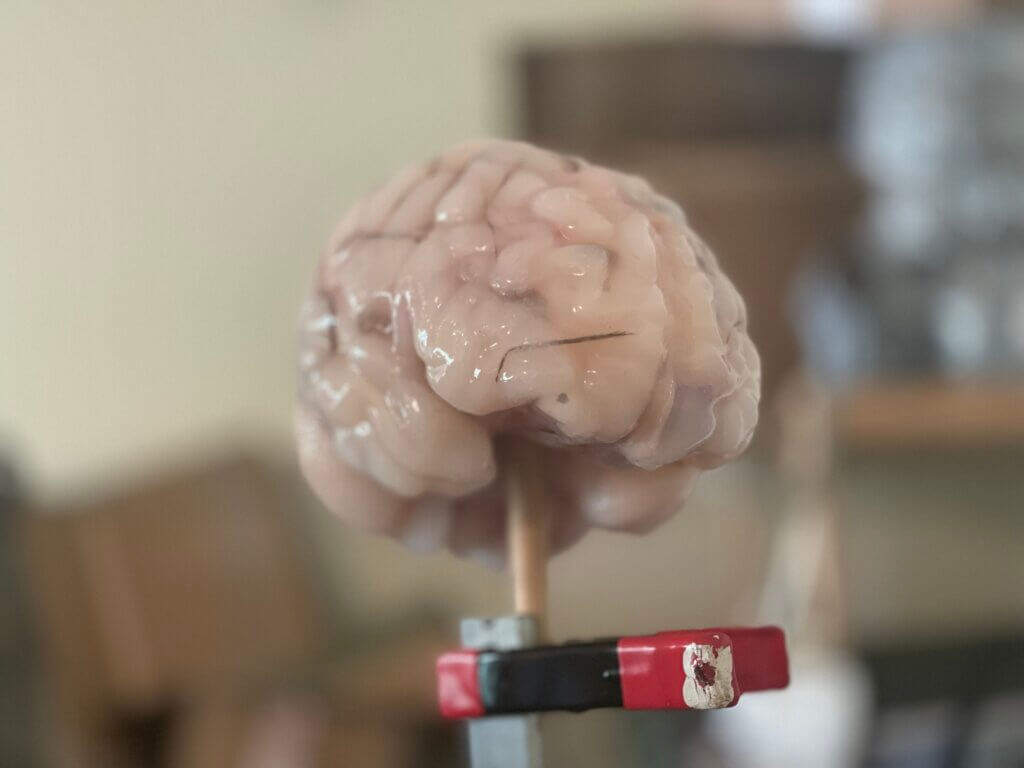
We are working with the Science and Health Education Partnership (SEP) – a collaboration between UCSF and the SF Unified School District (SFUSD) to connect and engage K-12 students, educators, scientists, and health professionals to build an inclusive and diverse science and health community. We aimed to provide SEP with a realistic brain to display at the Bay Area Science Festival, a public science outreach event.
Q: Why did you want to make it?
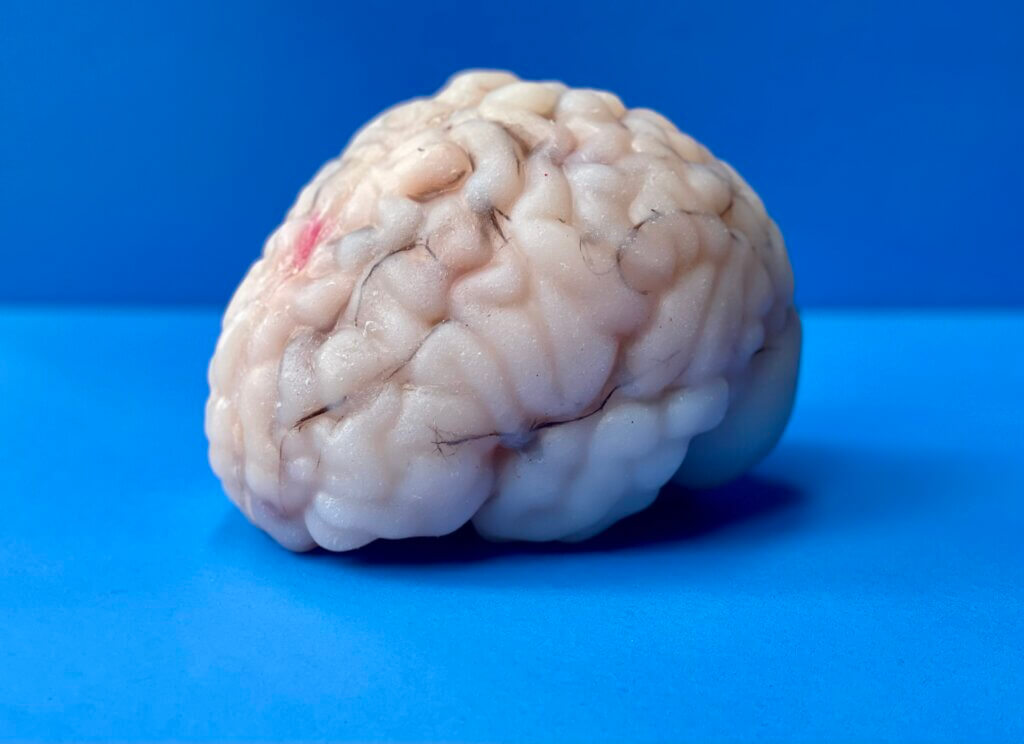
Using 3D printing and other materials, Scott was able to create a simulated brain that would be easy to transport, can be displayed for the duration of the event, and allow Science Festival attendees to touch and hold the brain.
Q: What was your process?
After initially describing the challenges with using body donor brains for the event, Scott went to work to creatively find a solution. Scott referenced images of real brain images and combined two different brain models together using Blender. After a few iterations of adding detail within the gyri and sulci of some lobes, the perfect balance of anatomical accuracy and workflow requirements was achieved.
Process 1
Two physical brains were casted for this project. The first was done via a process that was mostly a traditional one, in that to make a copy of a brain we could coat the original model in a stiff silicone that we could later use as a mold. The model that was at the core of this mold was a high quality 3D-printed brain.
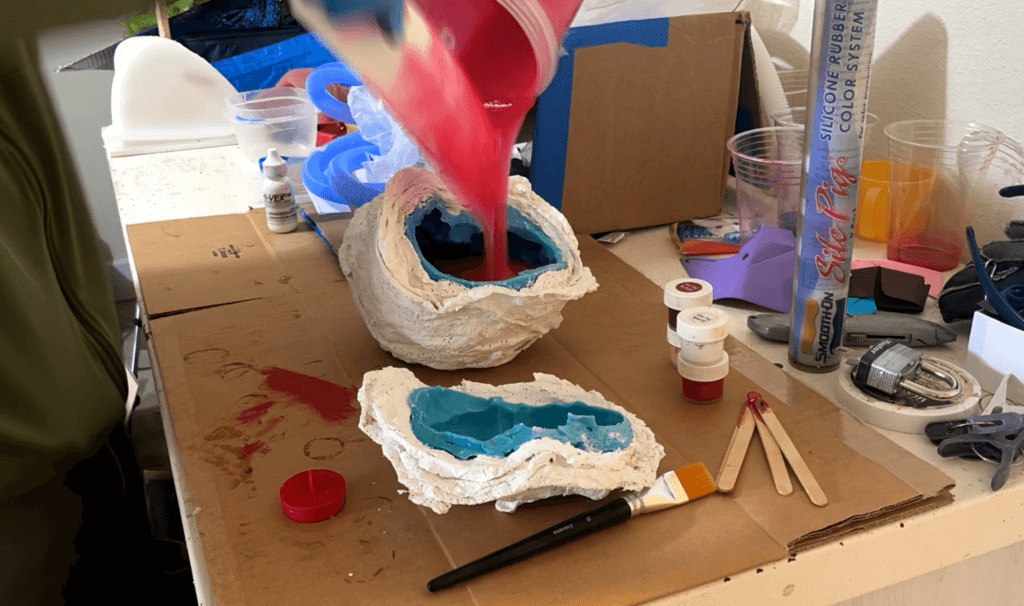
Process 2
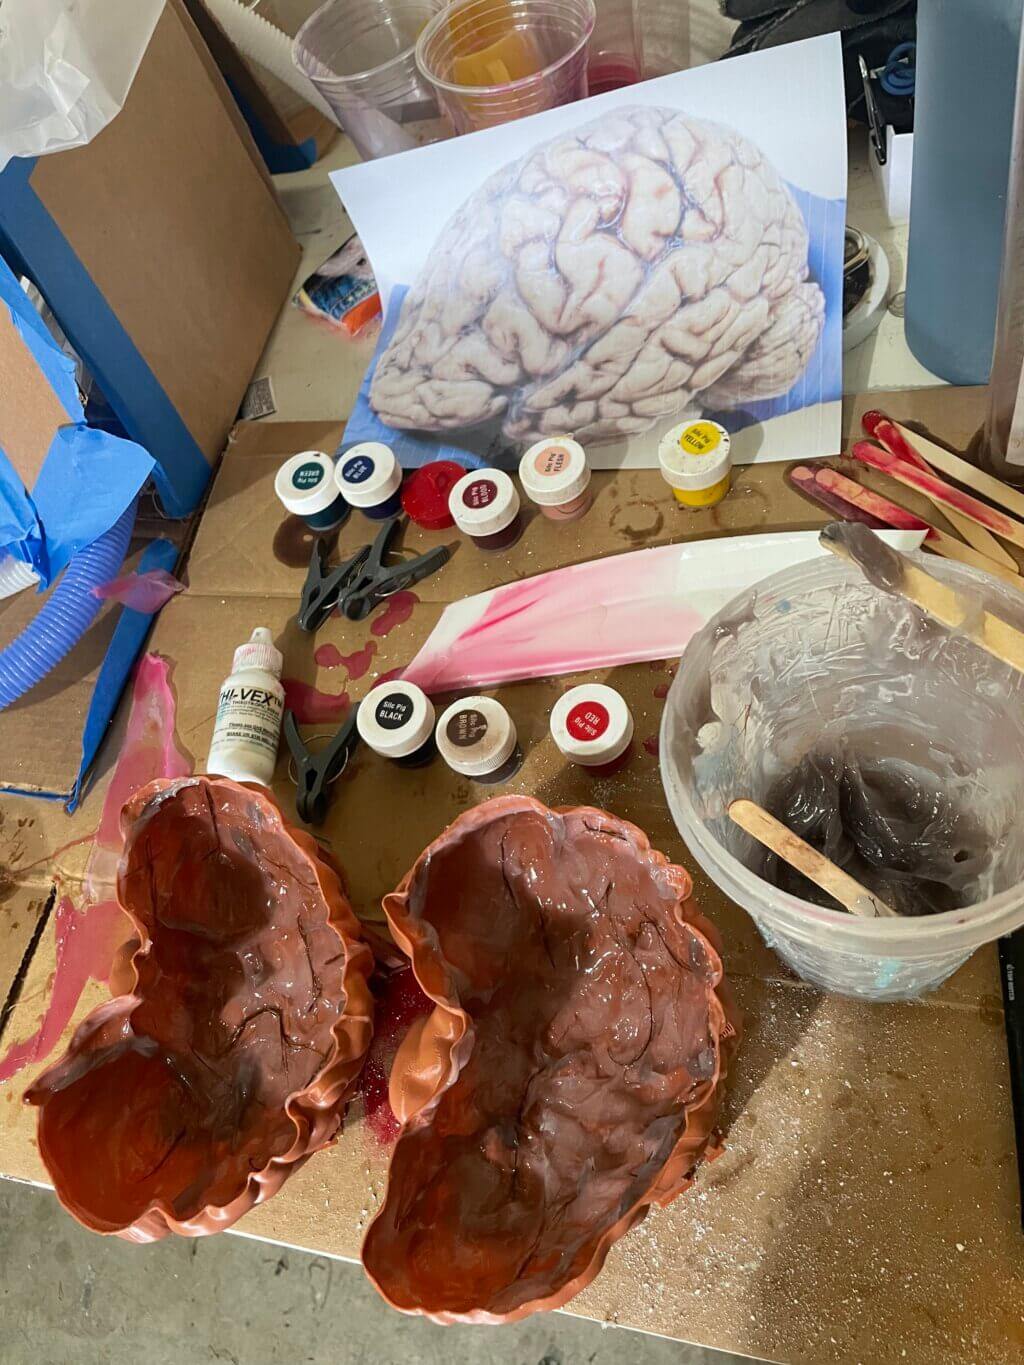
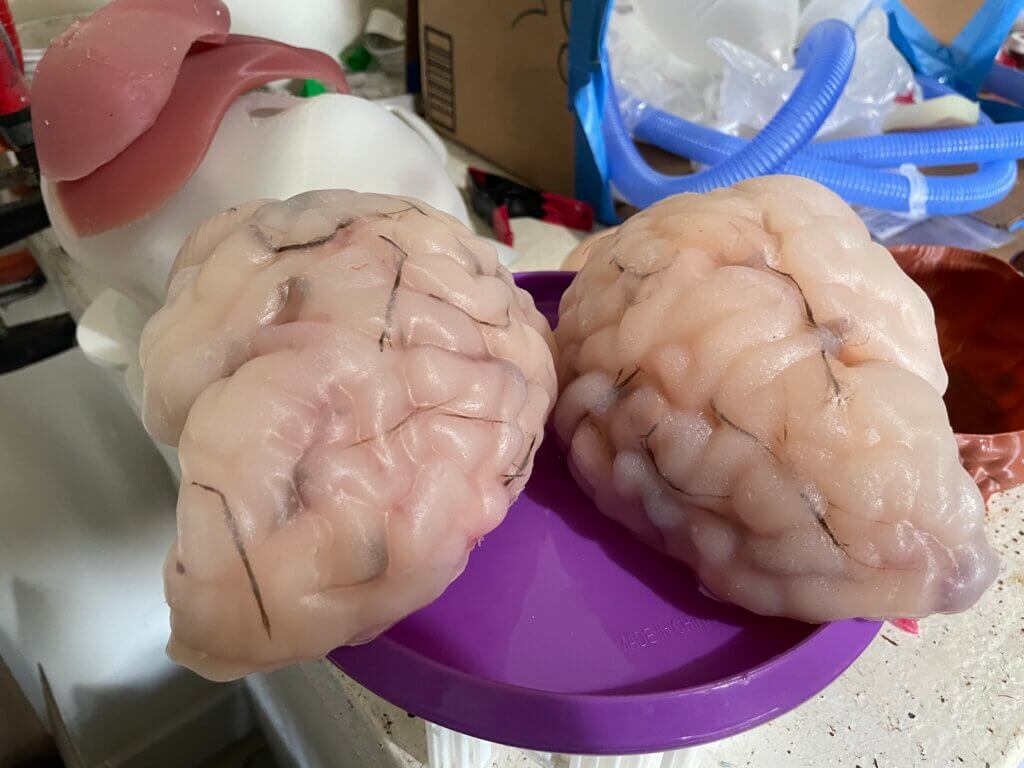
For the second process two halves of the brain molds were printed separately. These halves were then layered with a dark coat of silicone with pieces of tree bark to replicate the vasculature parts of the brain. Once this cured a flesh tone silicone was poured in, as well as recycled bits of maroon, red, purple, and brown casted silicone from other projects. Once the two halves were completely cured they were adhered together and coated with a clear coat of silicone to create the shiny outside membrane.
Q: What was the hardest part of the process?
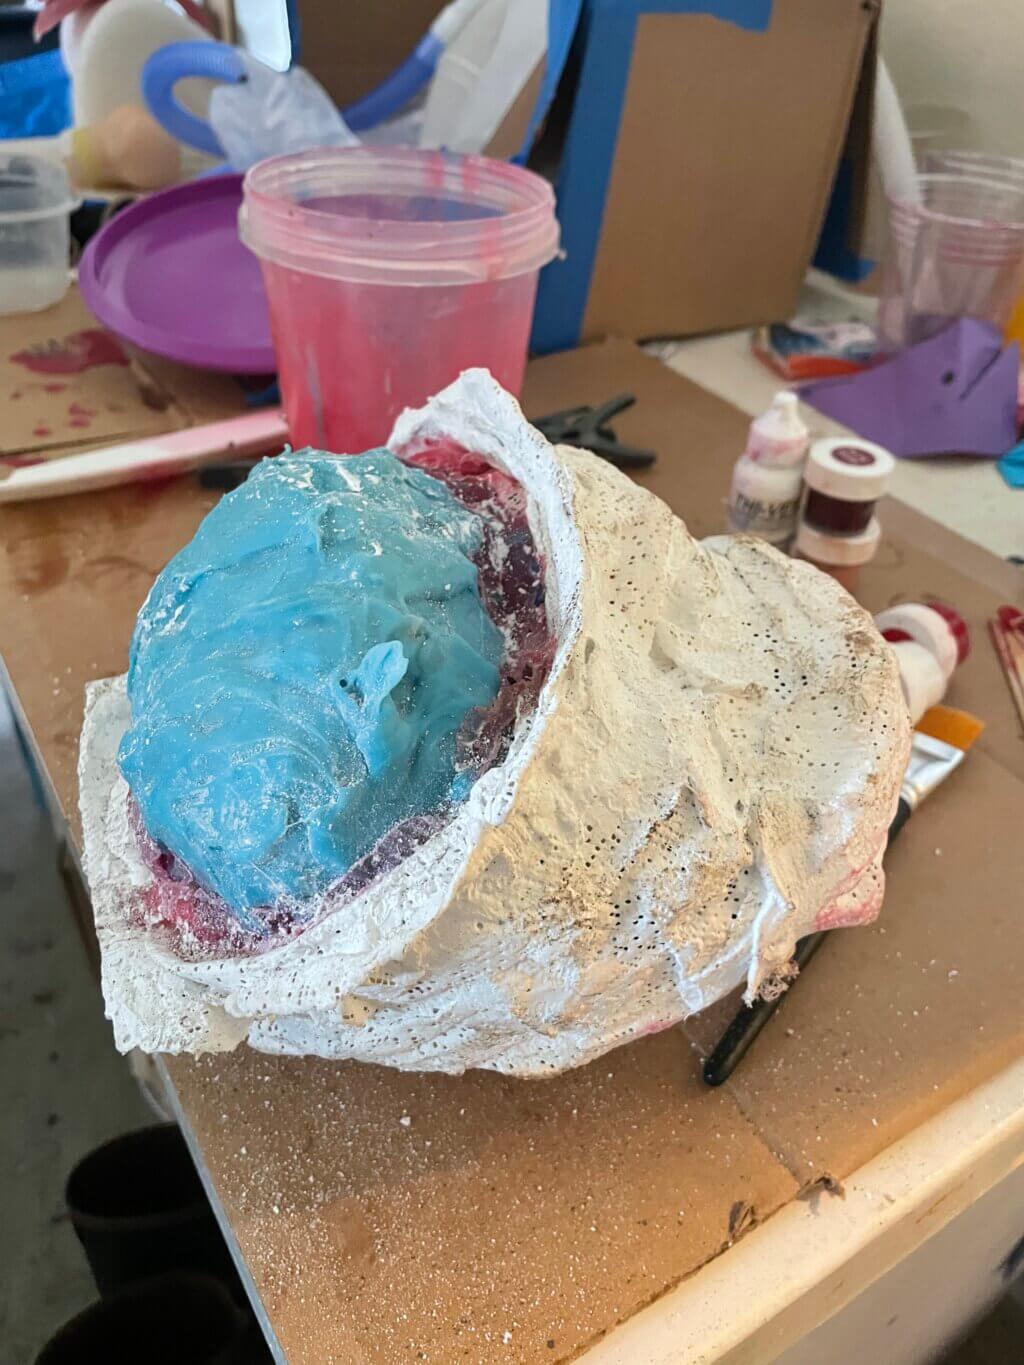
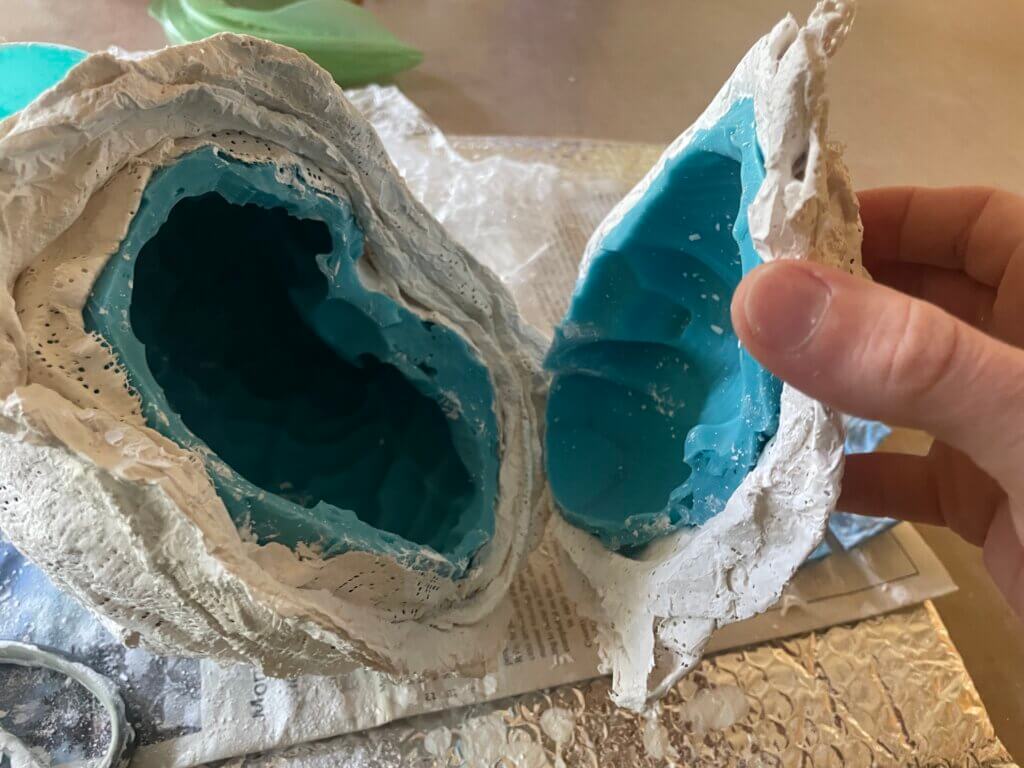
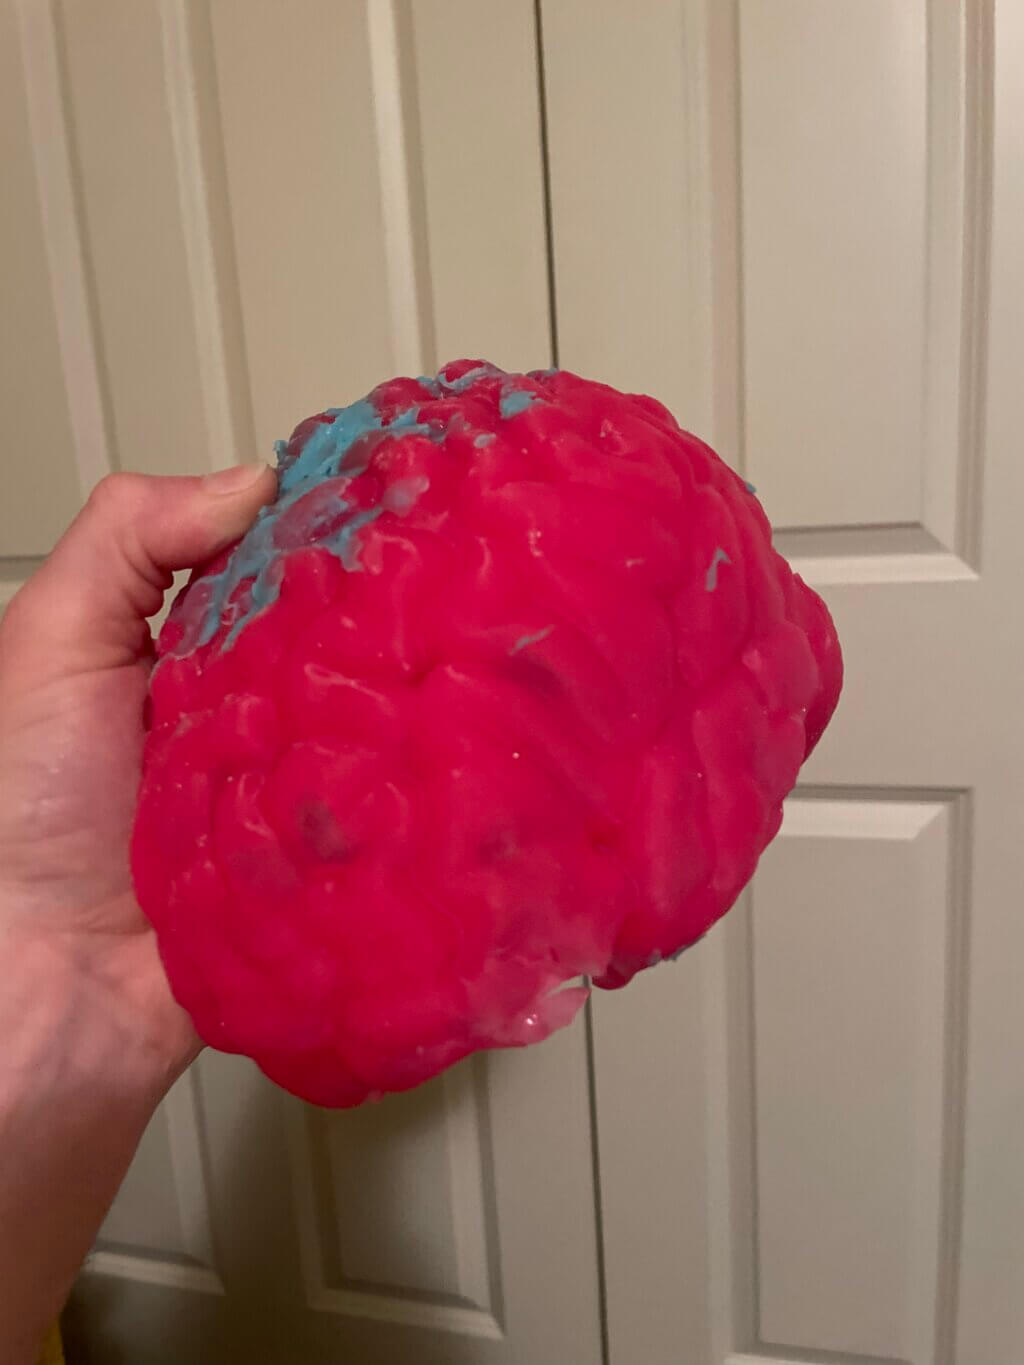
The first method used to manufacture the brain started with a high-quality 3D print positive of the brain, which was then painted with a viscous silicone, and then layered with plaster for structural support. To cast such a model the positive of the brain is removed from the silicone/plaster structure, then filled with silicone and rotated continuously to coat the entire inside of the mold. This rotation was done manually for over 30 minutes, and this was the hardest part. In the end this cast was not a good color or consistency so it was not used.
Q: What was your favorite part of the process?
Discovering such a realistic model after opening the box that Scott delivered to the anatomy lab was very exciting!
Q: What do you want to make next?
We would love to continue collaborating with SEP to create other models to authentically replicate the human body for students and the public to learn anatomy.