

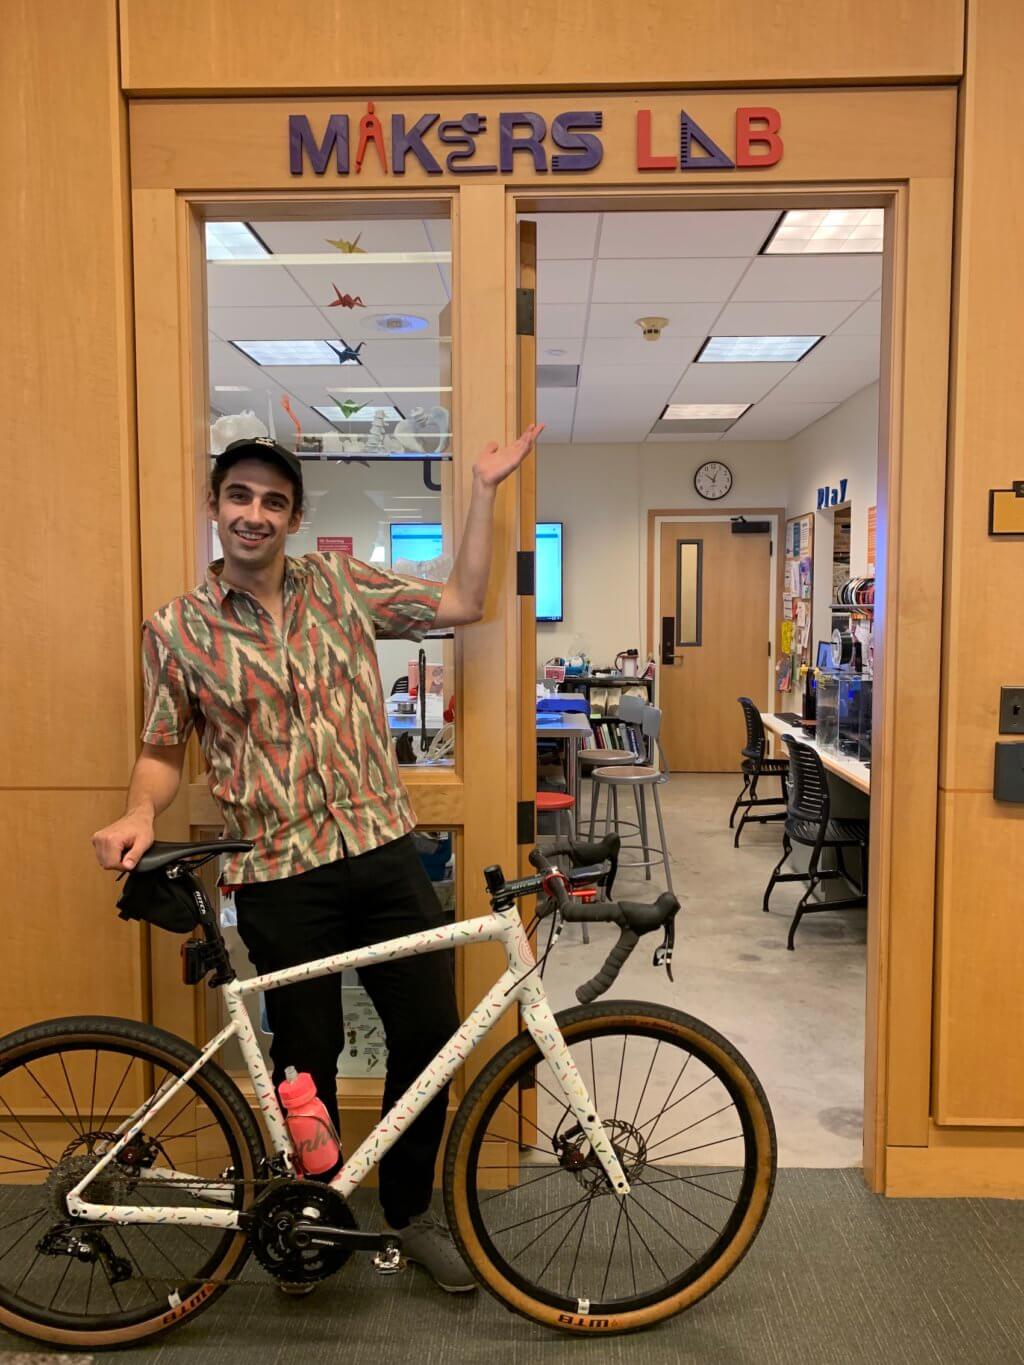
This week’s maker is Angelo Pelonero, bioinformatician at The Gladstone Institutes. We caught up with Angelo after the new year to check out one of the projects he has been working on in the Makers Lab.
Q: What did you make?
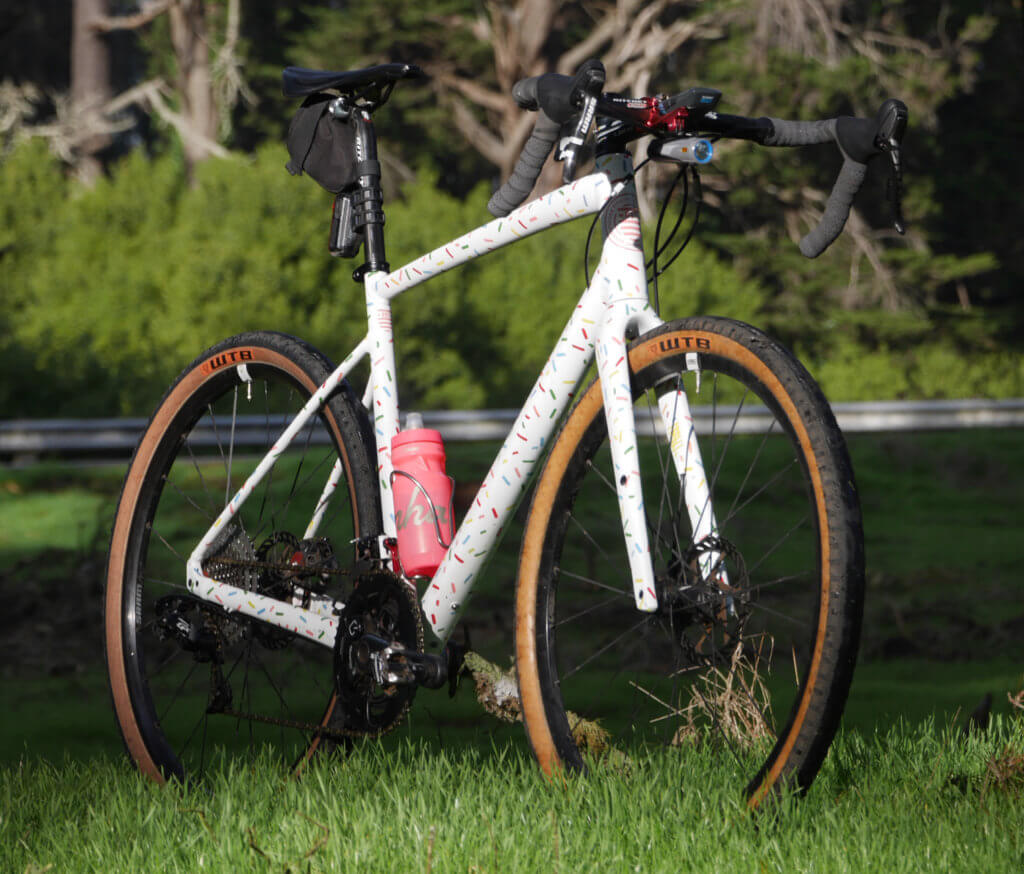
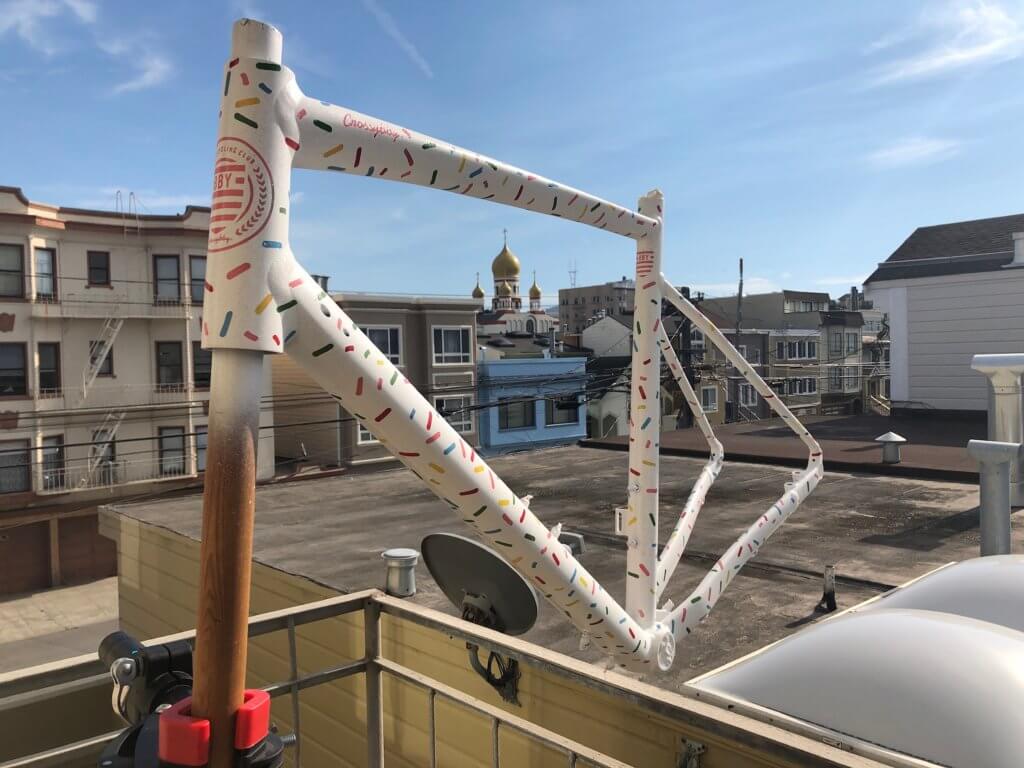
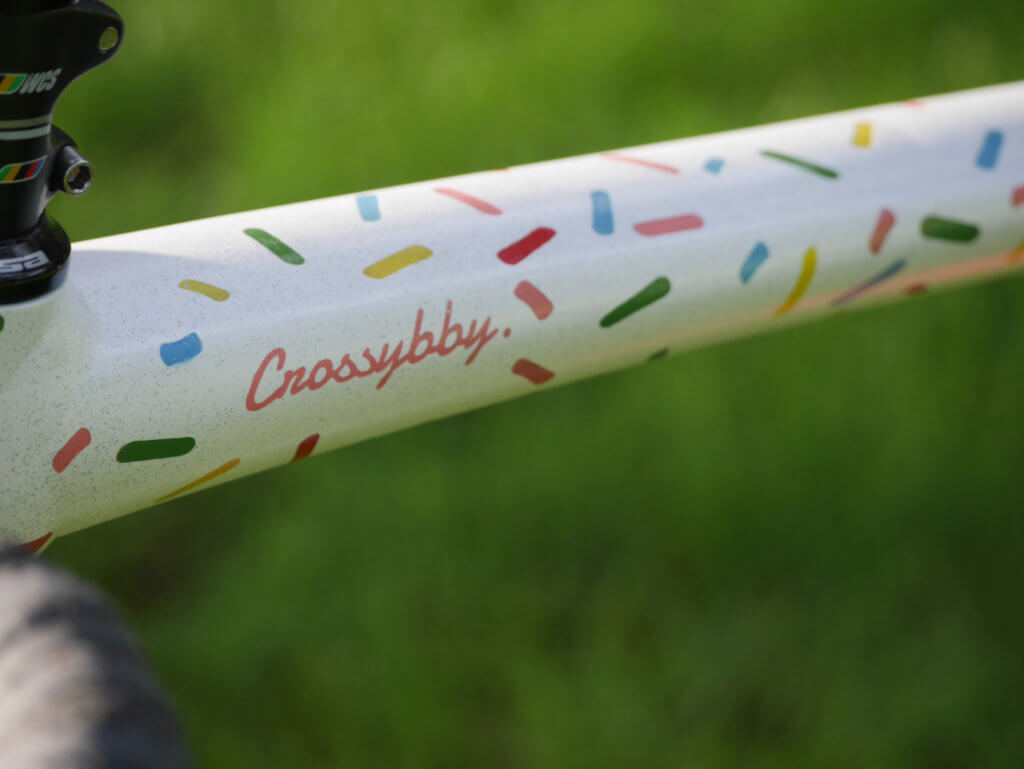
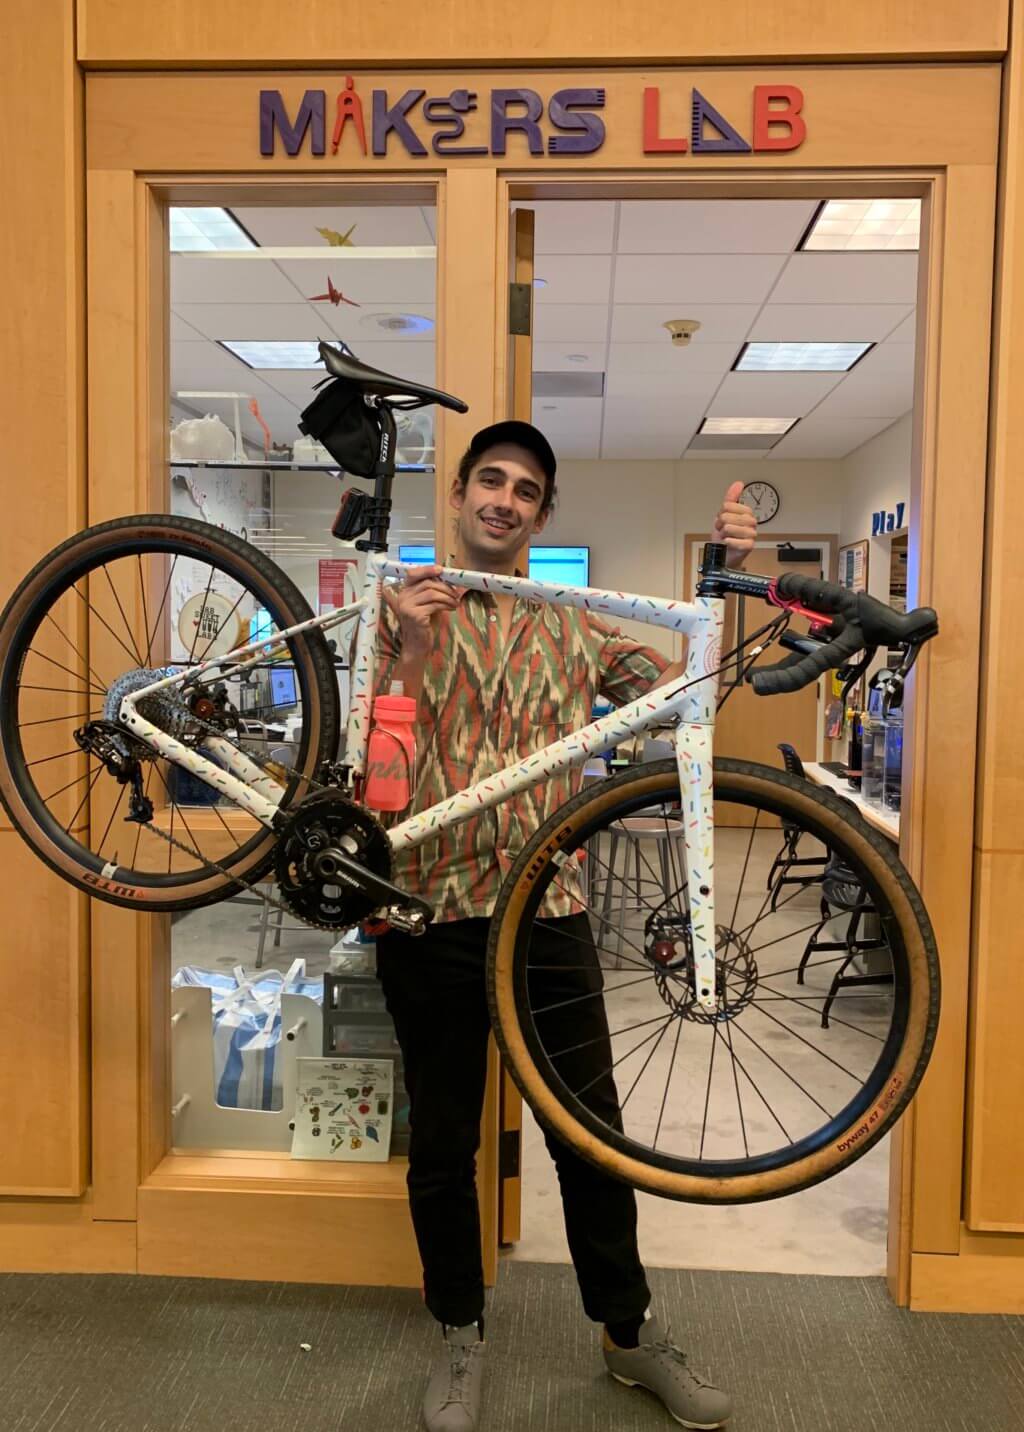
This has been a long time coming, but after a year and a half of careful planning and material sourcing I have finally custom-painted my Specialized Diverge gravel bike that I use for commuting and bikepacking/exploring Bay Area fire roads and trails. The bike’s better known as “Crossybby,” for the record.
Q: Why did you want to make it?
About two years ago I ran across an awesome looking road bike that was custom-painted for a Winter Bicycles customer who ordered a custom frame from the company. I thought the paint job was so rad that I knew that I wanted to do something like it to one of my bikes. Ultimately, I figured it would be a lot of fun to do something unique with this bike since I plan to enter a number of cycling events with it and will be riding it around the city most days of the week. Say hi if you see me! Oh, and follow me on Strava to see what kind of rides this bike gets up to.
Q: What was your process?
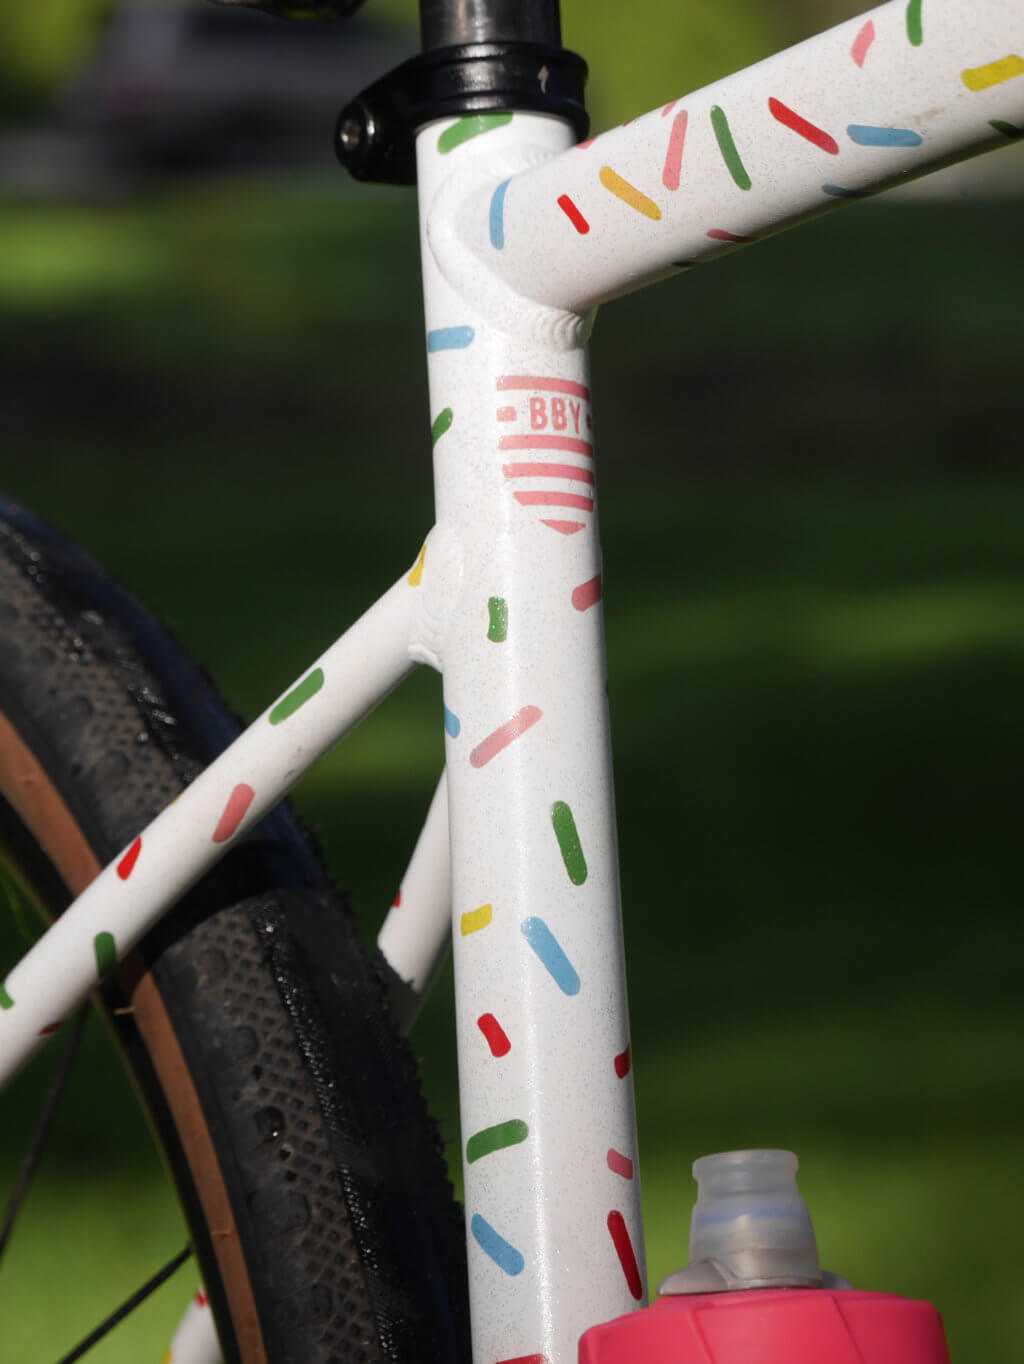
I did a lot of tests to figure out both how to achieve good results, but also to explore color options, stencil shape, and sprinkle density. It turns out that after seeing various color schemes, the sprinkles-on-white thing really suited my taste. A pink bike was too “loud,” and brown/tan aren’t really my favorite colors… so I settled on a white basecoat with custom sprinkle colors and a heavy layer of rainbow flake in the clear coat. My changes to the original design definitely spun the idea enough to make it my own (more obvious in-person), but I owe the creativity behind the design to Lucas Strain, the painter at Speedvagen. Imitation is the sincerest form of flattery, right?
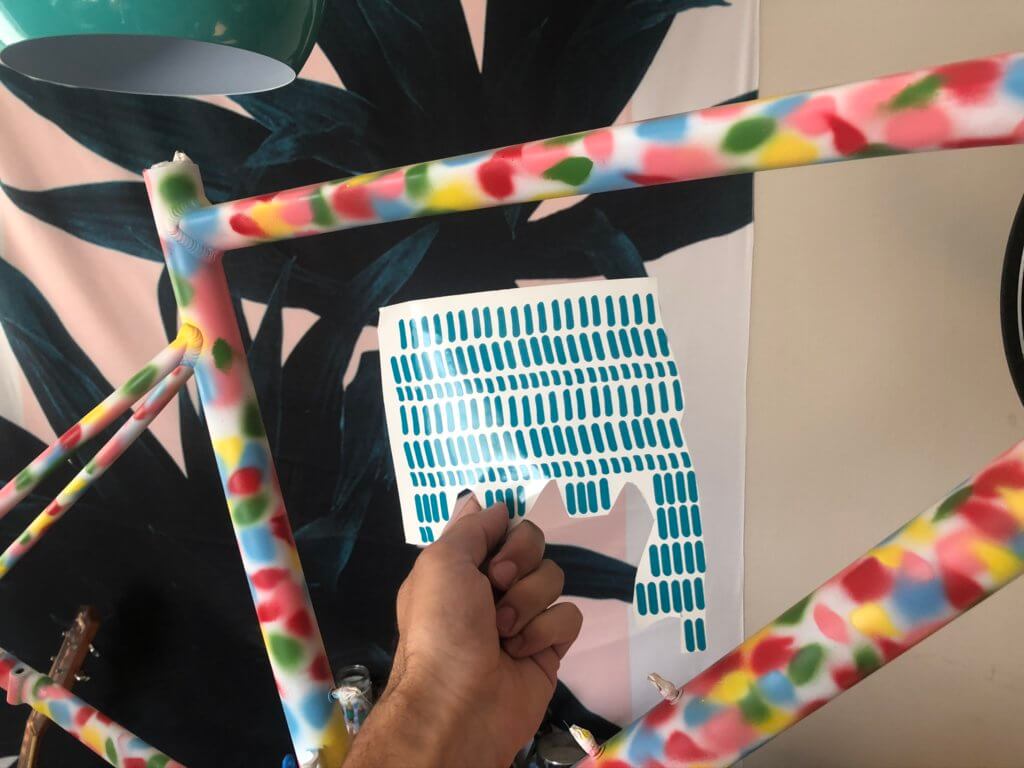
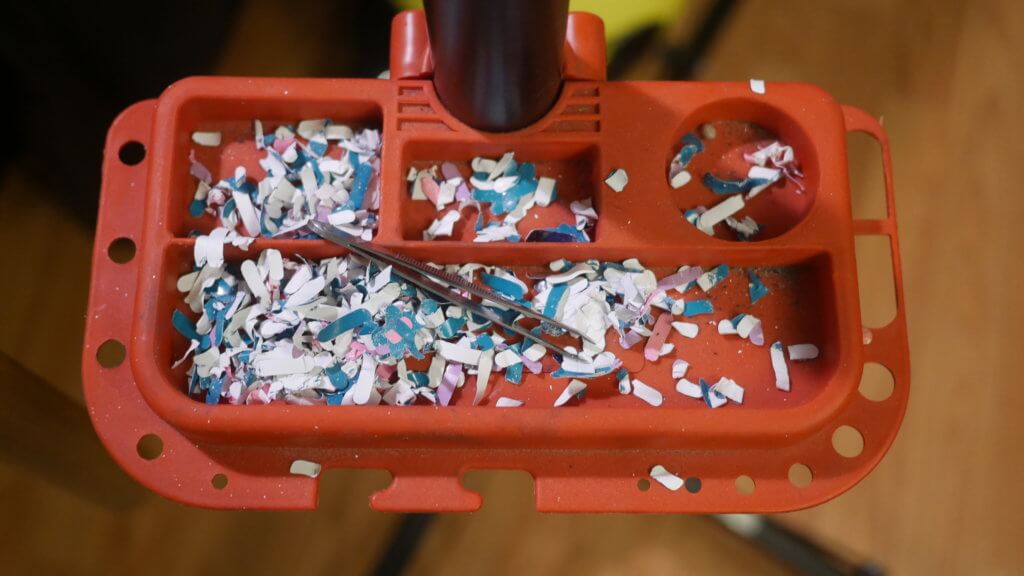
Once I settled on a color palette, I created or modified all of the designs in GIMP and imported them to Cricut Design Space to cut all the stencils out of an adhesive-backed vinyl in the Makers Lab. I then stripped my bike of its existing paint job, sanded, degreased, primed, sprayed it with a strategically placed rainbow of colors, and then carefully masked the design with my die-cut adhesive vinyl stencils.
A white basecoat was laid over the entirety of the frame and fork, and once dry the stencils were carefully removed to reveal the design. Further prep work was performed prior to laying a flaked metallic clearcoat over the whole frame. After the clear coat cured for a week, it was then wet sanded and “flow-coated” with an additional layer of automotive clear coat to make the colors and metallic flakes really “pop.” All in all there are 7 coats of paint on this frame (primer, colors, 2x basecoat, 3x clear) that were then polished to as shiny of a state as I could reasonably manage prior to building up the bike.
Q: What was the hardest part of the process?
Achieving the final paint job, full-stop. “Painting” is a misnomer for the process – it’s 90% preparation, masking, and waiting for coats to flash-off and cure. And of that 90%, 99% of it is masking. Oh man. The masking. Takes. Forever.
Q: What was your favorite part of the process?
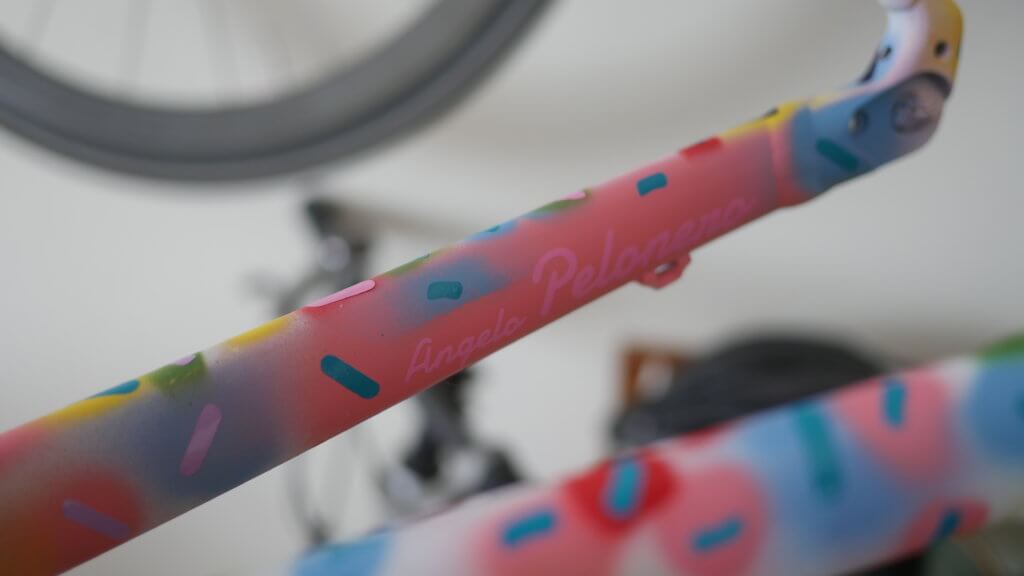
Coming up with the overall plan for executing the design and making my own customized logos in GIMP. It was a lot of fun to create logos featuring the pet-name of my bike and my cycling club’s logo (check us out at www.sleepyhead.cc)!

Q: How did this help make you a better bioinformatician?
If I don’t bike to work I’m probably having a bad day, generally speaking. Cycling keeps my head clear, and riding a cool bike to and from work has invariably been putting me in a great headspace. After all, there’s nothing quite like compliments, conversations, and high-fives on the way to work!
Q: What do you want to make next?
What’s cycling without good coffee? I’m going to be using the Makers Lab’s equipment and resources to custom-make some parts for my coffee setup: 3D printing a new enclosure for my grinder, making a bottomless portafilter for my espresso machine, making a custom set of handles for my machines/tamper/kettle… the list goes on!