
This is a guest post by Dr. Alexis Dang, orthopaedic surgeon at the UCSF Department of Orthopaedic Surgery
Update 6/26/20 Additional process guidelines for creating DIY disposable lens cuffs/front shields for PAPR devices added. See section labeled Further Development for detailed information.
Background
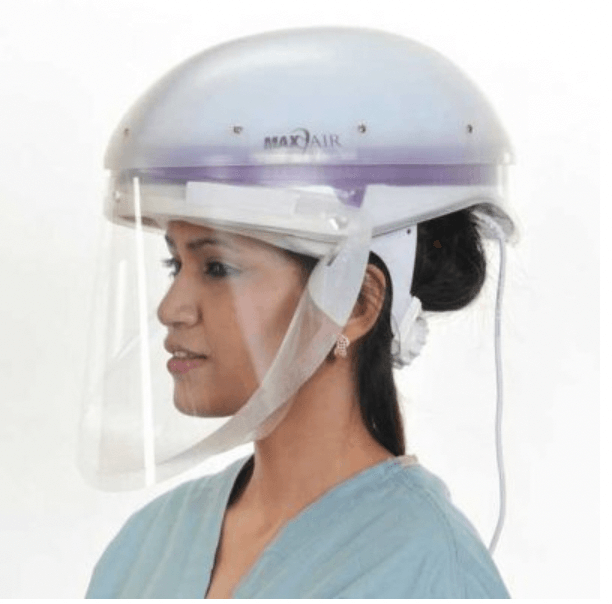
Protection of healthcare workers is the cornerstone of our community’s battle against COVID-19. The highest level of protection that is available consists of the use of Personal Air Powered Respirators (PAPR).
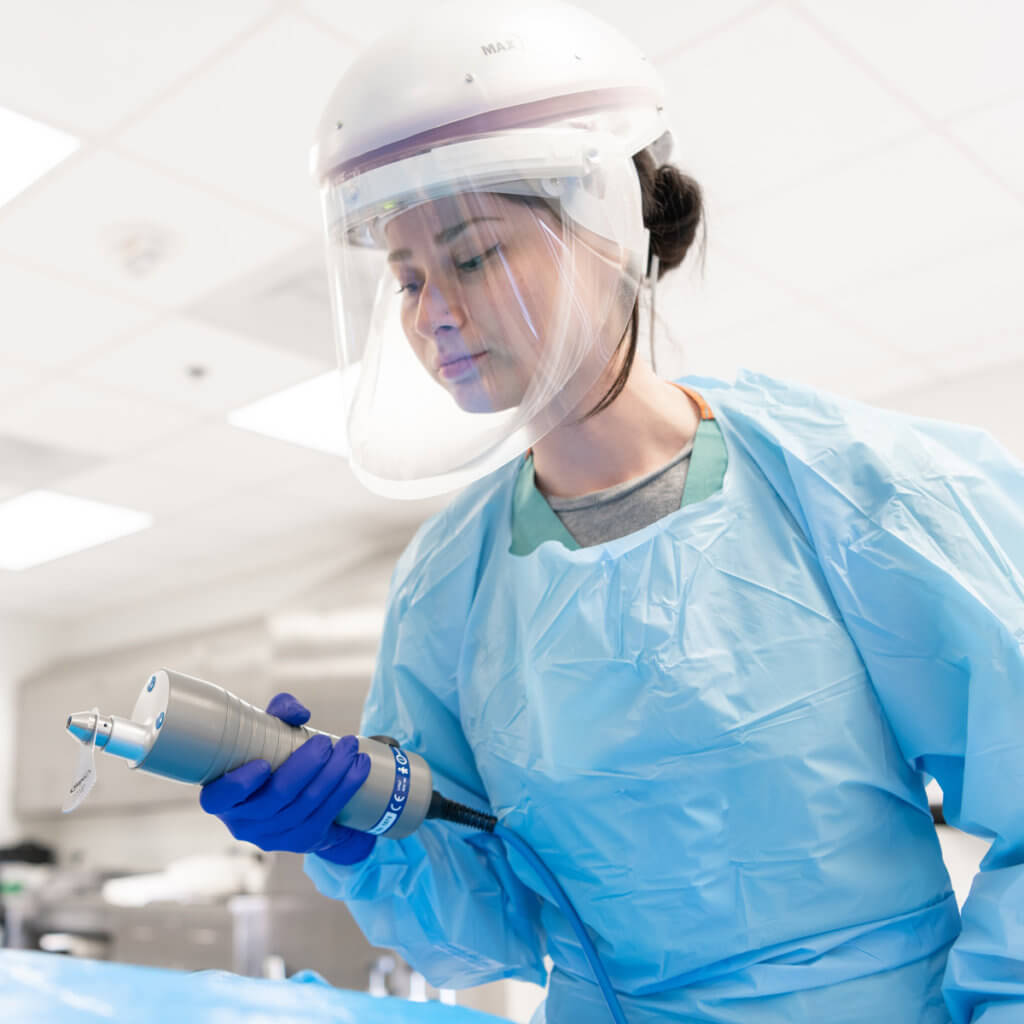
These PAPR systems filter all breathable air for the wearer in a positive pressure environment. For healthcare providers who cannot obtain a N95 mask fit, it is the only option. In addition to protecting against respiratory entry, these devices also protect the eyes. With the increased utilization of these devices during this pandemic, necessary consumables–such as disposable clear shields and other replacement parts–have come into short supply. In the event that original equipment manufacturer (OEM) shields and parts are not available, it is imperative to have alternatives available. Here at UCSF, the ORIF (Organized, Rapid, Intelligent Fabrication) team have developed our own version, which uses clear vinyl for the front and Tyvek material for the cuff.
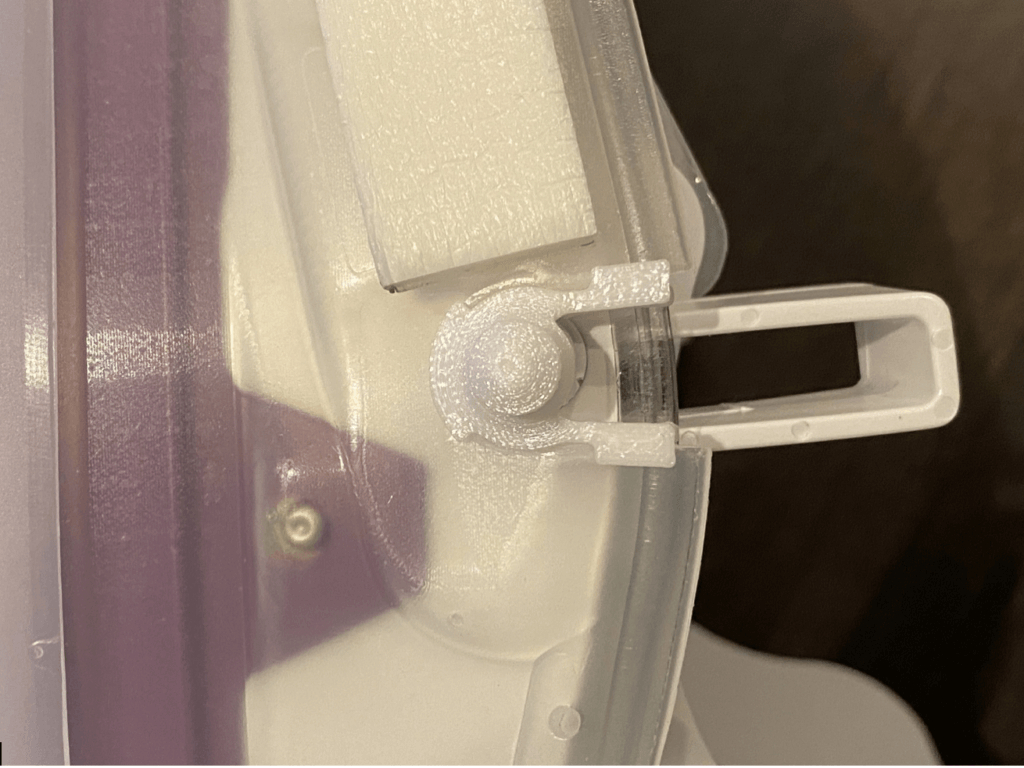
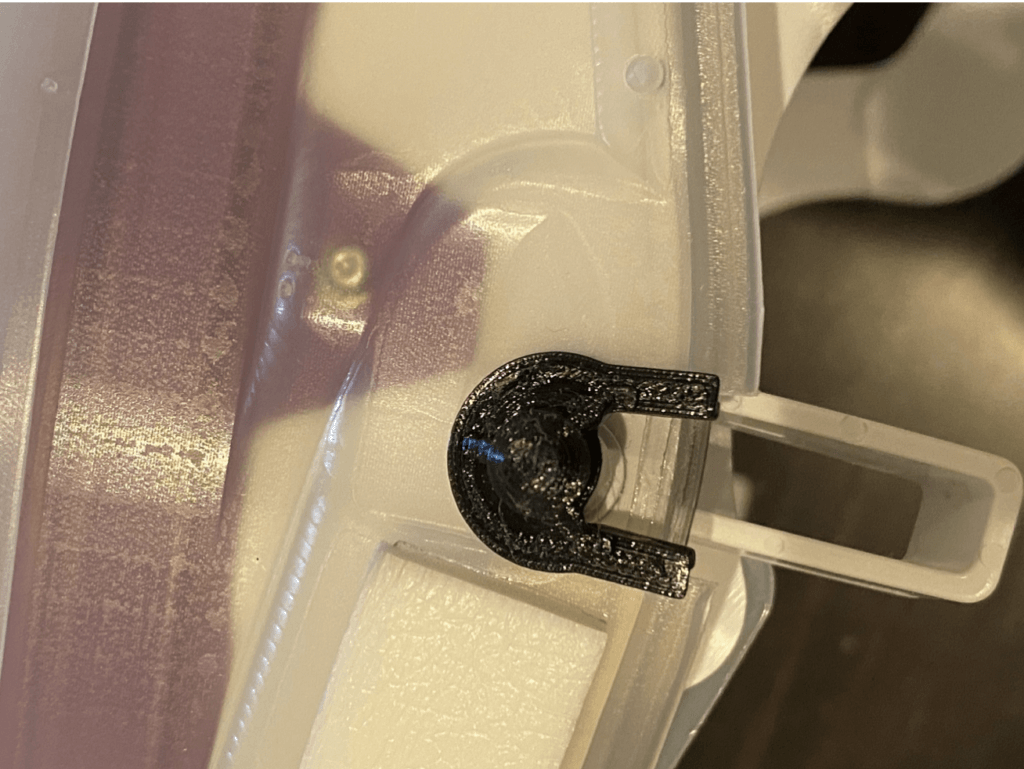
The disposable parts of the PAPR system are attached to the helmet using small plastic clips. These clips are easily damaged and broken, especially with the increased use of the helmets. Over 10% of all helmets at UCSF were out of service with broken parts at the time the UCSF Clinical Technologies group, responsible for the repair/maintenance of medical equipment across UCSF, reached out to the ORIF team for a 3D printed solution. An additional 2-4% of helmets were also dropping out of use every week due to the failure of these specific clip parts.
UCSF Clinical Technologies provided us with examples of the plastic clips. We initially planned on using CT scanning to replicate these parts, as others have done, but with such small parts, we were not sure that the resolution of a standard clinical scanner would be sufficient.
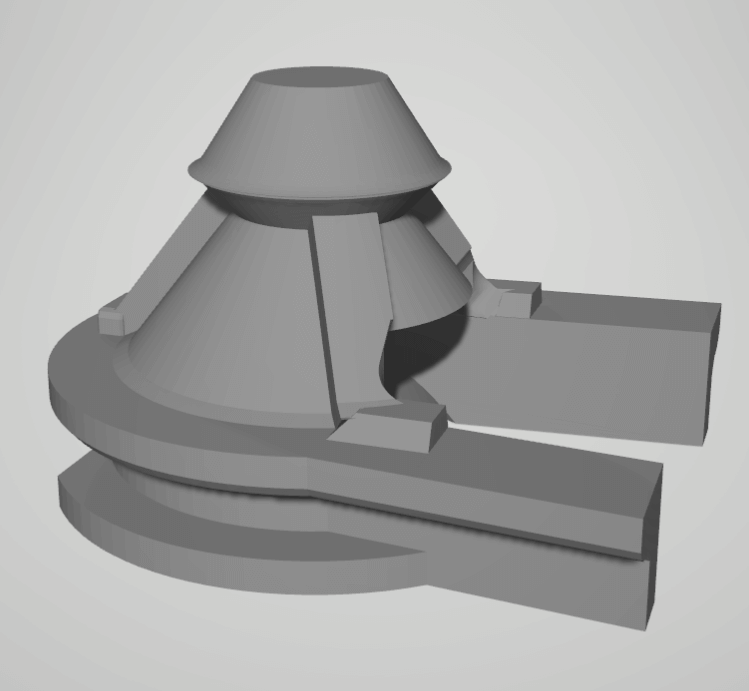
Redesigning the clip
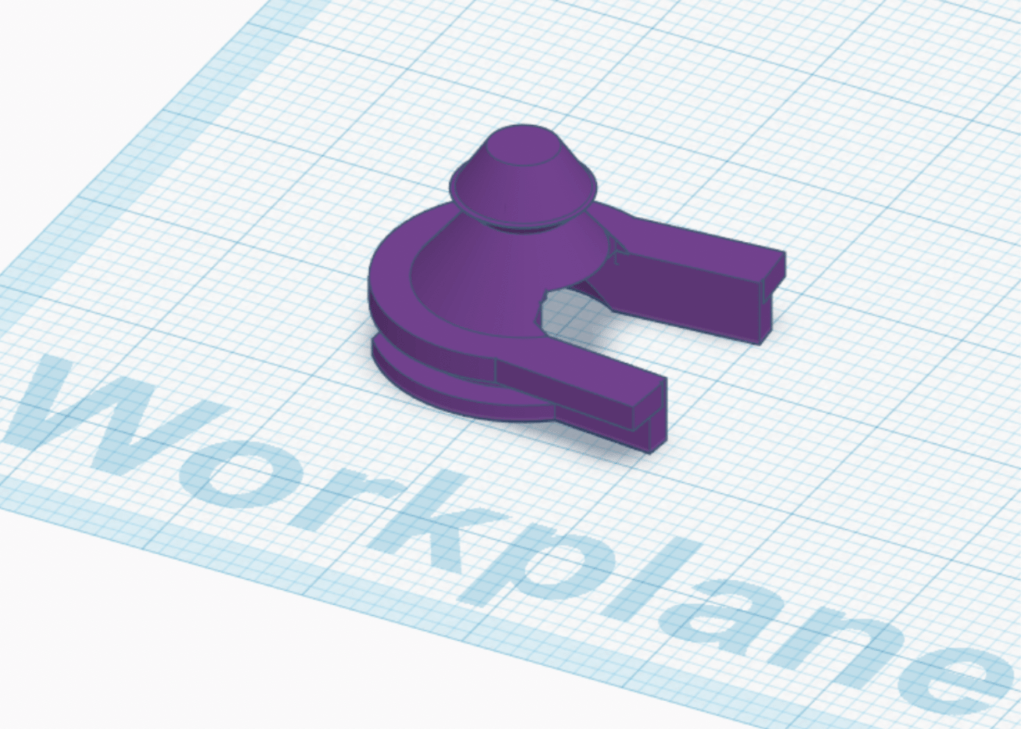
To ensure the best quality, we decided to design our own replacement clips from scratch, with the criteria being that the clips 1) fit onto the helmet and 2) secure the disposable shield in place.
Within hours of receiving the original sample part, a prototype was printed using Makers Lab printers set up for the UCSF 3D printed face shield project. Over the next few hours, a total of five prototypes were iterated to improve fit on the helmet and for the disposable shield. We extensively utilized the 3D modeling software Tinkercad for these iterations. Prototypes were printed primarily in PLA plastic material on the Ultimaker 3 3D printer.
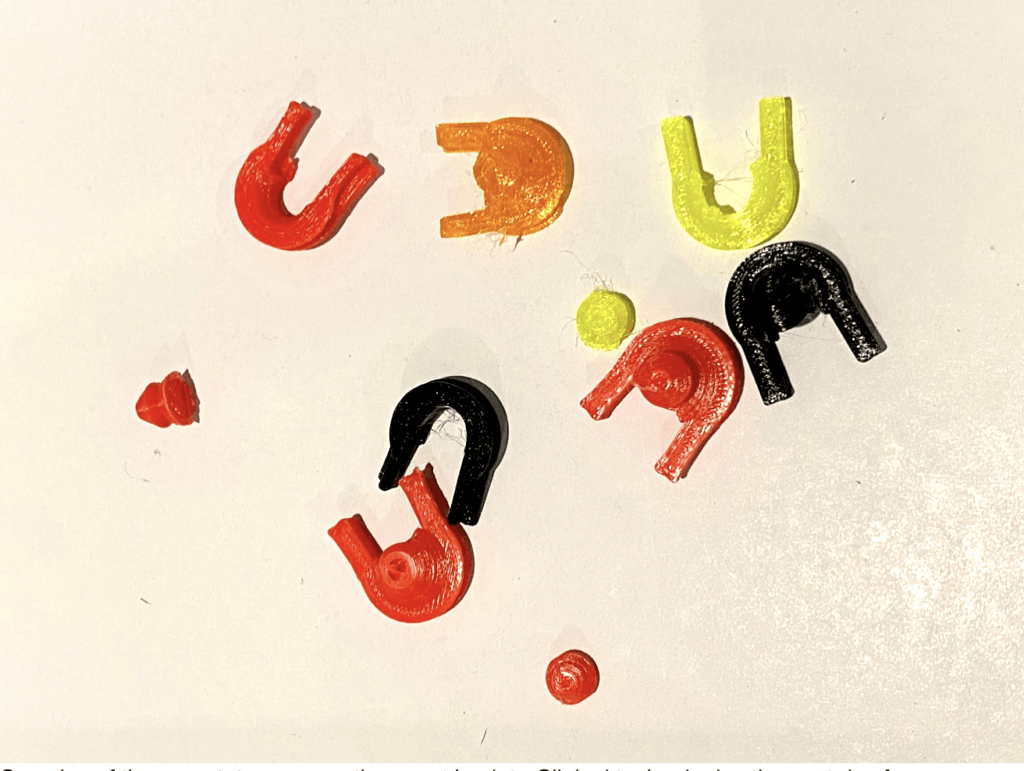
Samples of these prototypes were then sent back to UCSF Clinical Technologies the next day for verification. During this time, continued iterations were made to the design to make them “break-resistant.” We reinforced areas of the design where the clinical failures were occurring, as well as modified the design to print without support structures.
The final product
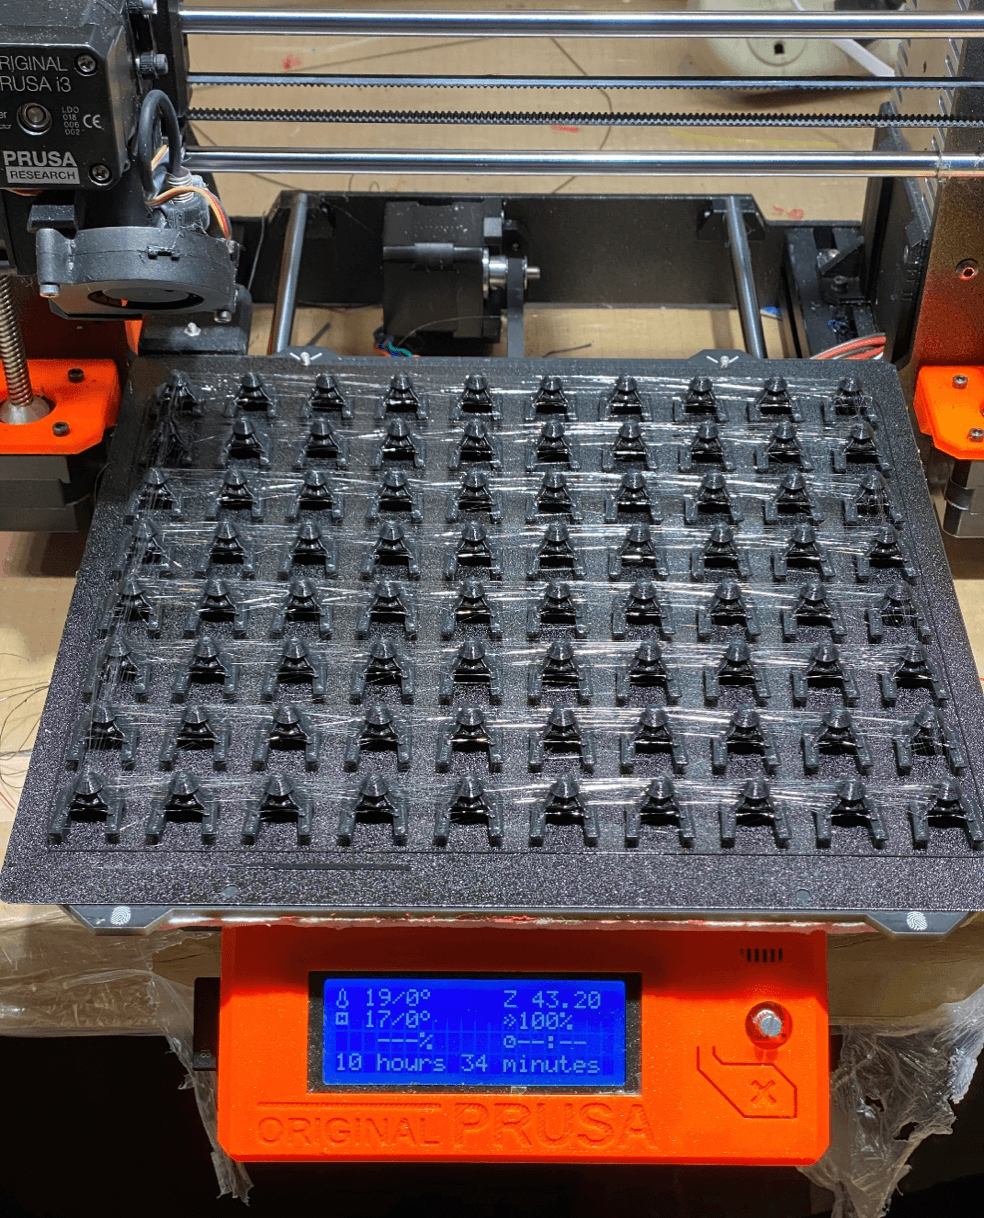
After verification, of fit, we began to mass produce these prints using several Prusa MK3 3D printers. We used Ingeo 3D850/3D870 impact-resistant PLA for these finalized parts. This material was selected based upon our prior work showing its mechanical performance. By the end of week, we had produced enough spare parts for our entire supply of PAPR helmets at UCSF.
By utilizing 3D printing, we were able to fix nearly all of the broken helmets in our hospitals’ current supply, and with our new supply of clips, we will be able keep these helmets readily available for our clinical teams!
We have also started providing these clip parts for other Bay Area hospitals that are in need of these parts.
Printing specifications
The clips are printed at 0.2mm layer heights, 3 perimeters, 70% grid infill, and “hot” at 230C to maximize layer bonding. This causes more stringing of plastic, which is removed during post-processing.
The printed clips can also be annealed using the published protocols below for additional strength if needed:

All files are licensed under a Creative Commons Attribution-NonCommercial-ShareAlike 4.0 International License.
Further development
Now that we have identified a sustainable solution for producing disposable plastic clips for PAPR devices, there is another potential shortage we are able to address in the face of the continuing COVID-19 pandemic.
Disposable front shields, also called disposable lens cuffs (DLC) are still in short supply. The original DLC is characterized by a clear front cover, which is standard, but also a unique stretch material for the interface against the skin. This is similar to tegaderm, without the adhesive. At the start of this crisis, this material was not readily available from any source, domestically or internationally. We quickly decided to work on a strategy for production, keeping in mind our primary goals of:
- Producing devices that fit compatibly with existing helmets
- Utilizing materials that were safe, but also readily available and accessible
- Looking for opportunities to improve fit and extend usage
- Performing direct reverse engineering of the shield with similar materials
- Creating a new shield with available resources

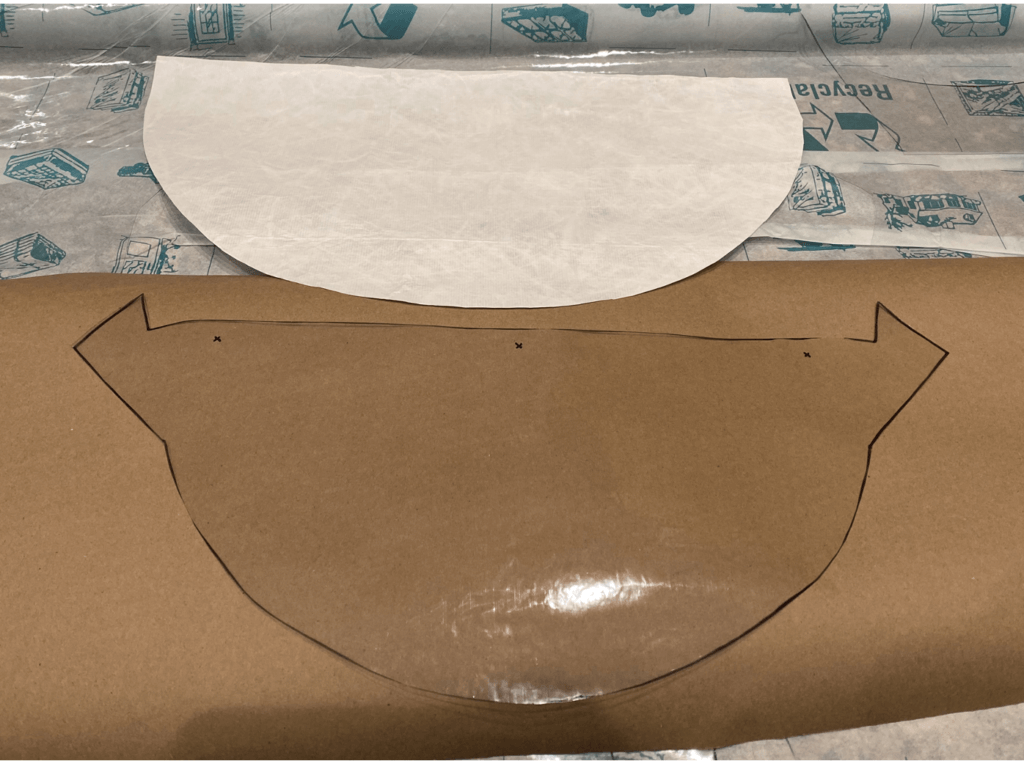
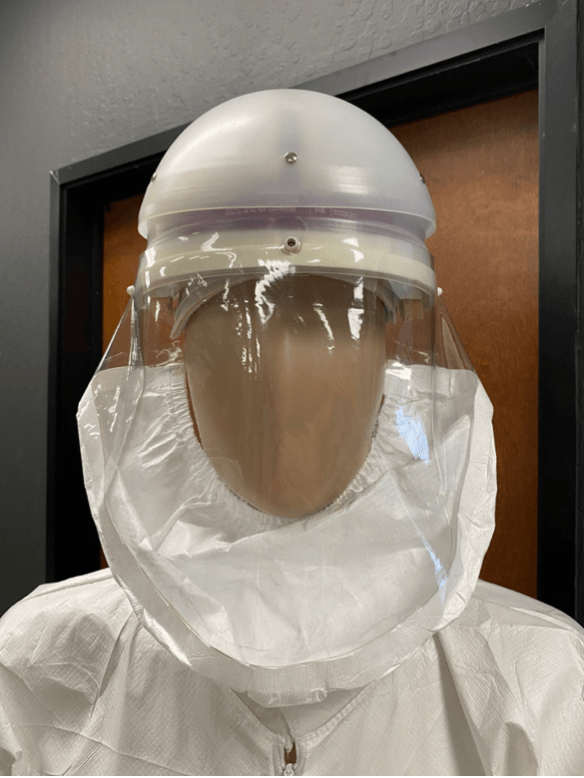
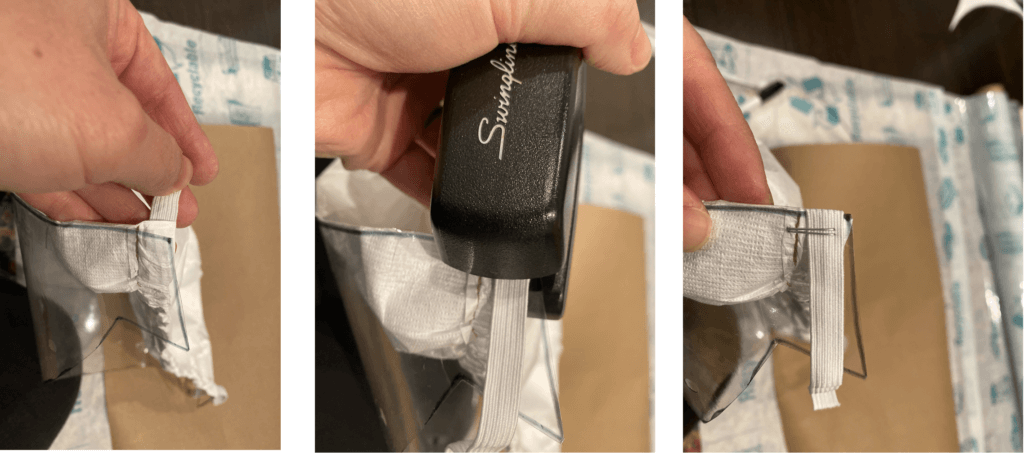
To create a new DLC shield using available resources, we utilized clear 10-12 gauge vinyl for the front shield and Tyvek for the cuff portion. Using Tyvek for the cuff is similar to designs by 3M for their PAPR cuff.
Again using Tinkercad to create the template for these pieces, we were able to complete an initial prototype and production run, sourcing all supplies locally from Joann’s fabric stores. This allowed us to get devices out to the hospitals in as short a time as possible.
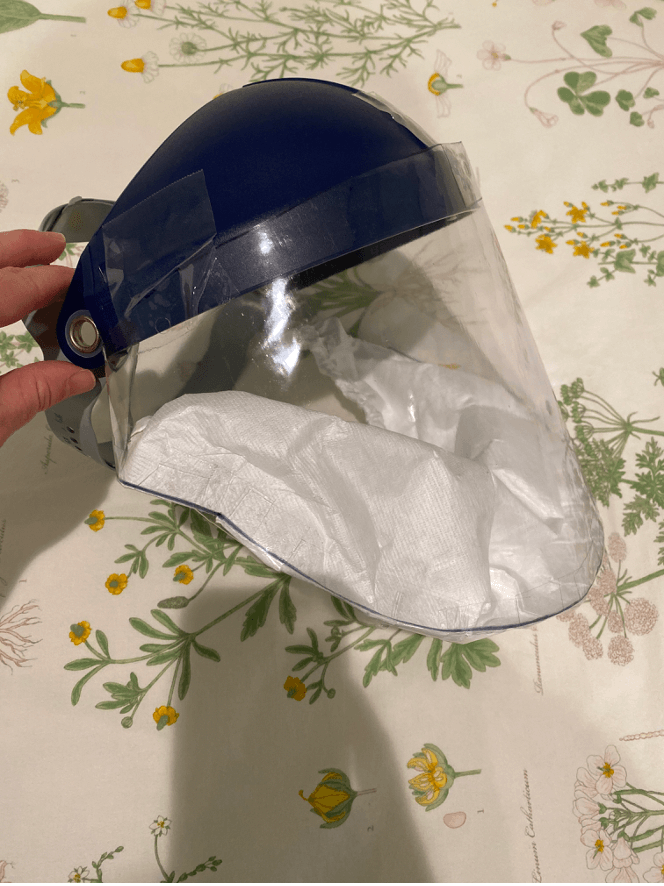
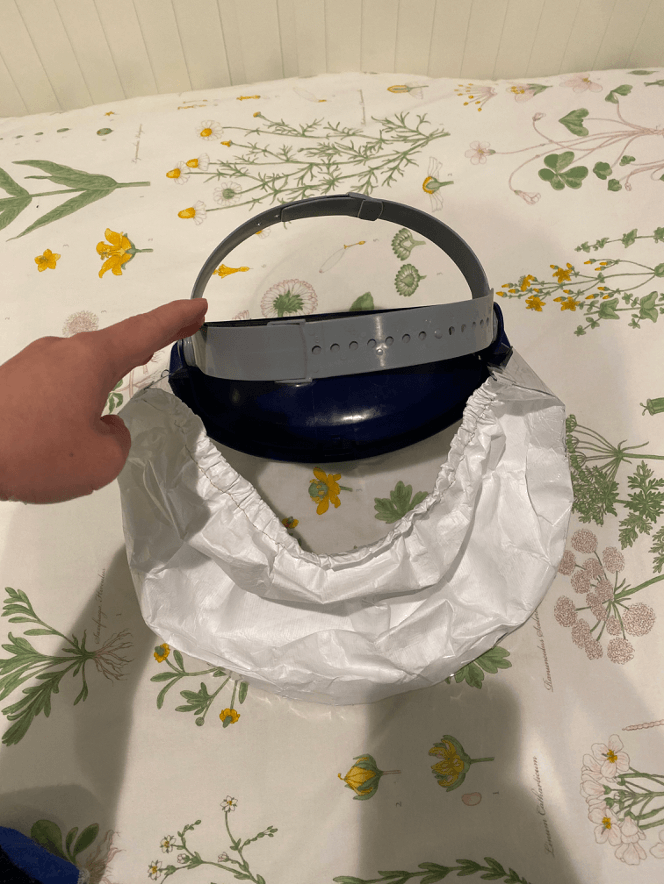
The vinyl was chosen because it offers an improved fit around the ears and covers up the gaps better than the plastic flap. The flexibility of the vinyl allows for the material to conform and tuck in better. We had to iterate multiple flap patterns on the vinyl to come up with an optimal fit. The Tyvek cuff allows for more air to enter the cuff, improving on any sense of claustrophobia with the PAPR device. The Tyvek fabric material is also softer against the skin and and sewed in elastic, helps to fit around the cheeks and skin.
Detailed instructions for creating and assembling this modified front shield can be found at the link below:
In summary, here are a few learning points we have found on our way of pursuing project further development:
- The vinyl that was purchased in store was better than the ones ordered online in terms of clarity. Later revisions of this design were using an ultraclear vinyl sourced from the Midwest.
- Tyvek is in short supply in large quantities, we were able to order a wholesale pallet from the East Coast
- Using a USA based supply chain and manufacturing is possible.
- This was made using “low tech” materials and processes that were immediately available.
- The material costs were the smallest proportion of the cost of manufacturing these shields.The costs to cut, assembly, inspect, and package were the bulk of the effort.
This information is provided for educational use only. Prior to using this in a clinical setting, please consult with your local safety and infection control team. Contact the Makers Lab for additional questions or request.
Do you have your own project in mind? Register (virtually) for one of our Tinkercad or other 3D modeling classes on the Makers Lab event calendar.